
How to soundproof a wall
(The 3 best acoustic wall solutions) 2025
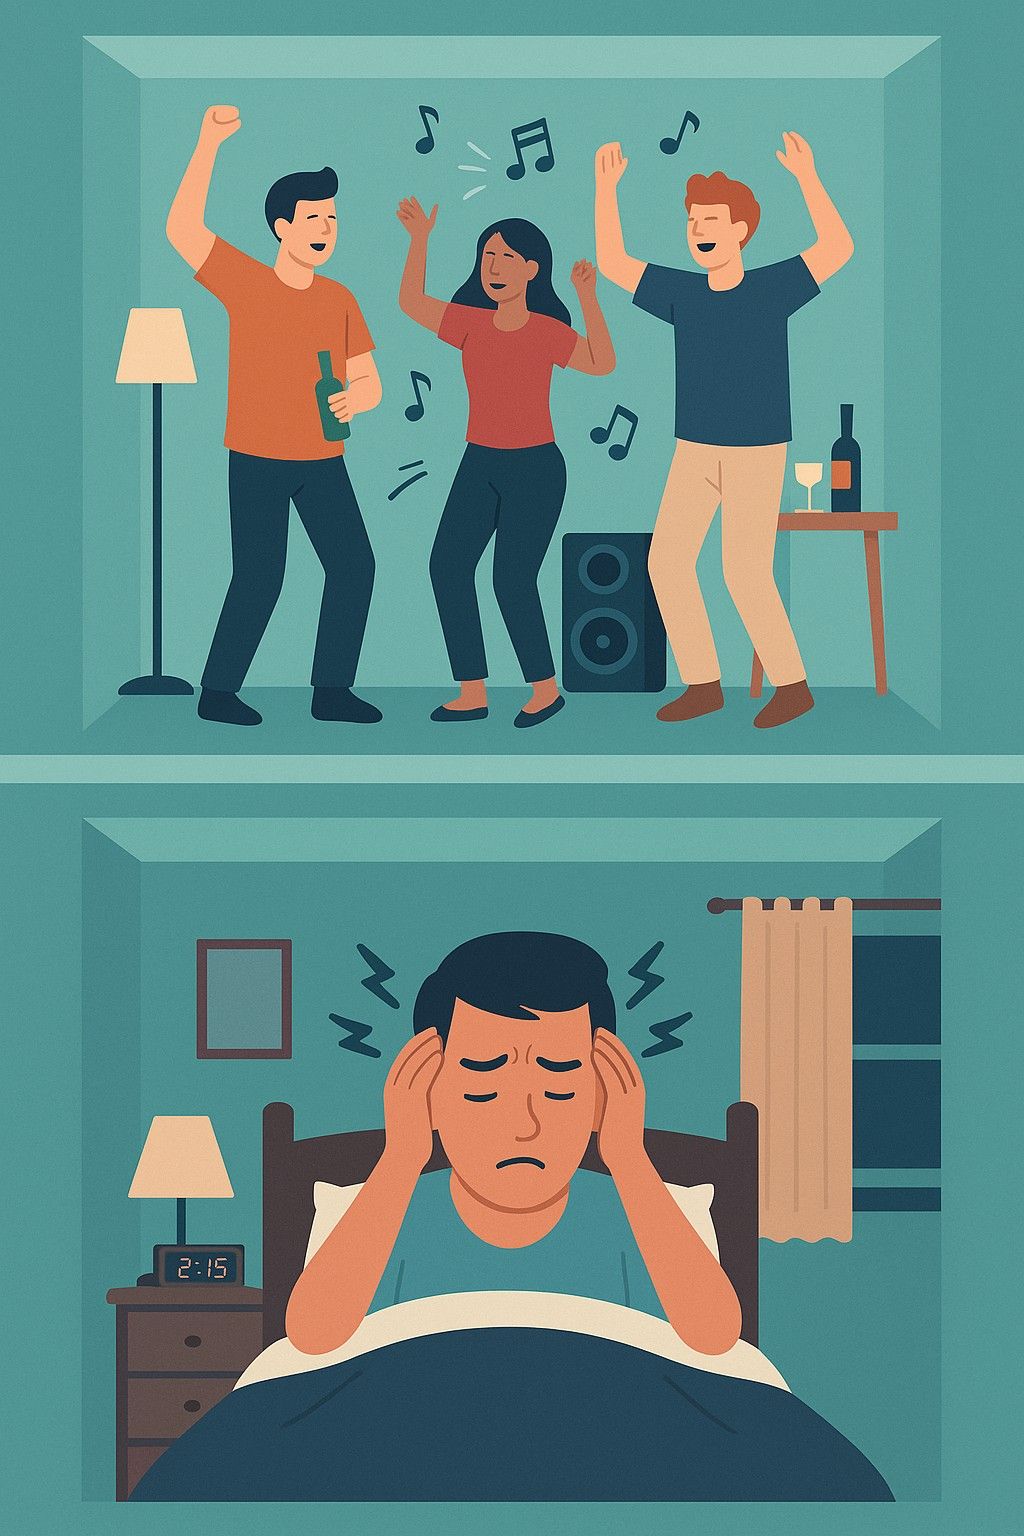
The easiest and most effective way to soundproof a brick wall in a semi-detached or terraced home against the unwanted noise of noisy neighbours. A recent study highlighted in The Express details how more than 250,000 noise complaints were made in the UK in the last 12 months, with loud music accounting for 50% of all complaints.
Key questions to answer before soundproofing a wall

Before soundproofing a wall, there are some key questions to answer, which help to ensure the correct and most informed soundproofing decision.
1. What is the wall constructed of?
- Knowing if the wall is a solid brick / block or light weight timber stud construction, will help to determine how well the current wall performs for blocking noise. (This will help determine the correct level of soundproofing needed).
2. What level of noise is being heard?
- Is the noise a quiet muffled noise?
- Clearer noise such as the odd clear word / make out which TV programme they are watching?
- Or excessive levels of noise such as dogs barking, snoring, doors slamming, clear conversation or music?
3. What type of noise is being heard?
- There are two types of noise. Airborne or impact noise, or a combination of both. This will help you determine the correct wall soundproofing system.
4. Is there a chimney breast on the wall?
- Chimney breasts normally perform better for soundproofing than the alcoves. This is due to their higher mass, compared to the alcoves which may just have a single brick. (Put your ear to the alcove wall and take a mental reading of the level of noise and then compare it to when you put your ear to the front of the fireplace). Learn more about soundproofing a chimney.
Addressing these key questions before soundproofing a wall is essential when choosing the correct soundproofing system. By understanding the walls construction, noise level, type of noise, and presence of features like chimney breasts (and if noise can be heard through the chimney breast) allows for an informed decision to be made about the appropriate soundproofing measures needed.
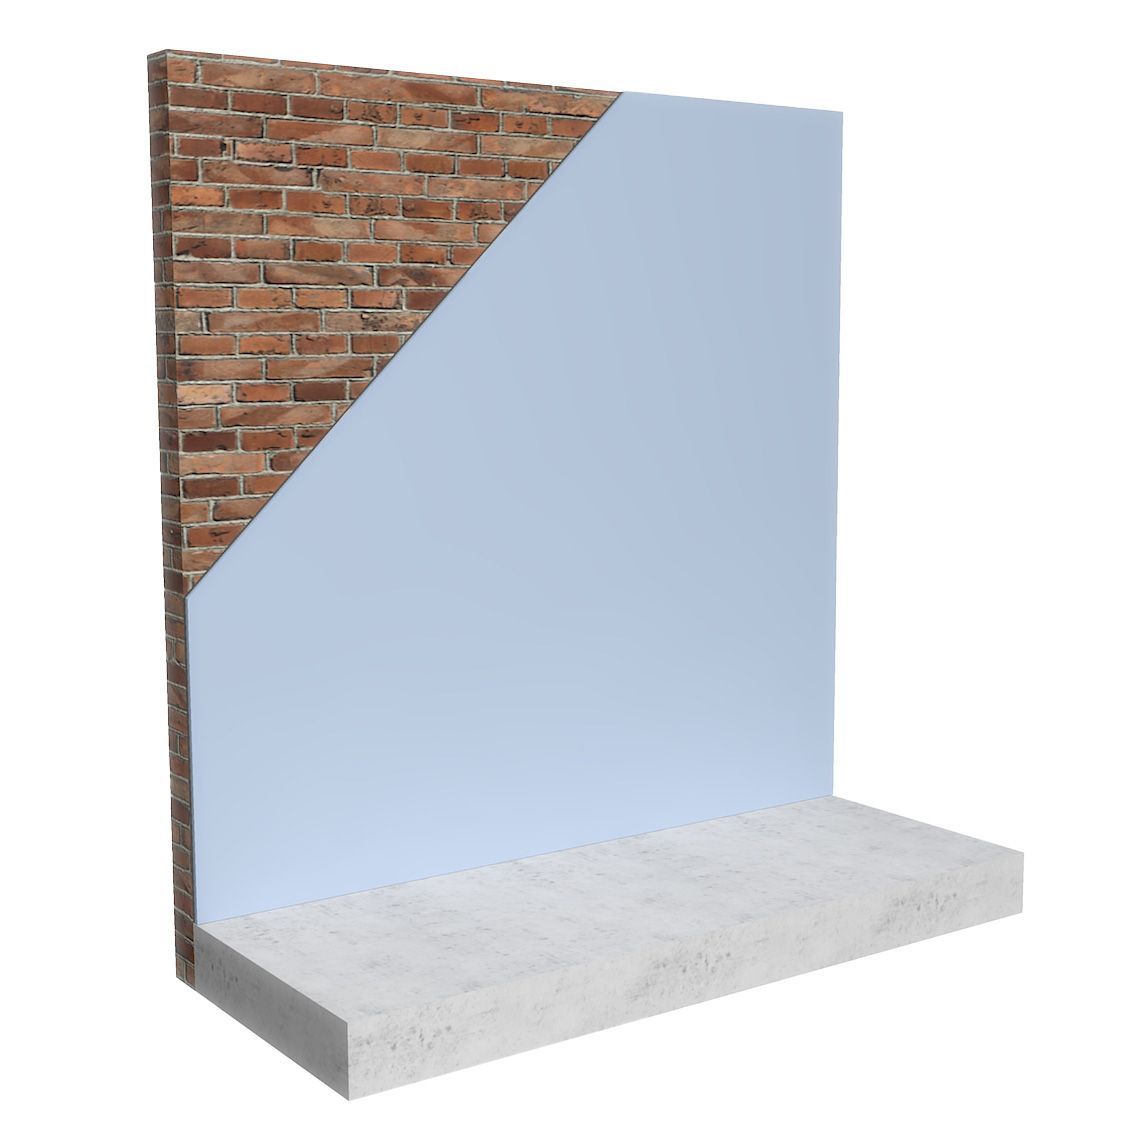
How to soundproof a brick wall?
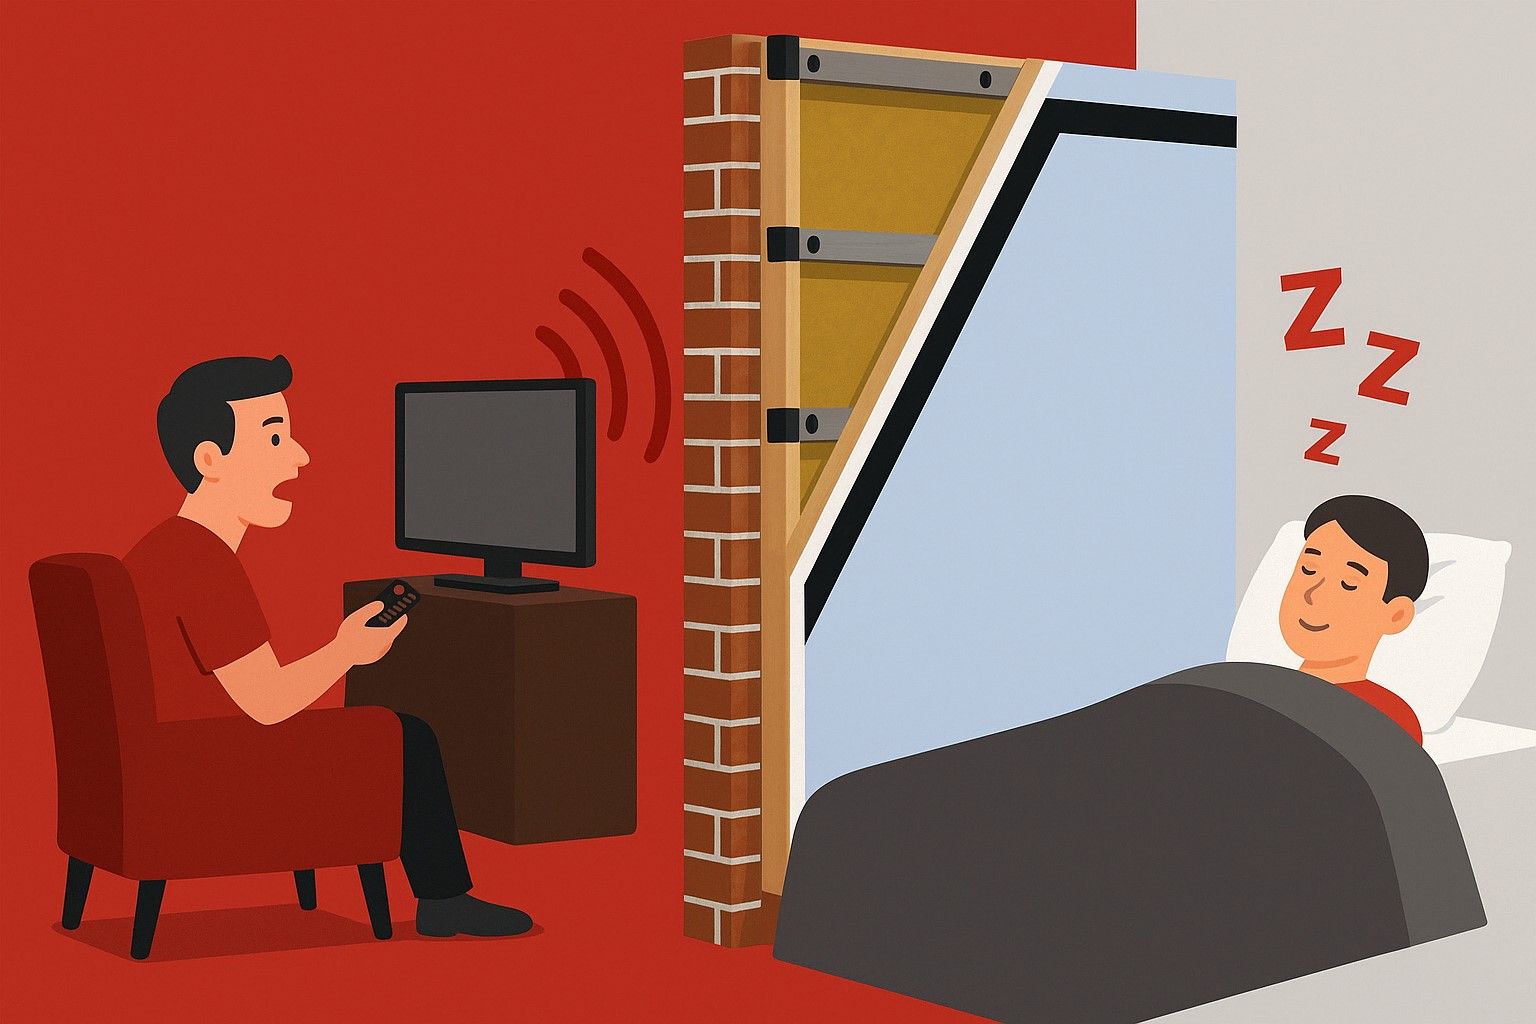
Soundproofing a brick wall can be easily achieved by decoupling from the offending wall, adding mass to the wall and using soundproofing materials which absorb sound energy and vibrations.
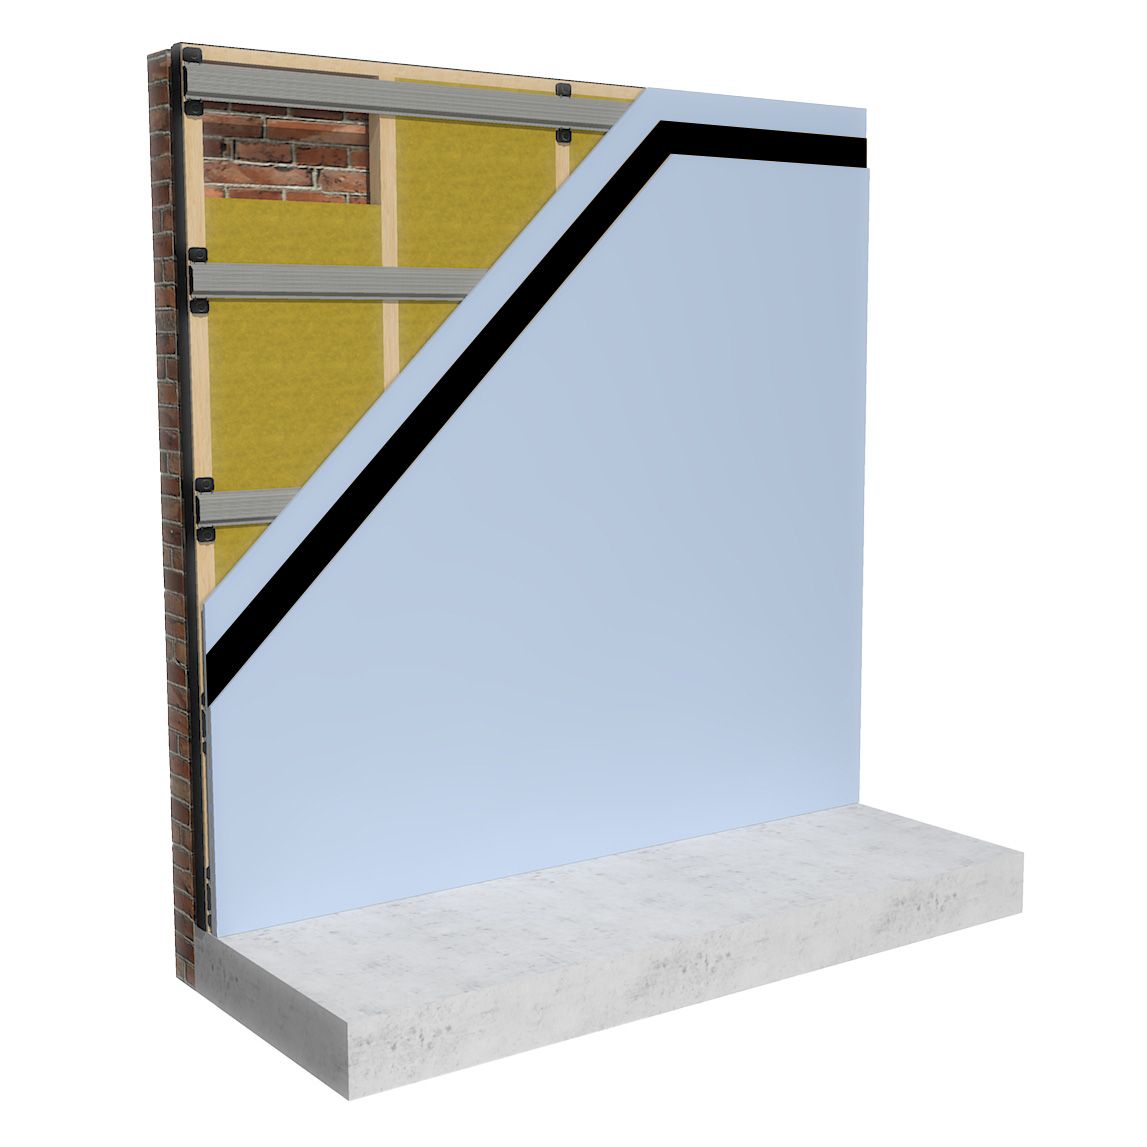
In the UK brick walls usually separate attached and semi-detached houses. Because you are sharing a party wall with your neighbour it often means you can hear unwanted noise coming through the connecting wall, and because they are usualy constructed with just a singal brick, which does not have enough mass to block noise. to soundproof this type of wall we need to :
1. Decouple the wall
Create a sound breaker by leaving a gap between the soundproofing and the original wall. This helps to stop sound vibrations from travelling though the structure.
2. Add mass to the wall
The heavier and more dense a material is, the more airborne sound it will block.
3. Add different types of mass to the wall
Different types of mass block different sound frequencies. Always use a combination of high mass materials for the best results.
4. Dampen sound vibration and energy
When sound hits a wall it becomes a vibration. Damping materials help to absorb sound energy and vibrations.
5. Add acoustic insulation
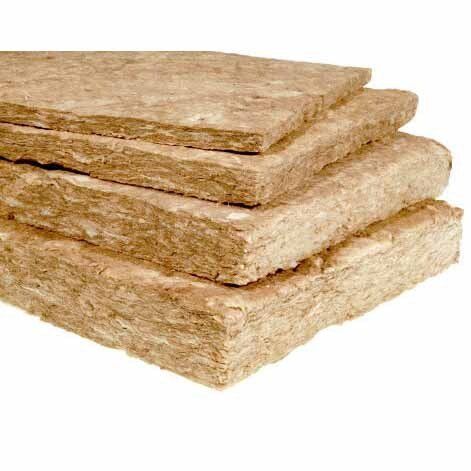
Use acoustic mineral wool in cavity spaces to stop sound from resonating and amplifying. (This is called the drum effect).
To achieve the highest level of soundproofing, decouple from the offending wall. Use different layers of mass such as Acoustic Plasterboard and FlexiSound 5 and dampen sound energy and vibrations using the ReductoClip system.
This can be easily achieved as a full system by using the ReductoClip Independent Wall Solution.
Top 3 soundproofing solutions to reduce unwanted noise from noisy neighbours
The 3 best wall soundproofing solutions for an existing wall

ReductoClip™ Independent Wall System (120mm)
ReductoClip™ Learn More

SoundBoard 4™ (30mm)
SoundBoard4™ Learn MoreWall soundproofing case study - key questions
Our client (Mr and Mrs Wheeler) contacted us due to being disturbed by the noise coming from next door within their mid terrace house.
1.What level of noise is being heard?
The noises they could hear from next door were described as medium levels of conversation. We asked Mrs Wheeler to clarify the levels and types of noise and she explained it was low levels of conversation, whereby you could hear the odd word, but not the whole sentence. They could also hear music coming through the party wall.
The Soundproofing Store further clarified if the noise being heard from next door was just the airborne noise of people talking, or could Mr and Mrs Wheeler also hear impact noise, such as footsteps and doors banging.
Mrs Wheeler explained that it was only airborne noise she was experiencing coming from her neighbour's house, although along with the conversations and talking, she could also hear their TV and music.
2.What is the makeup of the wall?
The Soundproofing Store then needed to ascertain which room within the house Mrs Wheeler was looking to soundproof and what the makeup of the wall was.
It was within the lounge where they were being disturbed the most and Mrs Wheeler confirmed that her wall was a solid, brick party wall.
3.Is there a chimney in the room?
The next important question was to check if there was a fireplace within the lounge. Mrs Wheeler confirmed that there was and when we asked her to do a simple ear test next time she heard the noise, she confirmed she could only hear the noise coming from the alcoves of the wall within the lounge and the noise through the chimney was much quieter.
This is often the case, due to firebricks containing more mass than standard bricks and having two layers of them often provides enough 'natural' soundproofing. Meaning the sound coming through the alcoves often can't be heard through the chimney breast. However, this isn't always the case and we discuss later within this article on what to do if you can hear noise coming through the chimney breast, or if indeed there are weaknesses, e.g. the chimney has been removed from your neighbour's house.
The next stage is to select the best wall soundproofing solution
Once the right questions have been asked and answered, The Soundproofing Store can then discuss with Mr and Mrs Wheeler the best wall soundproofing solution options for their noisy neighbour problem. Highlighted below are the 3 most effective wall soundproofing options. The ReductoClip Independent Wall Solution, ReductoClip Direct to Wall Solution and the SoundBoard 4.
With each system we discuss the advantages and disadvantages of each wall solution, to help Mr and Mrs Wheeler and all of our customers make an informed choice.
Option 1: The ReductoClip™ Independent Wall System
The ReductoClip Independent Wall Solution delivers the highest level of soundproofing.
Installing the ReductoClip™ Independent Wall System
The ReductoClip™ Independent wall system is the slimmest and highest performing clip and bar solution, delivering the highest level of soundproofing for your home. Often used in recording studios and night clubs, as well as domestic properties, the ReductoClip independent wall system will result in an approximate 80-90% noise reduction with a loss of space of 120mm.
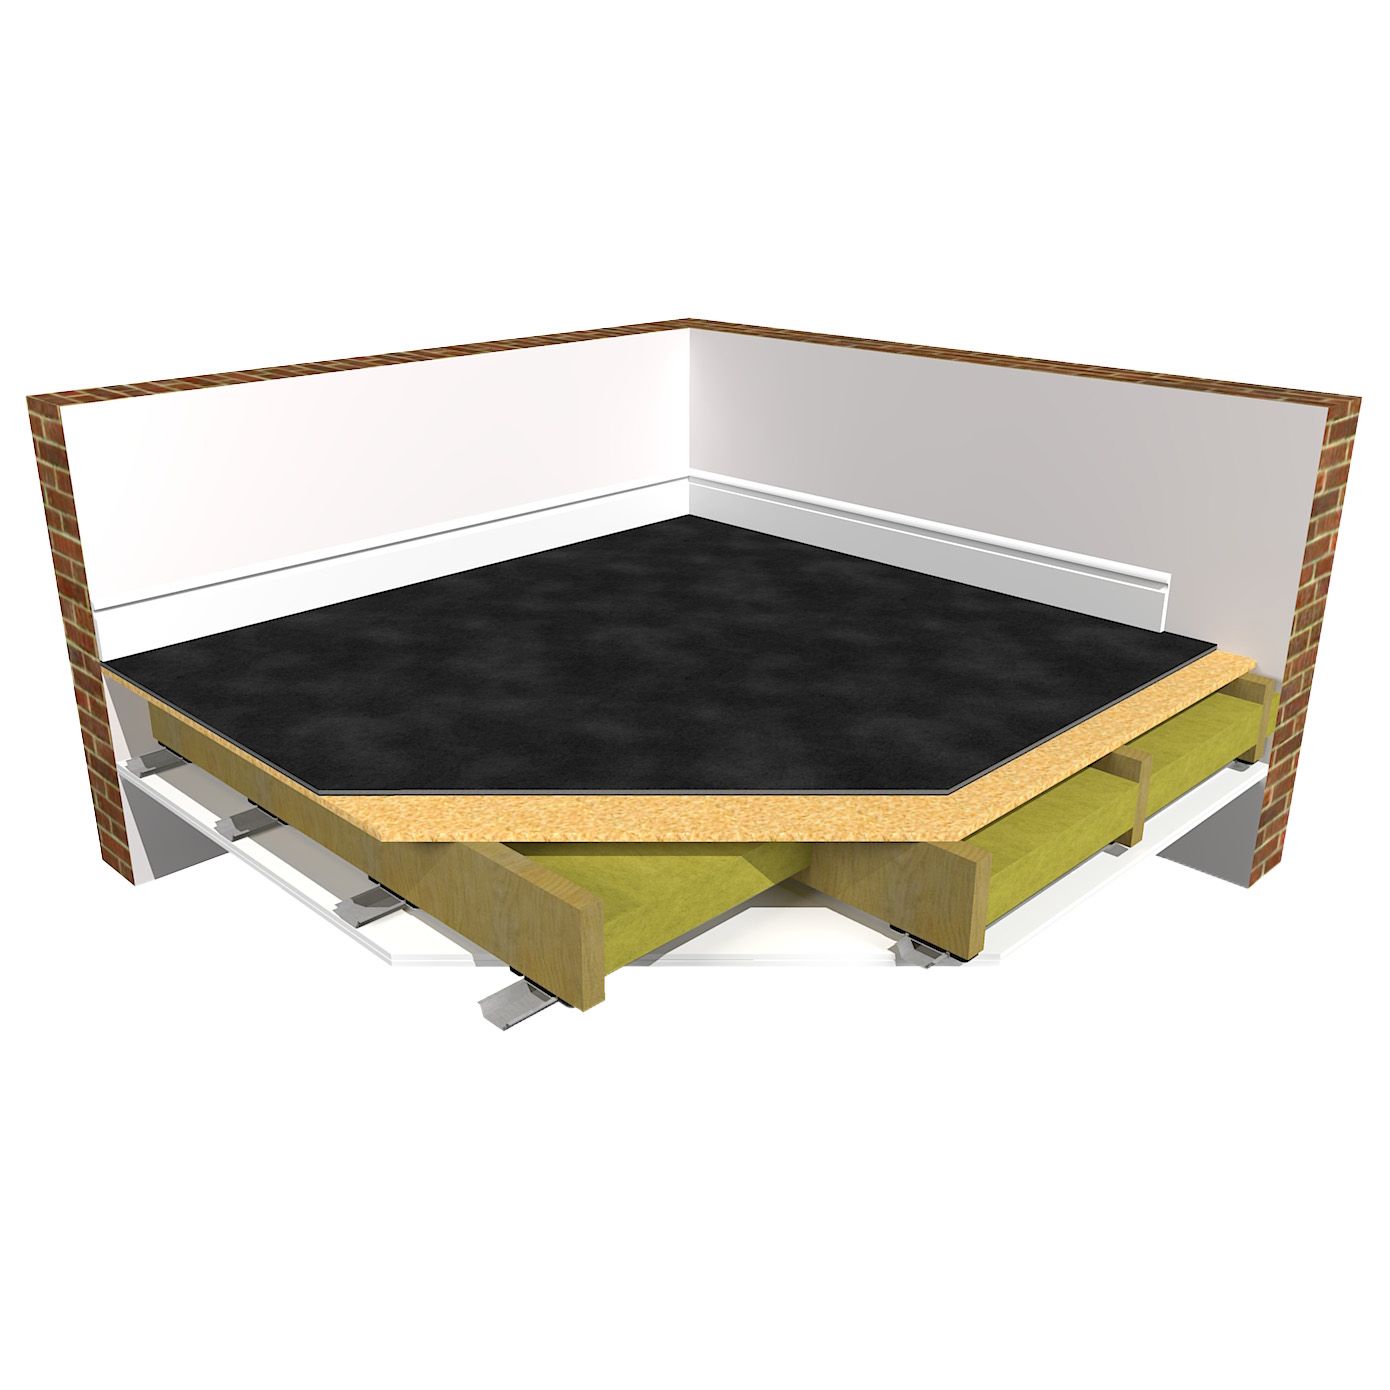
The new soundproofing layers are effectively creating a 'room within a room' (50mm timber stud) a minimum of 10mm away from the wall. Sound travels easily via connected surfaces, so by fully decoupling from the offending wall, this helps to deliver the highest performing soundproofing solution.
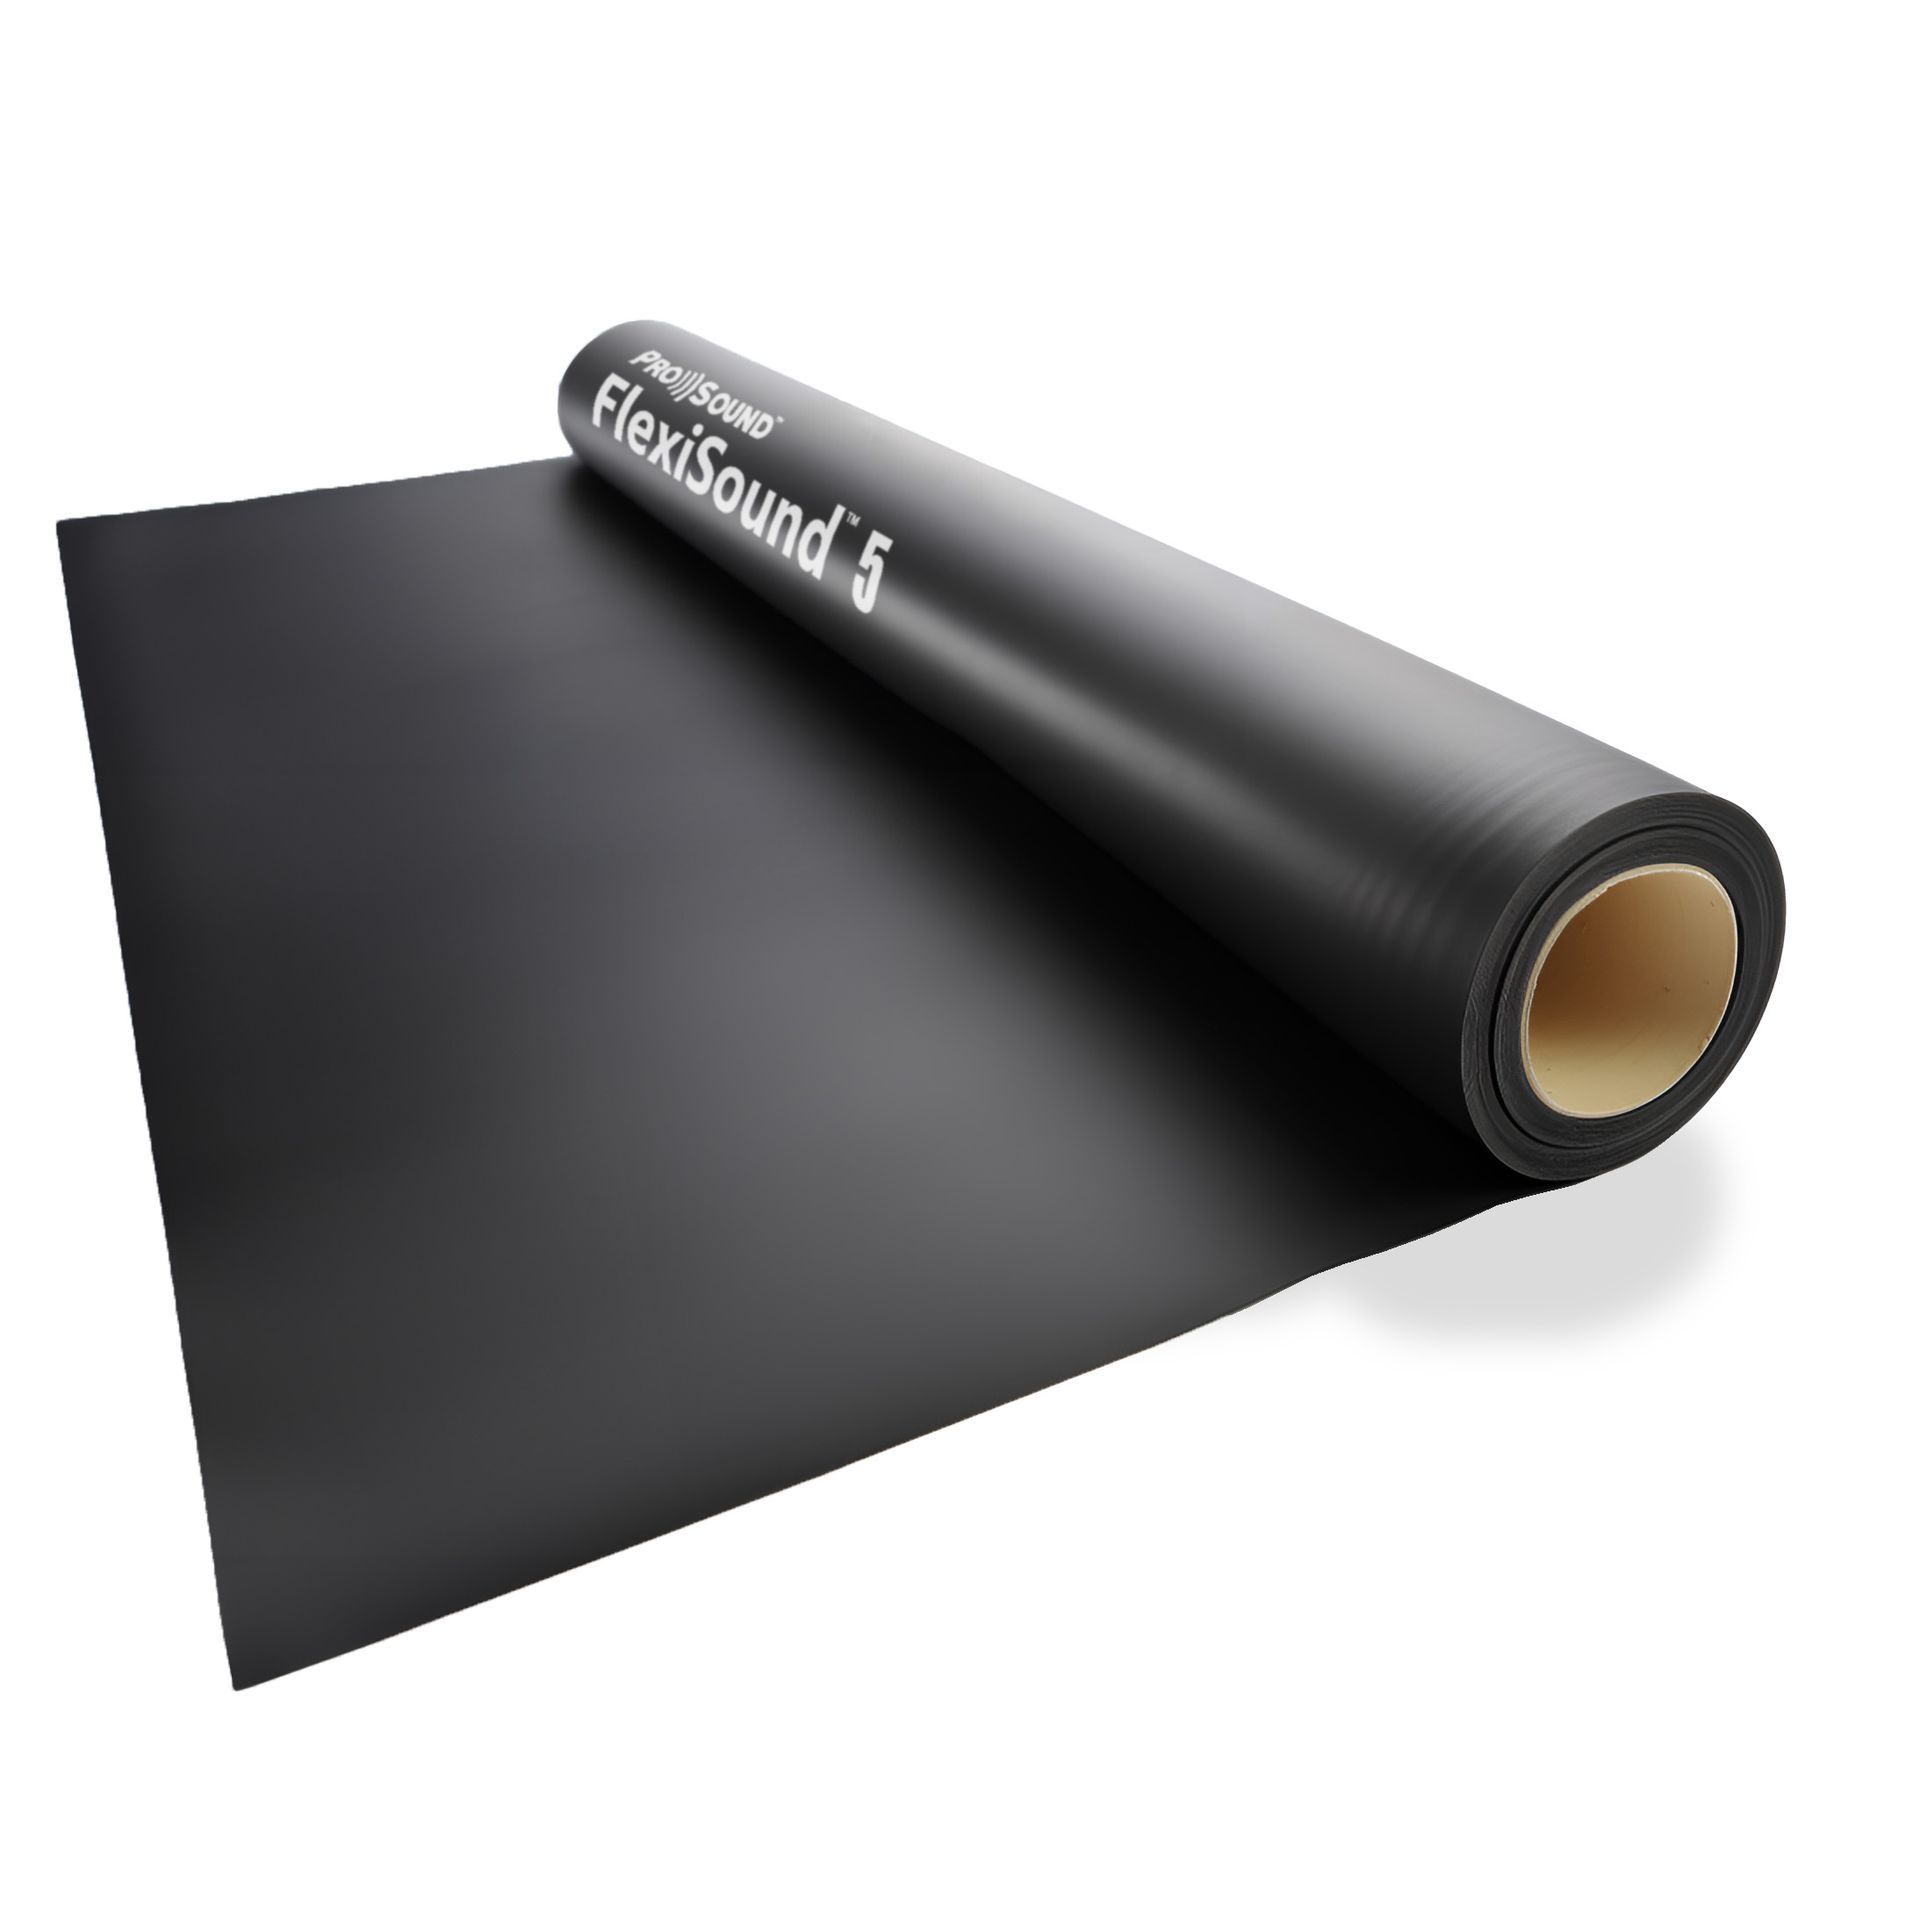
ReductoClip / furring bar and two layers of acoustic plasterboard and FlexiSound 5. These materials are extremely efficient at blocking airborne sounds from travelling through. This is because their weight and density increase the overall mass, which (as mentioned above) is crucial for soundproofing against airborne sounds.
Because these layers are fixed onto the ReductoClips and furring channels instead of directly to the stud frame, sound vibrations cannot easily pass. The clips act like shock absorbers and absorb the vibration energy, stopping the vibrations (sound) from travelling into the new wall layers.
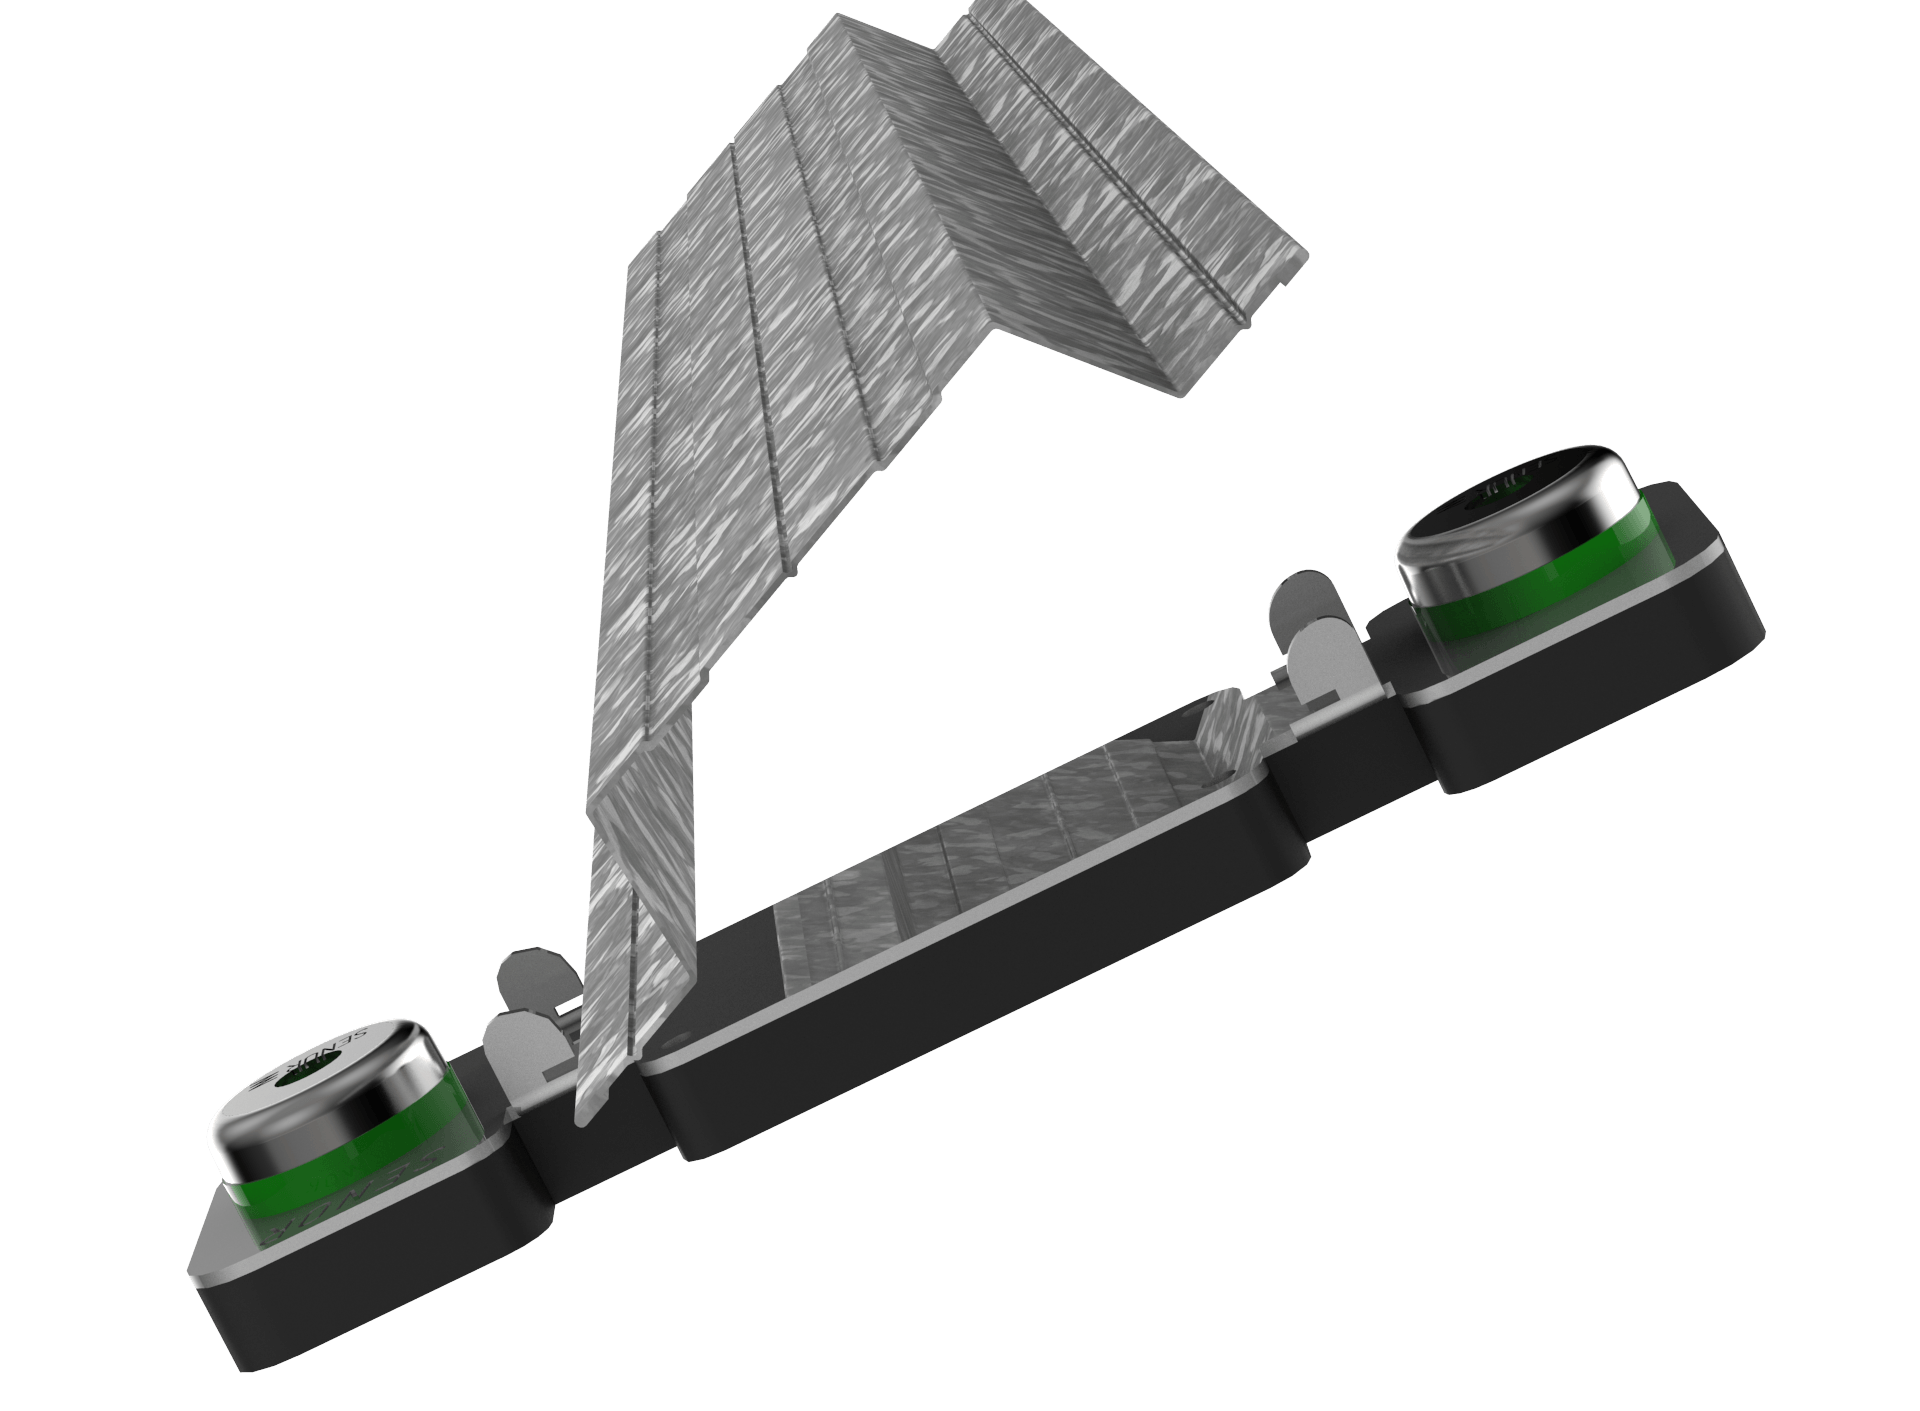
The ReductoClip Product Overview
Advantages of the ReductoClip™ Independent Wall System:
- Creates a 'room within a room' isolated from the original structure, which offers the highest level of soundproofing possible
- The perfect solution for soundproofing against loud noises, recording studios or band practice rooms
- Can be used on solid, or stud walls
- The thinnest independent clip system on the market (by up to 15mm)
- Dual rubber clips for higher performance, due to being able to absorb different sound frequencies
- Exceeds Part E Building Regulations
- DIY install
- A proven performance of airborne noise: 77dB (DnT,w) on a solid wall and 69dB (DnT,w) on a stud wall
Disadvantages of the ReductoClip Independent Wall System:
- The system takes up 120mm of space from the original wall, and although is the thinnest independent wall system available on the market, can still sometimes be too much space to lose in domestic properties. Especially where there are sometimes space constraints such as door frames and window ledges.
Installing the ReductoClip Independent Wall System
1. A timber stud frame is built in front of the existing wall, de-coupling the new wall from the existing wall to minimise the transferral of sound energy
2. The inside of the frame is insulated with an acoustic mineral wool. Subsequently, the ReductoClips and are fixed onto the frame
3. Finally, a new wall layer, of 15mm acoustic grade plasterboard is added to the frame
4. A specialist material called FlexiSound 5, is added to the acoustic plasterboard
5. A second layer of 15mm acoustic grade plasterboard is added to the frame, sandwiching the FlexiSound 5 between both of the acoustic plasterboard layers.
Step-by-step installation of the ReductoClip™ Independent Wall System
Was the ReductoClip™ Independent Wall System the chosen system for this case study?
Although offering superior soundproofing, Mr and Mrs Wheeler felt they didn't have the space to lose from the alcoves within their lounge for this particular wall soundproofing solution. It was also decided that the levels of noise they were experiencing, although having a negative impact on their everyday enjoyment within their home, wasn't excessive enough to warrant the highest performing capabilities of the ReductoClip™ Independent Wall Solution.
Option 2: ReductoClip™ Direct to Wall System

The ReductoClip™ Direct to Wall System is installed directly to a solid wall, bypassing the process of building an independent stud frame in front of the wall you are soundproofing. It has a total build up of 60mm.
The ReductoClips are installed directly to the existing wall, instead of building an isolated frame.
Advantages of the ReductoClip™ Direct to Wall System:
The ReductoClip Direct to Wall Solution offers an excellent performance given its slim profile.
- Only 60mm loss of space
- Offers the highest level of soundproofing, combined with minimal loss of space to the home
- The perfect wall soundproofing solution for soundproofing against medium to loud levels of noise, (such as clear conversation, TV noise and music)
- Suitable for use on solid or stud walls
- Dual rubber clips for higher performance in absorbing different sound frequencies
- Exceeds Part E Building Regulations
- DIY Install
Disadvantages of the ReductoClip™ Direct to Wall System:
- Can’t be used for excessive noise levels, or music studios
Step-by step installation of the ReductoClip™ Direct to Wall Soundproofing System
ReductoClip™ Direct to Wall Customer Testimonial
Installing the ReductoClip™ Direct to Wall System:
1.
ReductoClips
are attached directly to the wall
2. Furring channels are attached to the ReductoClips
3. Acoustic mineral wool is added to the wall (between the bars) using contact adhesive spray
3. A new wall layer, of 15mm Acoustic grade plasterboard is added
4. The specialist material FlexiSound 5, is added to the acoustic plasterboard
5. A second layer of 15mm acoustic grade plasterboard is added, sandwiching the FlexiSound 5 in between.
Was the ReductoClip™ Direct to Wall Soundproofing System the chosen system for this case study?
The beauty of the ReductoClip™ Direct to Wall soundproofing system is that it still offers a dramatic noise reduction, with only 60mm loss of space. This would be our recommendation to Mr and Mrs Wheeler, given their noise problem and with them also wanting to minimise any space loss.
They had also read abut the SoundBoard 4, a direct to wall soundproofing panel. This is an excellent solution for stud walls, but not as effective on solid walls, we will go into more detail below as to why this is the case:
Option 3: ProSound™ SoundBoard 4™
The Soundboard 4™ is a direct to existing wall system and is very easy to install, taking up just 30mm of space. It is ideal for blocking noise on stud walls.
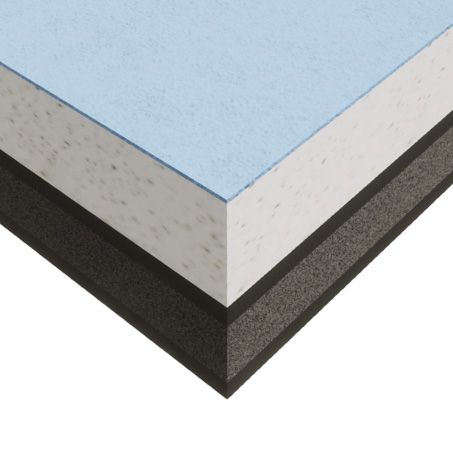
The SoundBoard 4 is constructed from 4 layers of different high mass soundproofing materials to block a wider range of sound frequencies. The different layers that make up the SoundBoard 4 work by adding mass to the wall and by improving the walls ability to absorb sound energy. The final layer is an acoustic grade plasterboard meaning that following the easy DIY installation, you are then left with a plaster boarded finish, ready to add a skim coat of plaster to and decorate. Due to the weight of each board it must be installed using a suitable hammer fix screw and although an easy DIY installation, it does require two people to lift, hold and fix to the wall.
SoundBoard 4 Product Overview
Advantages of the SoundBoard 4™ Soundproofing Wall Panel:
- Ideal for situations where space is of a premium. For a more slim-line solution, such as where space cannot allow for the ReductoClip™ Independent or ReductoClip Direct to Wall systems. The loss of space with the SoundBoard 4 is only 30mm
- Can be fitted directly to solid or stud walls
- Thinner and a very straightforward DIY install, meaning minimal disruption to your home
- The SoundBoard 4 is constructed from 2 layers of mass-loaded vinyl for blocking airborne noise, a closed cell foam to absorb vibration and then bonded to a final layer of 15mm acoustic grade plasterboard. This means there is only one board to install straight onto the wall, rather than multiple layers or build work
- Acoustic grade plasterboard is higher in mass than regular plasterboard, and can be skimmed and decorated as normal
- Passes Part E Building Regulations (as part of a system)
Disadvantages of the SoundBoard 4™ wall solution:
- On a solid brick wall, the SoundBoard 4 can be used for airborne noise at higher frequencies, but is limited at blocking lower base frequencies from the likes of music, deep voices and snoring. This is when it would be advised to use one of the ReductoClip Systems.
- Using SoundBoard 4 on a solid wall would only be advised when space constraints are essential, such as door fames, or windows making it physically not possible to use the 60mm ReductoClip Direct to Wall System.
Installing the SoundBoard 4:
The SoundBoard 4 is a direct to wall soundproofing panel and is an easy DIY installation:
- All skirting and coving is firstly removed and any dust is wiped away to ensure the wall is flat and clean
- It's recommended to start the installation in the bottom left or right corner
- The first SoundBoard 4 is offered to the wall making sure it sits square
- A 5mm gap is left around the perimeter edge of the wall, floor and ceiling (to prevent any flanking vibration)
- The SoundBoard 4 is attached to the wall by drilling 9 holes per board and fixed with hammer screw fixings
- Once the first SoundBoard 4 is in place, the second is applied by butting it up tightly to the previous board and so on
- The second row of boards needs to start from where the first ended to give a staggered joint
- Fill the 5mm gap with acoustic sealant and seal between any gaps within the boards
- The SoundBoard 4 is now ready for a plaster skim finish, or use of a heavy duty backing paper
Was the SoundBoard 4™ the chosen system for this case study?
The SoundBoard 4™ offers an excellent performance on stud walls, however its performance is limited to airborne noise on solid walls and it doesn't perform effectively against lower bass noises such as music.
Mr and Mrs Wheeler wanted to use the RedutoClip Direct to Wall Solution, as this is a higher performing solution than the SoundBoard 4 on a solid wall and didn't take up as much space as the ReductoClip Independent System.
The ReductoClip Direct to Wall System can also be installed by a competent DIYer, although in this case Mr and Mrs Wheeler wanted to use their local handyman who had previously done work for them in the past.
Things to consider when soundproofing a wall
Plugs and Radiators
If you are unable to, move the sockets to another wall (with the help of an electrician), this would be the preferred option. Alternatively, the best way is to fit the soundproofing across the whole wall and make a small hole in the soundproofing and pull the cable for the socket through and then fill with acoustic sealant.
You would then refit the socket on as a surface mounted socket.
Another option is to fit the soundproofing around the socket and fit a socket putty pad in the back box of the socket.
Acoustic Mineral Wool
In an ideal world, we would also recommend adding Acoustic Mineral Wool to the cavity below your floorboards in between your floor’s timber joists for the first 1.5m away from the offending wall. If sound is getting into this cavity it will bounce around, resonate and amplify. It is a bit like shouting down a cardboard tube, by adding the mineral wool, we stop this effect.
Soundproofing chimney breasts
When soundproofing the alcoves of a wall, in most cases the chimney breast doesn't need the same level of soundproofing. This is because chimney breasts are normally constructed of a double layer of fire bricks which are far heavier and denser than the standard bricks (normally) used in the alcoves.
However, there are always exceptions and a top tip of you are unsure is to do a simple ear test by putting your ear to the alcove wall when you hear the noise from next door and do the same at the chimney and compare.
If you hear noise coming through the alcoves and the chimney breast then there are a number of options.
Top tips for achieving the best wall soundproofing results
- Soundproofing is like waterproofing, it is only as good as the weakest point. An example: If you are in a car and the window is only slightly open, you can normally hear all the sound outside perfectly clearly. Close the window fully and the car becomes soundproofed and all sounds are reduced to a quiet muffle. This illustrates how much sound can travel through any small gaps. This is why it's important to remove all skirting boards and coving before installing the wall soundproofing solutions, to ensure the whole wall is covered.
Brick wall soundproofing products


Author
Ian Baker is the Managing Director of The Soundproofing Store and a leading name in the soundproofing industry.
With a prestigious track record of award-winning credentials, Ian is a trusted and respected authority in his field.
Ian is passionate about helping individuals find effective solutions to their unwanted noise issues and his extensive knowledge and insights are invaluable in helping to transform noisy environments into peaceful spaces.
Share
"We don’t expect you to become an overnight expert in soundproofing, that’s what we’re here for."