
The 5 best acoustic floor solutions 2025. How To Soundproof a Floor Case Study
How to soundproof a timber joisted floor and select the correct acoustic floor insulation
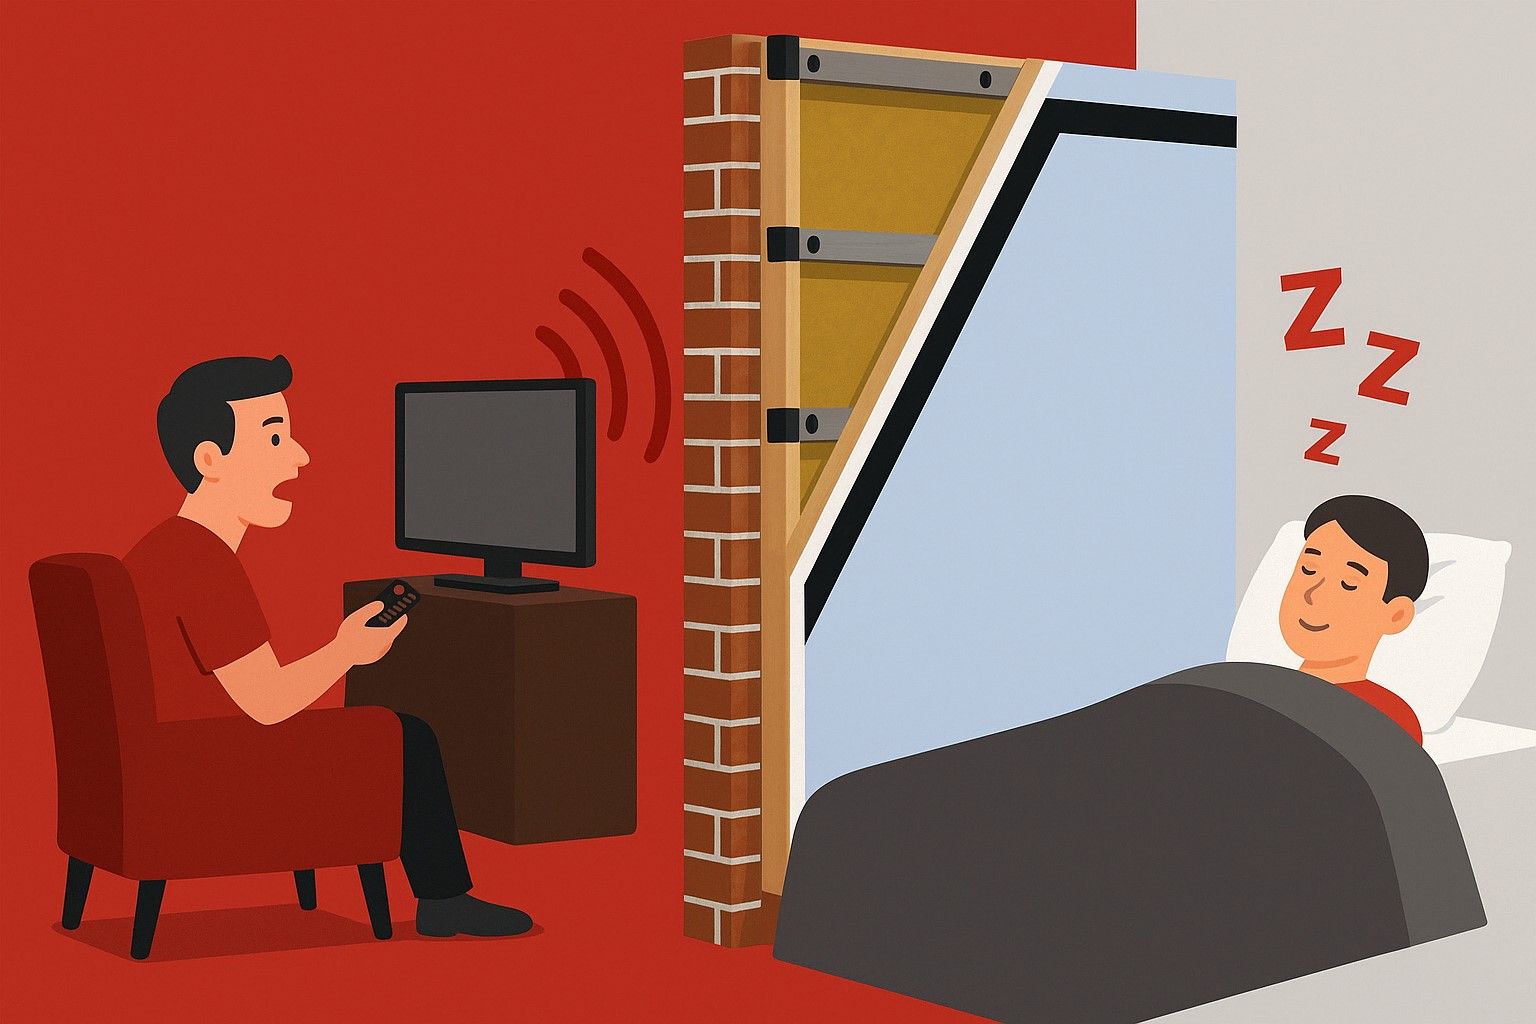
This blog explains in detail how to successfully soundproof a floor to achieve a high level of Airborne Noise soundproofing and Impact Noise soundproofing. How to achieve peace and quiet in your own home and to exceed Part E Building Regulations for conversions and new builds.
This article explains a step-by-step guide for floor soundproofing on a standard timber joisted floor/ceiling build up to achieve high levels of soundproofing between properties. Please read to the end for some important details to help avoid some common mistakes.
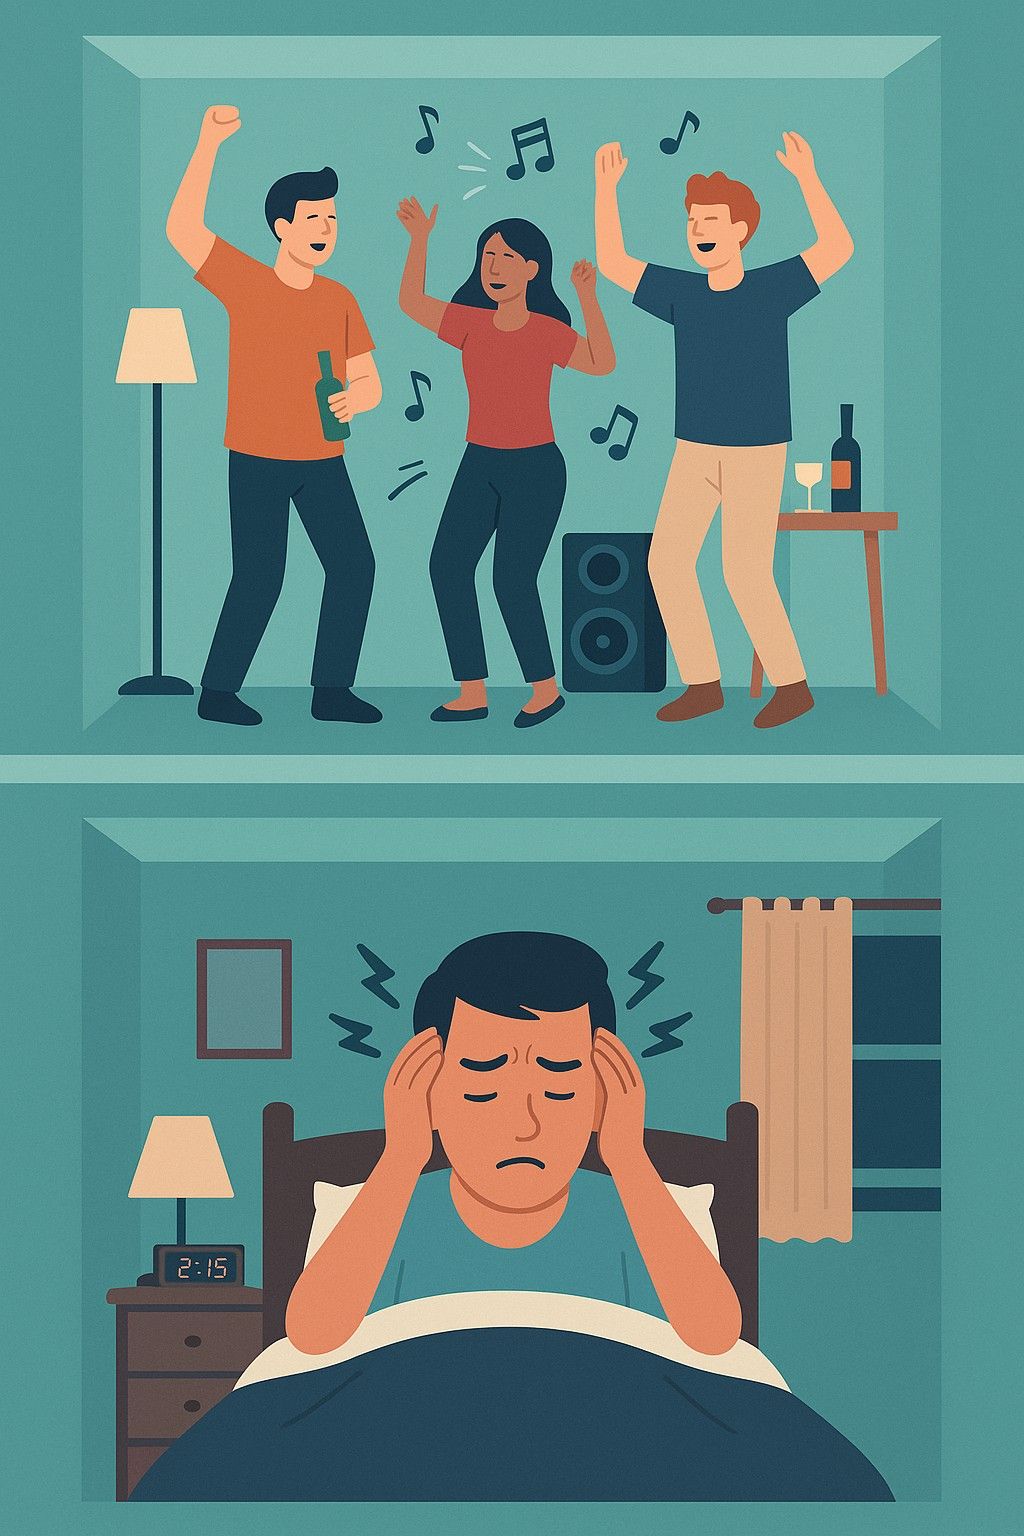
Understanding the Floor Soundproofing problem
In this example I have selected our most common question, which is "How to soundproof a timber joisted floor for impact and airborne noise. "
Firstly we need to understand the problem in detail and establish the needs of the customer, and to do this we have to start with a few questions.
- Are you aiming to meet Part E Building regulations? Or just upgrading soundproofing within your own home on a budget?
- What is the current build-up of the current floor/ceiling?
- Where is the noise coming from ? (from below travelling up or from above travelling below)
- What is the planned final floor finish on the floor above?
- What solution is the customer looking for? (I.E they could be just concerned with airborne noise and are not interested in impact noise)
- How susceptible to noise are you?
Question 1: Is this to meet Part E Building regulations? Or just upgrading soundproofing within your own home on a budget?
This helps us understand why you need the soundproofing and the level of soundproofing you need to achieve:
- If you are looking to pass Part E Building Regulations for a new build or conversion you will need to achieve a set minimum level of soundproofing for impact and airborne noise. (See our building regulations page) which after installation will have to be proven with a sound test carried out by a UCAS accredited sound tester (see how sound tests are carried out )
- If you are just looking to improve on current soundproofing (or lack off) in an existing property then you do not have to achieve the same levels as the Part E building regulation, however we will always aim to exceed the Regulations target figures to give you a good level of soundproofing.
Question 2: What is the current build-up of the current floor/ceiling?
- We need to understand these points fully before we can give the correct advice, as different building materials perform differently for soundproofing purposes. This will help us understand how well your current floor/ceiling build up is performing, ultimately helping us to identify the correct solution and highlight any possible problems for soundproofing.
Question 3: Where is the noise coming from ? (from below travelling up or from above travelling below)
- We need to understand this as we have different solutions for Airborne noise from below and Airborne and Impact noise from above (I.E If it is noise from below then this is just an Airborne noise travelling up to the room above)
Question 4: What is the planned final floor finish on the floor above?
- This again is a very important question as different final floor finishes can affect the results by as much as 5dB and also some solutions are not suitable for hard final floor finishes such as laminates.
Question 5: What solution is the customer looking for? (I.E they could be just concerned with airborne noise and are not interested in impact noise)
- We need to understand this answer to specify the correct products, as some products are only suitable for impact noise and some products are only for blocking airborne noise.
Question 6: How susceptible to noise are you?
One thing I have learned over time is that different people are susceptible to noise in different ways. (I.E to some people, the sound of rustling leaves is too loud, whereas some people can ignore this level of noise very easily). Therefore, we have to take into account an individual's susceptibility to noise - as we may have to increase the level of soundproofing for those people who are more sensitive.
So, lets get started with a recent floor soundproofing case study
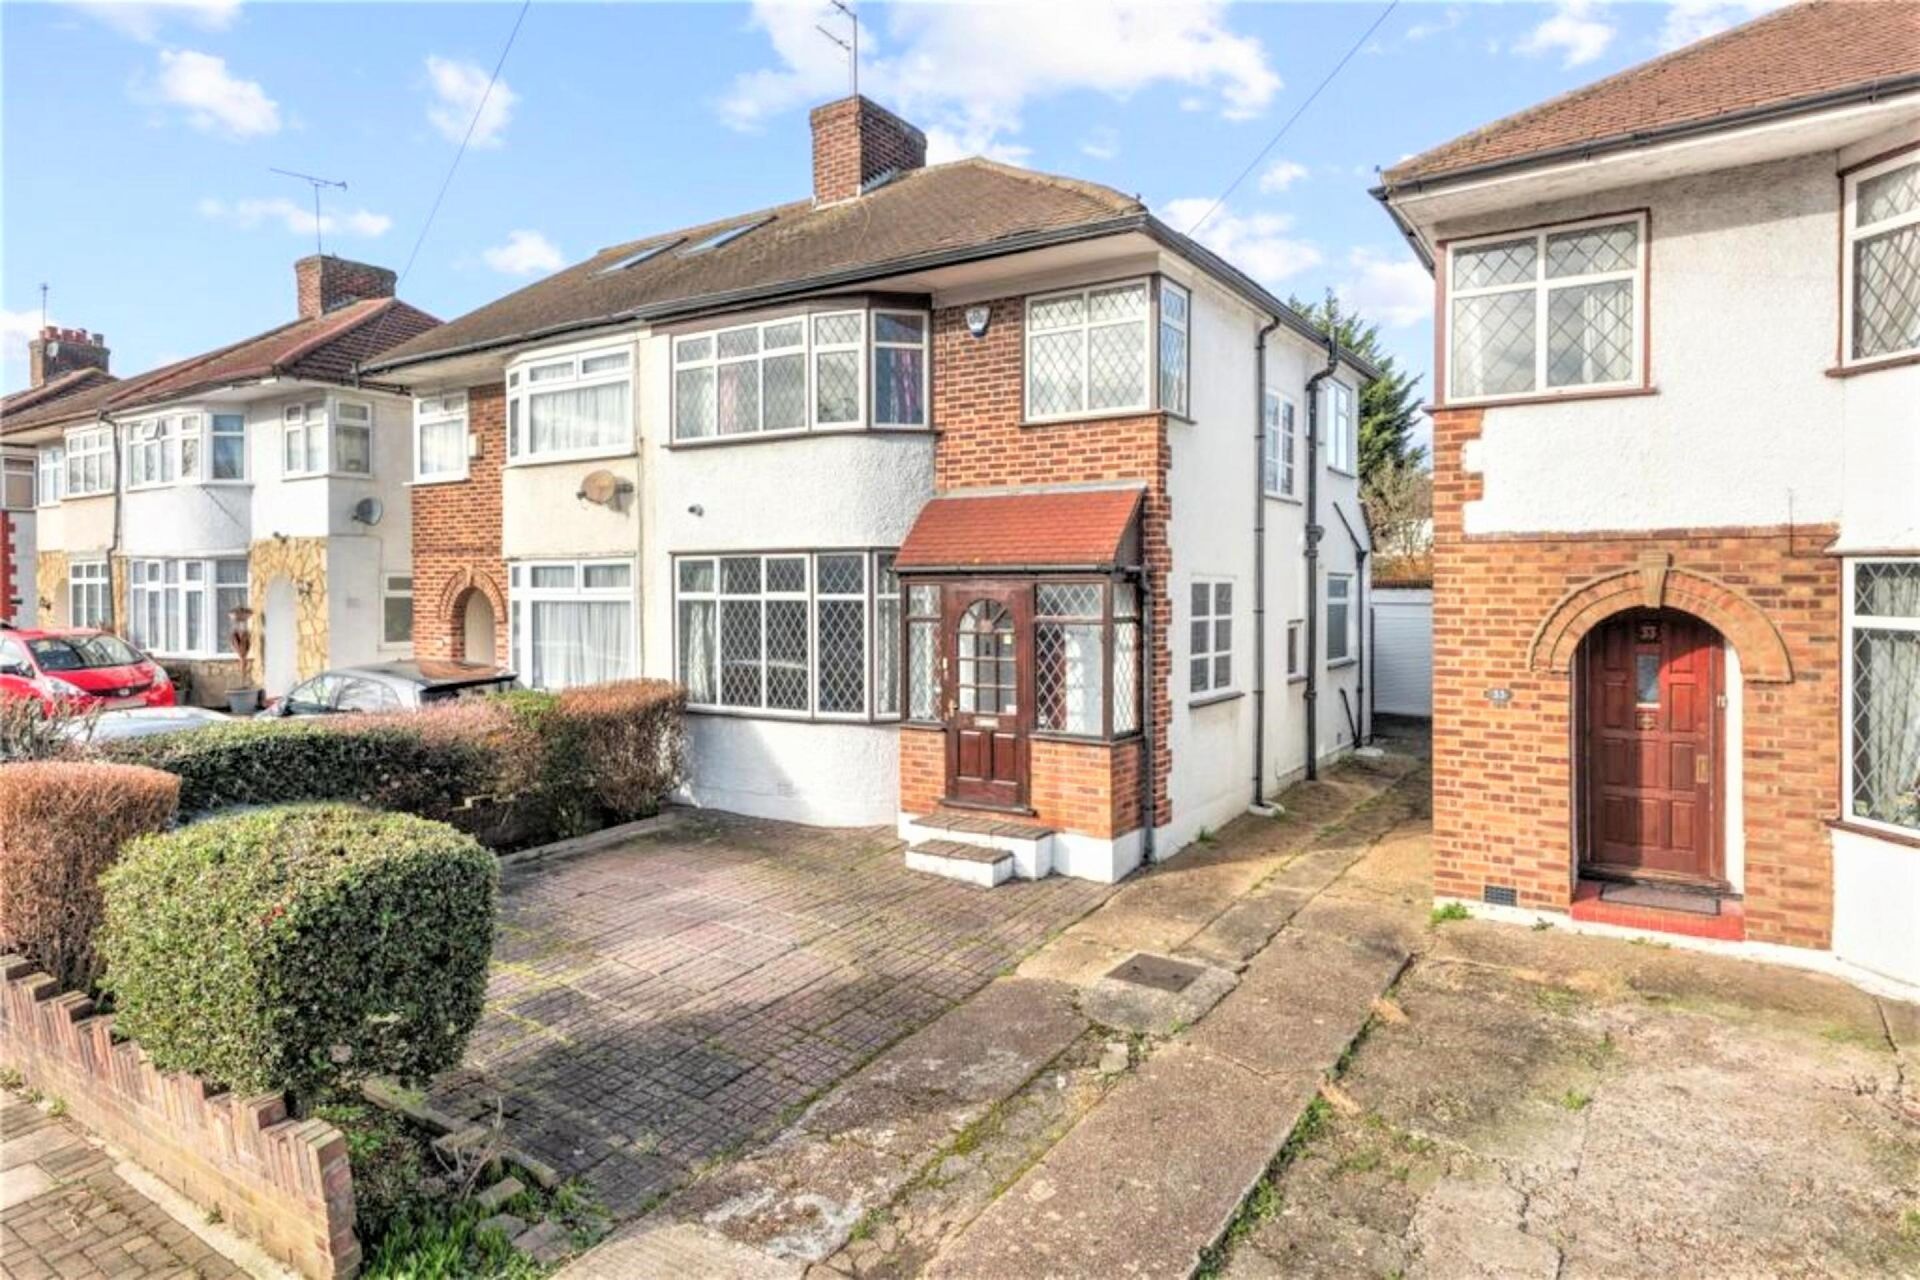
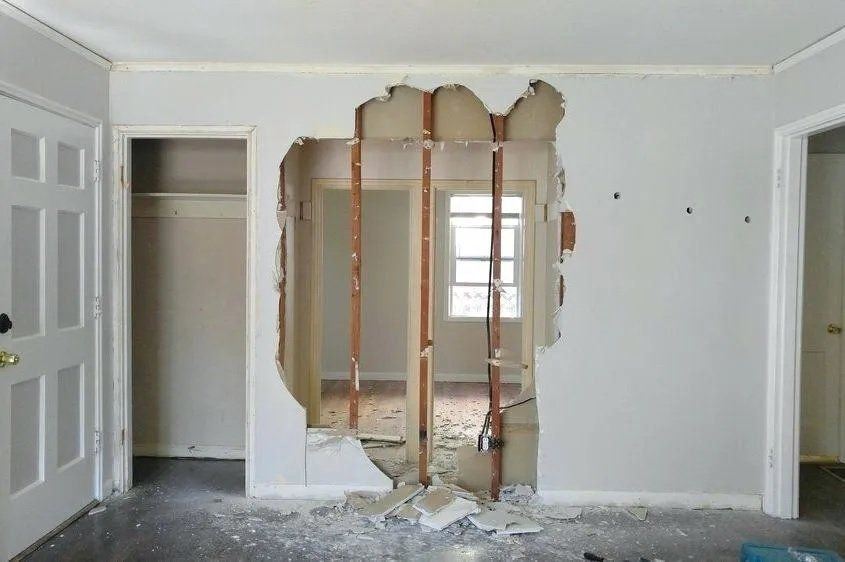
We were contacted by a property developer who was converting an existing house into two separate apartments.
He is looking to improve the current timber joisted floor / ceiling to comply with Part E Building regulations which are designed to give a good level of peace and quiet between properties.
After initial investigation we were informed that the current build-up is Lath and Plaster on the ceiling below, no insulation between the timber joists which are 200mm deep and the floor above is the original Victorian floorboards.

This information allows us to estimate how well the current build-up performs, and a standard result for this would be 78dB for Impact noise and 38dB for Airborne noise. The target figure for Impact noise in a conversion is 63dB or lower and of airborne noise 43dB or higher (please see our separate blog on decibels explained )
This means we must reduce the Impact performance by 15dB and improve the Airborne performance by 5dB as minimum. However, at The Soundproofing Store we always aim to exceed the building regulations by several dB as every structure performs slightly differently (I.E different types and density of wood floorboards will always perform differently and different types of timber joists will perform differently depending on the type of wood, spacings of the joists and finally the depth of the joists. Even the lath and plaster ceiling can have different thicknesses).
To soundproof this floor, we need to build in a dampening system for impact and vibration noise and add mass to block airborne noise.
- Improve the mass of the floor - This is normally achieved by adding high mass/density products.
- Improve the ability of the floor to absorb sound energy and vibration (footsteps). Without this, the addition of the mass will have very little effect on impact noise.
- Use acoustic insulation between the timber joists to eliminate sound resonating and amplifying in this sealed chamber.
- Use different materials of high mass. Different materials perform better for different sound frequencies so using a combination of high mass materials will perform better than simply using more of the same material.
In this scenario we have to specify a ceiling and floor solution due to the initial very low performance for impact noise.
Stage one is to use an acoustic mineral wool between the timber joists
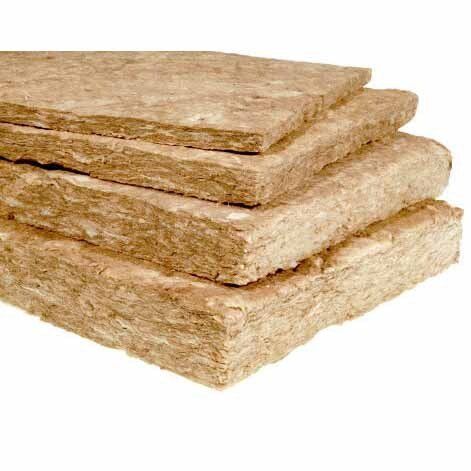
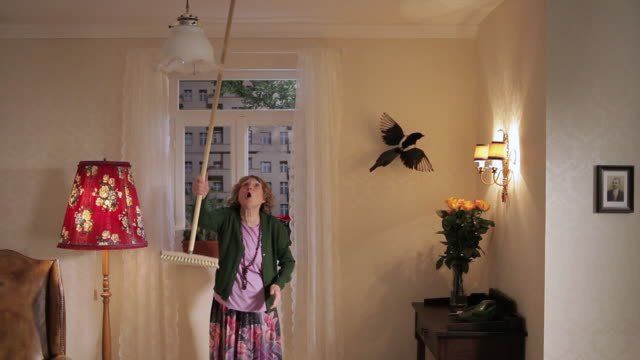
Acoustic mineral wool is not a sound blocking material but a sound absorption material. This is because between the ceiling below and the floor above is what we call a sealed chamber, and if noise gets into this sealed chamber it will always resonate and amplify. This is what we call the drum effect. (Think about hearing a bunch of children running around on the floor above and how this can sound like a heard of elephants below).
- So how does mineral wool prevent this? Acoustic mineral wool is made from spun rock and has millions of small cavities, and when sound enters these cavities it is dissipated and turned into heat. (Think about shouting into a pillow).
- What depth of mineral wool do I need? We normally recommend 100mm thick mineral wool for timber joists which are up to 250mm deep. If deeper, we would recommend a second layer of mineral wool.
- What density of mineral wool should I use? We normally recommend mineral wool with a mass of 60kg per meter squared. This gives us the best performance and value for money. We do not want the mineral wool to be of a very low density like thermal insulation as sound will pass through it relatively easily, and on the flip side we don’t want it to be too dense as it would then just reflect the noise and not absorb it.
- Do I need to fill the whole cavity? The short answer is no we just need to get enough insulation between the joist to stop sound echoing and reverberating and filling the whole cavity only adds a small benefit.
The next stage is to select the best Soundproofing solution for the floor
Now, at this point we will look in detail at five of our best selling floor soundproofing products that are tried and tested to offer excellent levels of floor soundproofing, and discuss the benefits and drawbacks of each system.
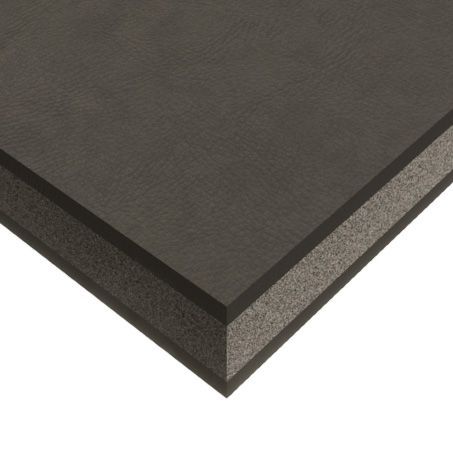

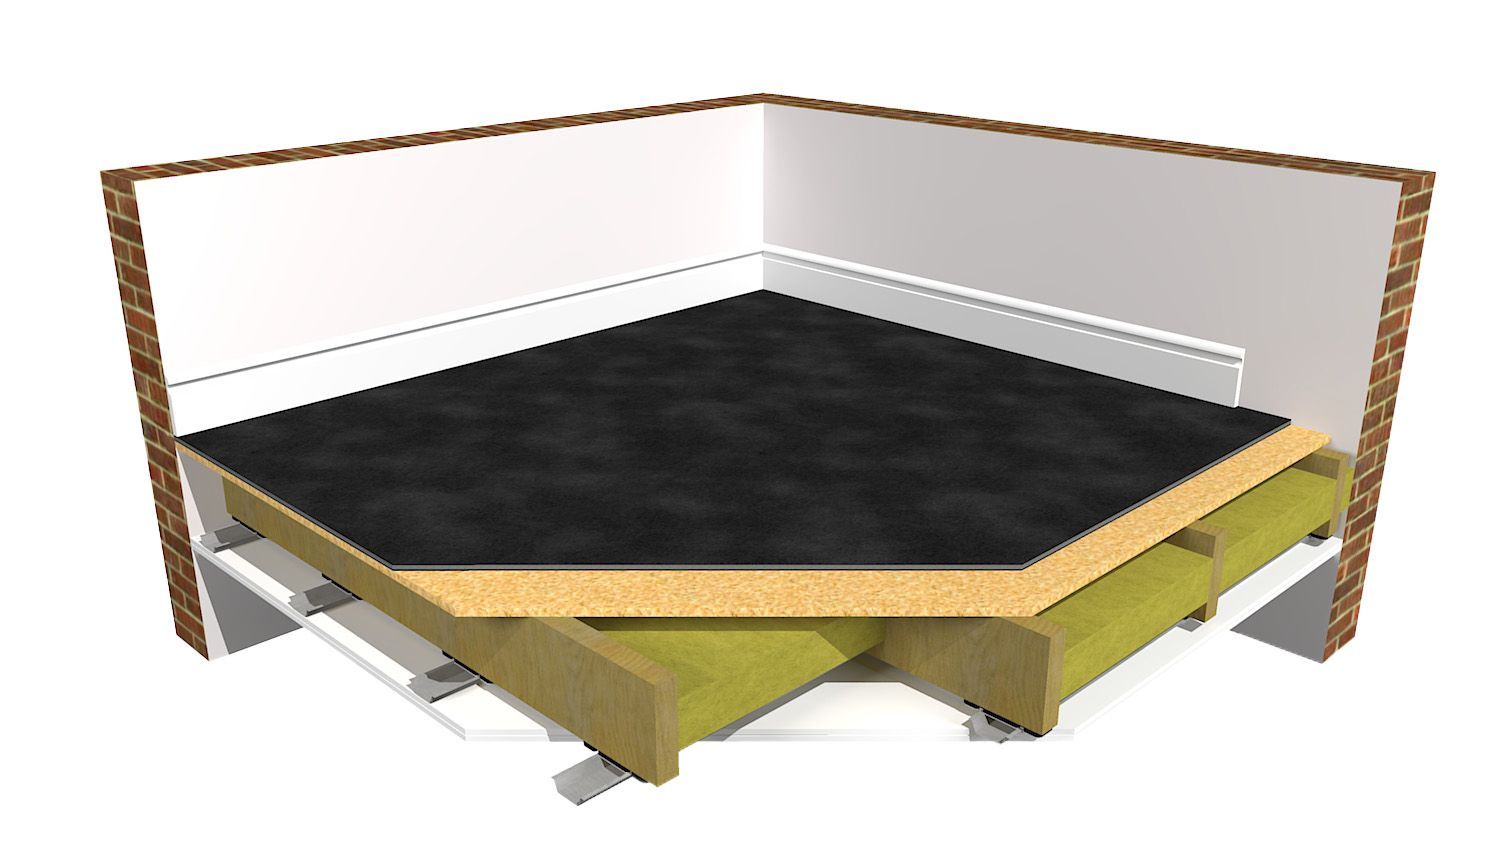
Option 1: Is our most popular tried and tested method, and this is to use our 15mm overlay SoundMat™ 3 plus system.
This matting is simply laid on top of the current base floor and can meet building regulations without mineral wool between joists and a lath and plaster (or double plasterboard) on the ceiling below. However, this is what we call a borderline pass for airborne noise and a good pass for impact noise. To achieve a higher level of airborne noise protection and to guarantee a pass, we would normally either add a single layer of 15mm acoustic grade plasterboard to the lathe and plaster ceiling below, or remove the lathe and plaster and add resilient bars and two layers of acoustic 15mm plasterboards. (Which will also meet the fire regulations for the burn time between the two properties).
Advantages of the SoundMat™ 3 Plus system:
- The only system which may not need any insulation between joists or additional soundproofing on the ceiling below
- Thin 15mm solution so you are not raising your floor hight too much
- Would act as a luxury carpet underlay (so no need for carpet underlay)
- Can be easily installed buy a good DIYer or basic tradesperson
- The foam layer is made from a closed cell foam so will not absorb water in case of water damage in the future
- Offers the highest impact reduction of all and the system has a very high airborne noise performance
- Can be easily upgraded, either on the floor above or on the ceiling below
Disadvantages of the SoundMat™ 3 Plus system:
- Different final floor finishes may need different treatments (I.E a solid board fixed on top of the mats may be needed for some types of hard final floor finish) See the installation guide for more info.
- Can be a relatively expensive solution for large areas
SoundMat 3 Plus Floor Soundproofing Solution
How to install SoundMat 3 Plus
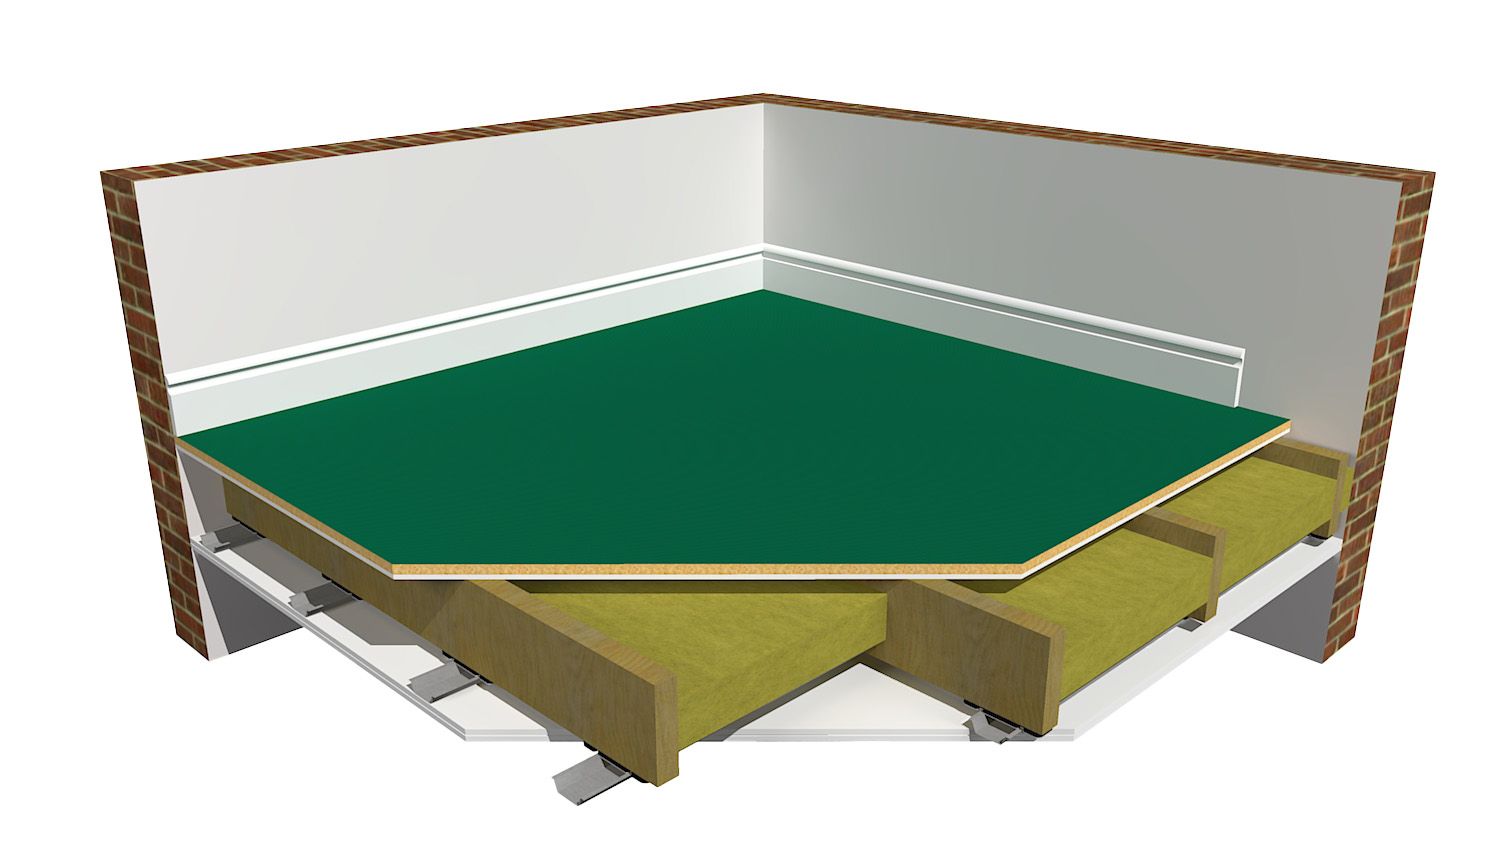
Option 2: To use our Reverso SoundMat™ this acoustic flooring solution is simply added on top of the existing base floor. Soft side up for soft final floor finishes, such as carpet and hard side up for laminates, wood, vinyl and tiles. The beauty of the Reverso SoundMat is that no overboarding layer is needed for most laminate, wood and vinyl finishes.
Soft side up, with resilient bars and two layers of acoustic plasterboard on the ceiling below and 100mm 60kg acoustic mineral wool between the joists. Airborne noise 54dB and impact noise 42dB (Exceeds Part E Building Regulations.
Hard side up, also with resilient bars, two layers of acoustic plasterboard on the ceiling below and 100mm 60kg acoustic mineral wool between the floor joists. Airborne noise 54dB and Impact noise 51dB (Exceeds Part E Building Regulations).
Advantages of the Reverso SoundMat 18mm system:
- Reversible, suitable for hard or soft floor finishes
- Acts as a premium carpet underlay
- No over boarding layer is needed for most hard floors, such as laminates, wood and vinyl. (For tiles, a thicker stabilising board may be needed for certain types of tiles and a levelling / smoothing compound might be required for certain LVT and vinyl)
- Unique, dual purpose means hard or soft floor finishes are at the exact same height
- Only 18mm thick, meaning minimal build up of original flooring height
- Exceeds Part E Building Regulations (when used as the system described above)
- Ideal for loud levels of impact and airborne noise
- Simple direct to floor installation (no adhesive required)
- Can be taken up, reversed and reused if tastes change with regards to soft or hard floor final finishes in the future
Disadvantages of the Reverso SoundMat floor soundproofing:
- SoundMat 3 Plus would be a more cost effective option for a carpet final floor finish

Reverso SoundMat™ Product Overview
How to install the Reverso SoundMat
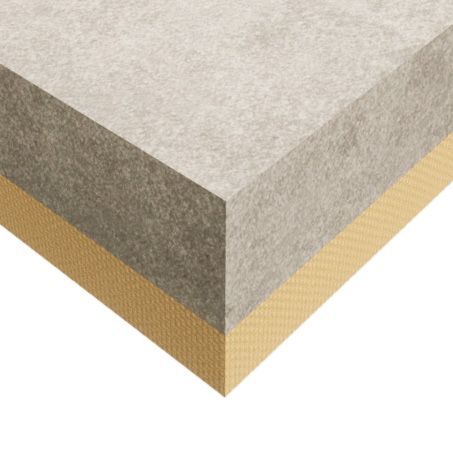
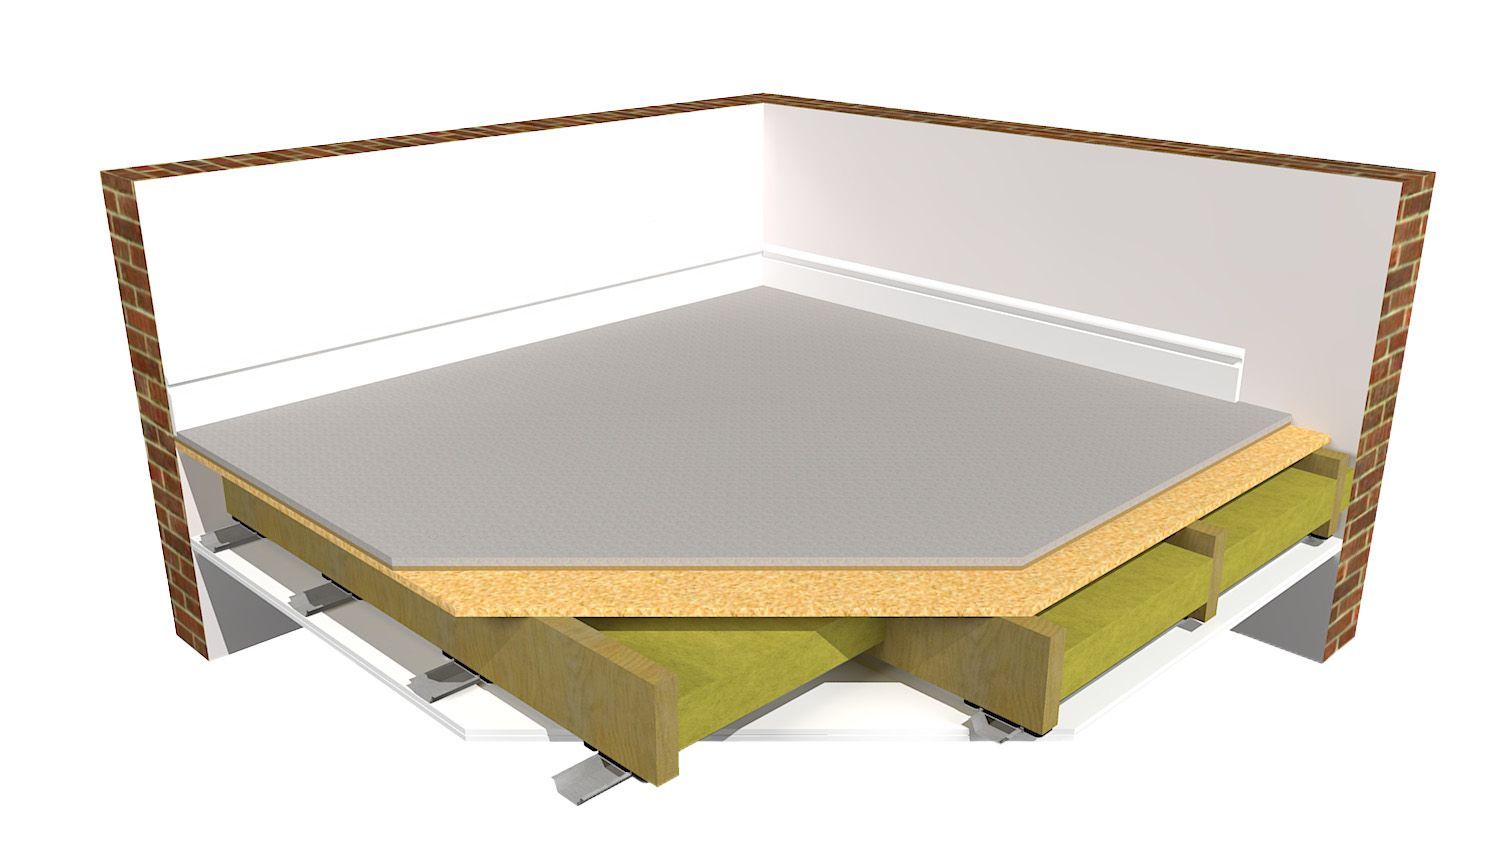
Option 3: Is our overlay ProSound™ SoundScreed 28mm system, originally designed as a fast and efficient alternative to poured screed. The high mass and density makes it perfect for soundproofing and blocking excessive levels of airborne noise. Easily installed on top of the existing base floor and fixed together with half tongue and groove edges and joint adhesive. SoundScreed 28 has a much higher amount of mass, so performance for airborne noise is higher than the above SoundMat 3 Plus and Reverso SoundMat, but with a lower performance for impact noise. (60db for airborne noise and 58dB for impact noise).
Advantages of the SoundScreed 28mm system floor soundproofing:
- Offers a much higher level of airborne noise of 60dB reduction
- Meets the higher level of soundproofing needed in Scotland (54dB airborne and 58db for impact noise)
- Suitable for all final floor finishes including tiles
- Can be installed by any general tradesperson
- Can be used above under floor heating due to it's high thermal conductivity.
Disadvantages of the SoundScreed 28mm floor soundproofing:
- Can be a relatively expensive option in comparison to other systems
- The ScreedDeck may need priming for certain floor finishes
- Can raise the final floor height considerably
- May need priming for certain floor finishes
SoundScreed 28 Product Overview
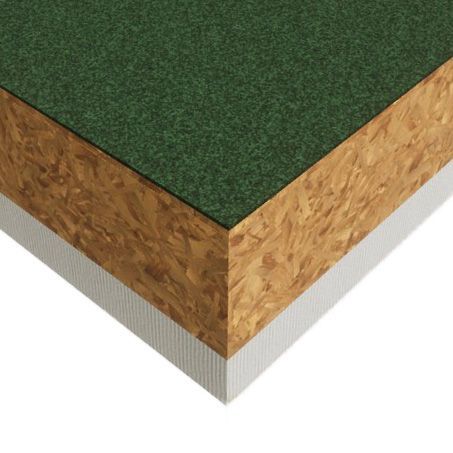
Option 4: Is our Direct to Joist ProSound™ SoundDeck 32mm This system is designed to be fitted direct to the timber joists without the need for a standard 18mm to 22mm T&G sub floor, and fixed together with the tongue and groove edges and wood joint adhesive. However, to achieve a good level of impact noise you will also need to add mineral wool between the joists and a resilient bar to the bottom of the timber joists with two layers of acoustic plasterboard. This system is also a borderline pass for airborne noise. Airborne Noise: 43dB, Impact Noise: 52dB
Advantages of the Direct to Joist SoundDeck 32mm:
- Ideal for timber floor refurbishment projects
- Suitable for all floor finishes, including laminates, wood, vinyl and tiles
- Tongue and groove edge for fast and easy installation
- Commonly used directly to joists as an upgrade floor replacement or as an overlay board on top of existing floorboards
Disadvantages of the SoundDeck 32mm:
- Relatively higher cost for the decking
- Must be used with a 100mm acoustic mineral wool and a resilient bar system, with two layers of acoustic plasterboard on the ceiling below
- These are large sheets so clear access is needed
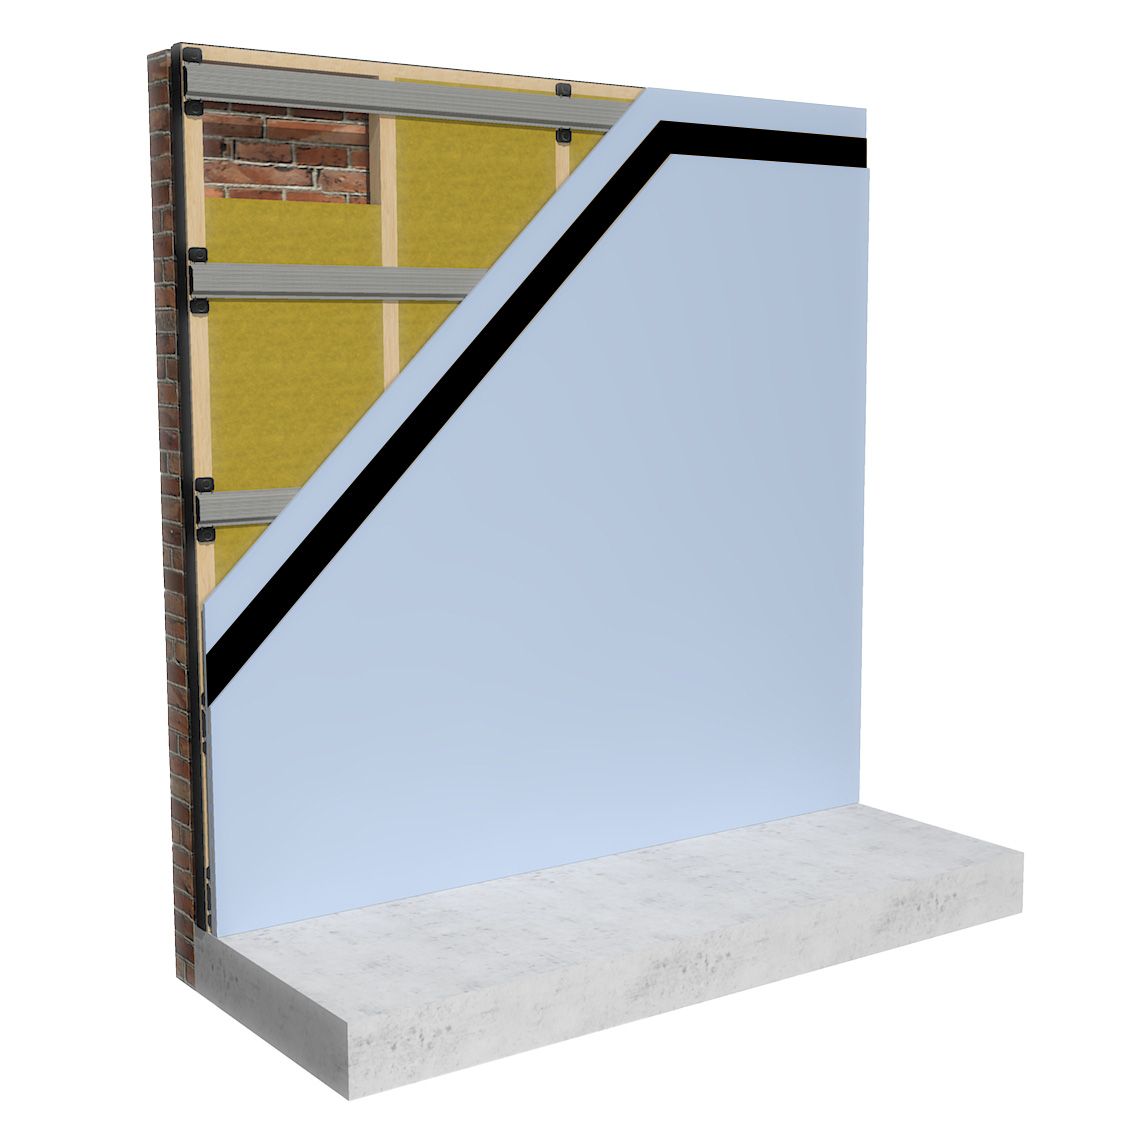
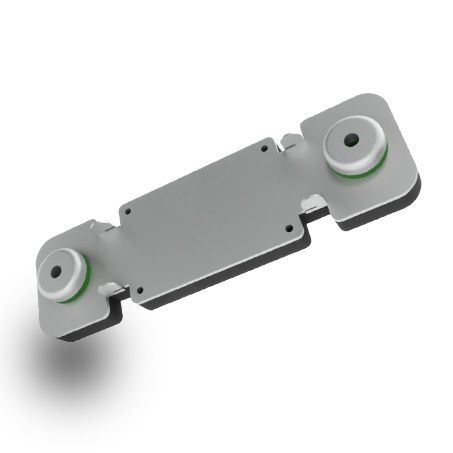
Option 5: Is our ReductoClip™ ceiling system This is our preferred solution when soundproofing can only be added to the ceiling below for different reasons. This involves removing the current ceiling, inserting 100mm acoustic mineral wool, attaching our high performing ReductoClips at appropriate spacings to the bottom of the timber joists, inserting a long furring bar into the clips and attaching two layers of 15mm acoustic plasterboard. A specialist material called Tecsound SY100 is installed between the two plasterboards.
The clips and bars are highly effective at absorbing impact and sound vibration and the two boards and Tecsound add a great deal of mass for blocking airborne noise.
Advantages of the ReductoClip™ ceiling system:
- Ideal for when soundproofing can only be added to the ceiling below
- Good performance for Impact and Airborne noise
- Thinnest ceiling system on the market and only takes up 60mm from the bottom of the timber joists
Disadvantages of the ReductoClip™ ceiling system
- An acoustic matting may still be needed on the floor above for solid floors such as laminate, vinyl, tiles and hard wood floors
How to install the ReductoClip Ceiling Solution
So going back to our case study, which system did the client select?
The final decision came down to a couple of factors that were important to this customer.
- They did not want to raise the floor height too much, as this the would affect different thresholds within the property (I.E keeping the floor level with the top of the stairs and not wanting to remove and raise the current original skirting boards)
- The majority of the final floor finishes would be carpet
- The ceiling below had to be removed as it was already damaged, so adding soundproofing to the ceiling was not a problem
- The client experienced problems with water damage in previous properties he had renovated and wanted a material that could not be damaged by water
- Finally he wanted a system that exceeded building regulations, not just a bare minimum pass. He had previous experience of tenants who were very susceptible to noise and had complained about noise between the properties, when the minimum standard had been used previously.
So the final solution selected was the thin 15mm SoundMat™ 3 Plus system, with acoustic mineral wool between the joists and a resilient bar system and two layers of acoustic plasterboard on the ceiling below. (This also met the fire regulation for the burn time between properties).
This system exceeded building regulations:
- For Impact noise 42dB
- For Airborne noise 57dB
(Remember a 10dB improvement is perceived as a halving of the noise)
Some Top Tips for getting the best soundproofing results
- Soundproofing is like waterproofing so sealing any small gaps will give you the best results. I.E imagine winding down the window in your car just a small amount at the top and you can hear everything outside very clearly. Close that small gap and everything becomes much quieter
- Seal between old floorboards with acoustic sealant if any gaps have appeared over time
- Some old floorboards warp and bend over time, so if your floor is not flat and level, the recommendation is a layer of hardboard on the base floor first to give you a flat stable base
- The harder the final floor finish, the lower the final performance for impact noise will be. (All floors are tested without the final floor finish in place) I.E an 18mm engineered wood flooring as a final floor finish will reduce the impact performance of the soundproofing by 4-5dB
- Some Metal Posi Joists perform lower for impact noise, compared to tradition timber joists (Up to 4-5 dB lower)
- If you are planning on adding underfloor heating, this should always go on top of the soundproofing, as sound is an energy and so is heat, therefore we do not want to reduce the performance of the underfloor heating. (Some types of underfloor heating need a flat stable base so check with the manufacturers recommendations in case you need to add a board on top of the soundproofing)
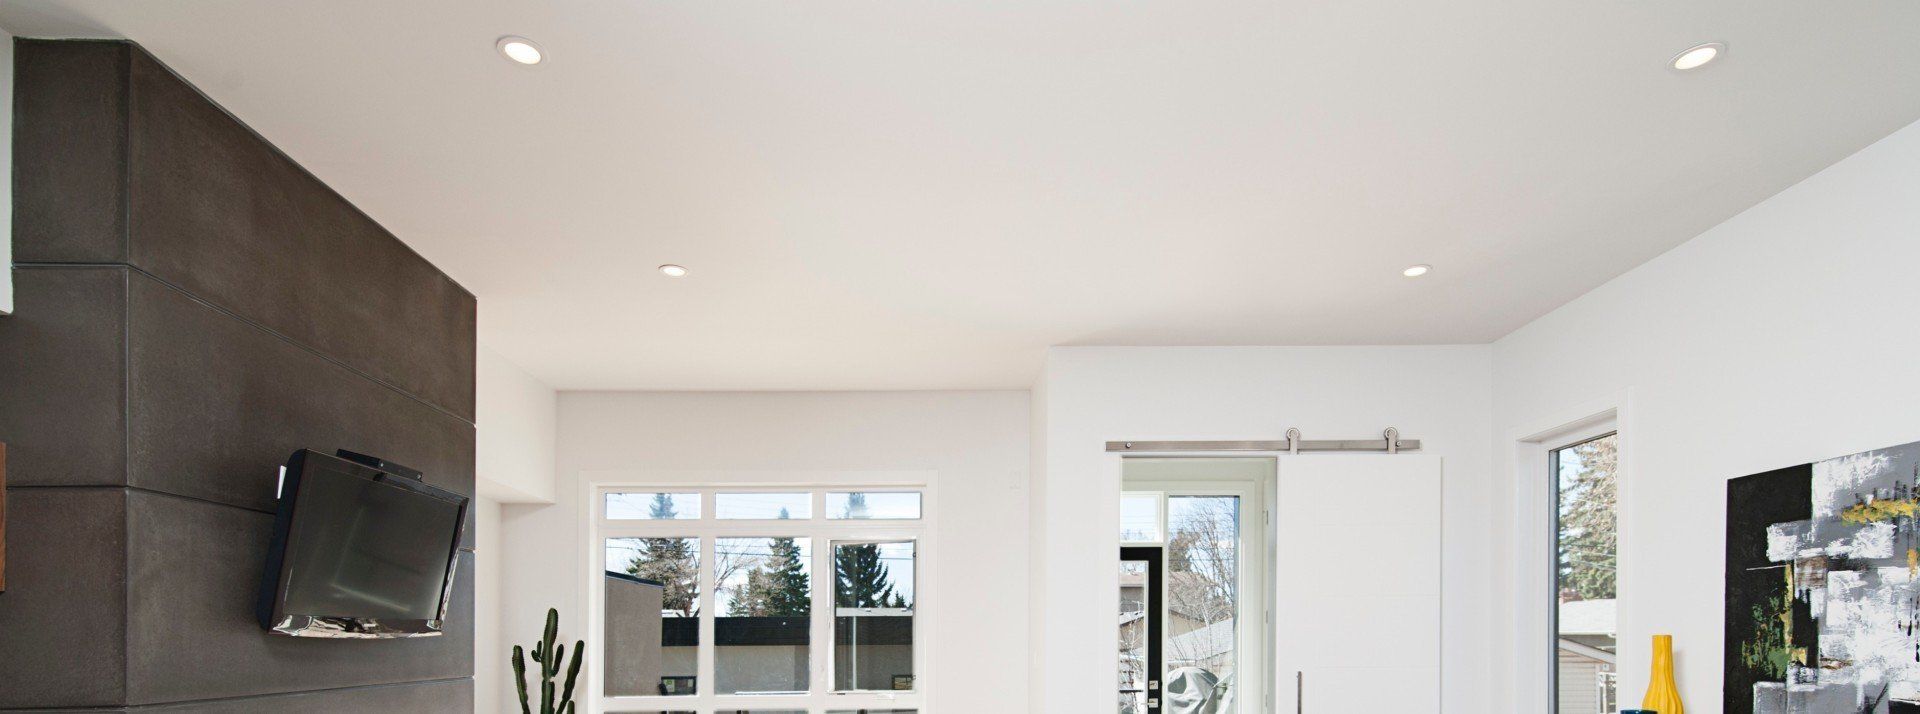
- If you have to have downlighters in the ceiling below (not our favourite things, as any holes will let sound through) please use the new LED fire rated downlighters and get the thinnest possible, as these have the best acoustic ratings. Alternatively, buy surface mounted downlights and seal the small hole where the cable comes through.
Author
Ian Baker is the owner of The Soundproofing Store and a leading name in the soundproofing industry.
With a prestigious track record of award-winning credentials, Ian is a trusted and respected authority in his field.
Ian set up The Soundproofing Store with the aim of helping individuals find effective solutions to their unwanted noise issues. His extensive knowledge and insights have been invaluable in helping to transform noisy environments into peaceful spaces.
Share
"We don’t expect you to become an overnight expert in soundproofing, that’s what we’re here for."