
How to soundproof an existing floor between rooms
Step-by-Step Guide to Soundproofing an Existing Floor Separating Rooms
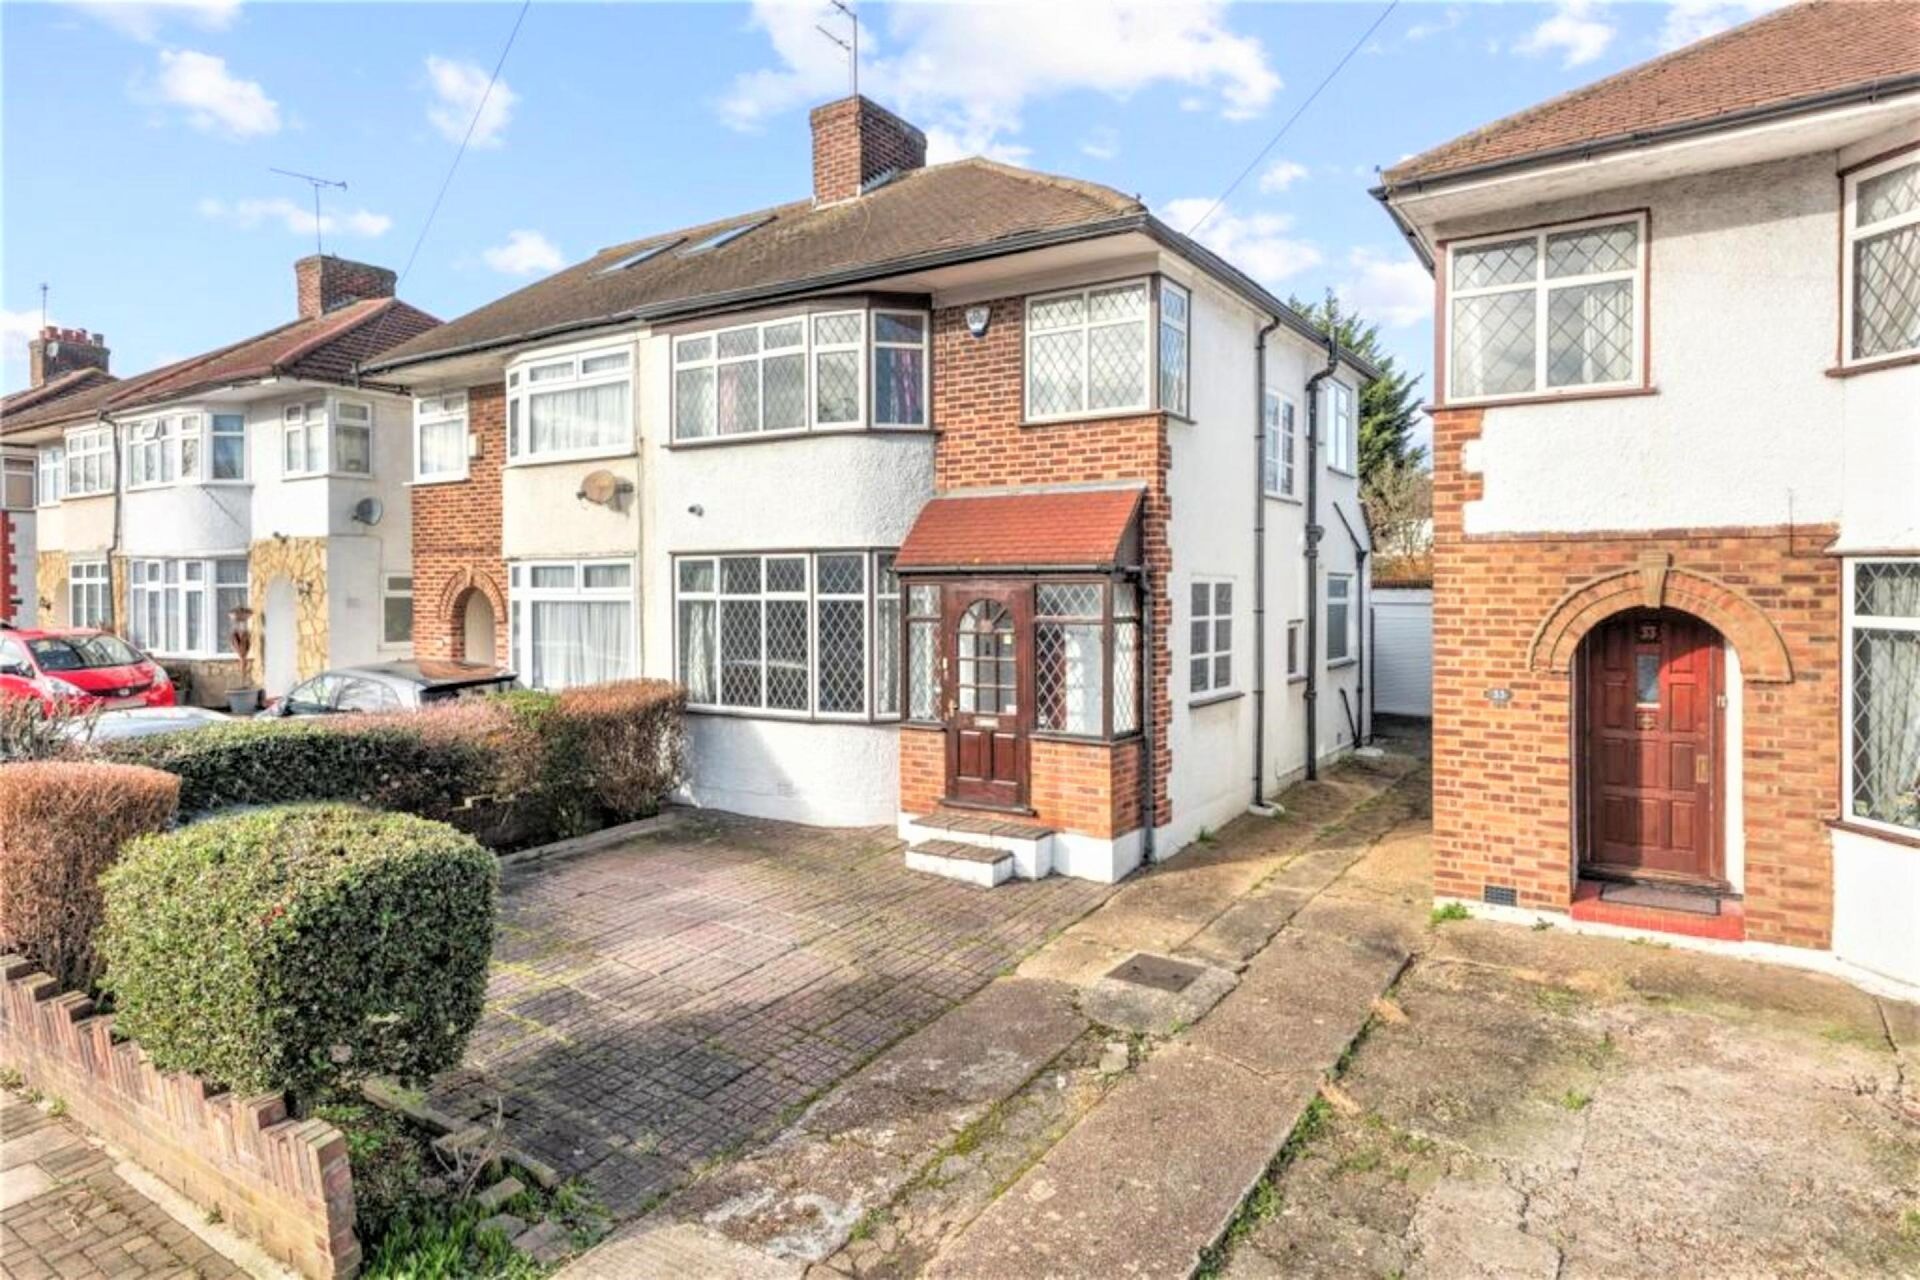
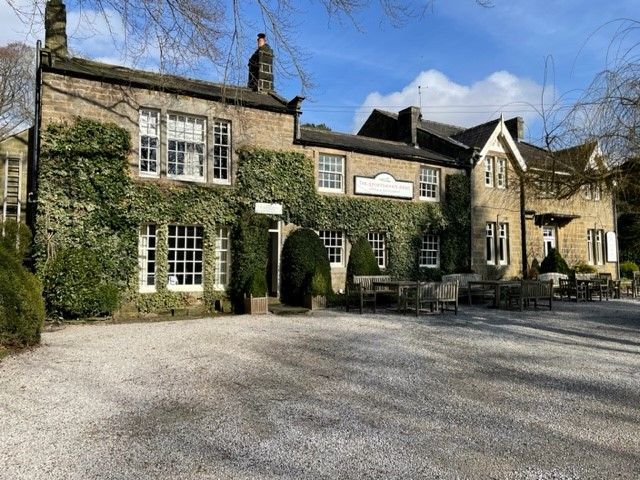
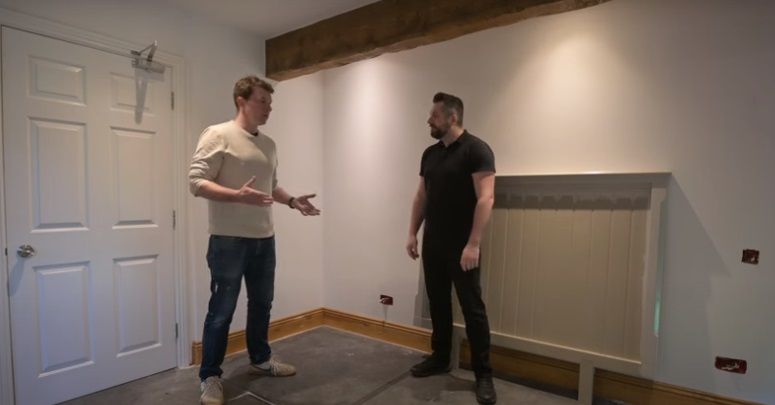
The Soundproofing Store is a multi-award winning soundproofing company selling high performing soundproofing and acoustic solutions. The Soundproofing Store was contacted by Jamie Carter, the owner of The Sportsman's Arms, a hotel and restaurant nestled in picturesque Nidderdale, North Yorkshire.
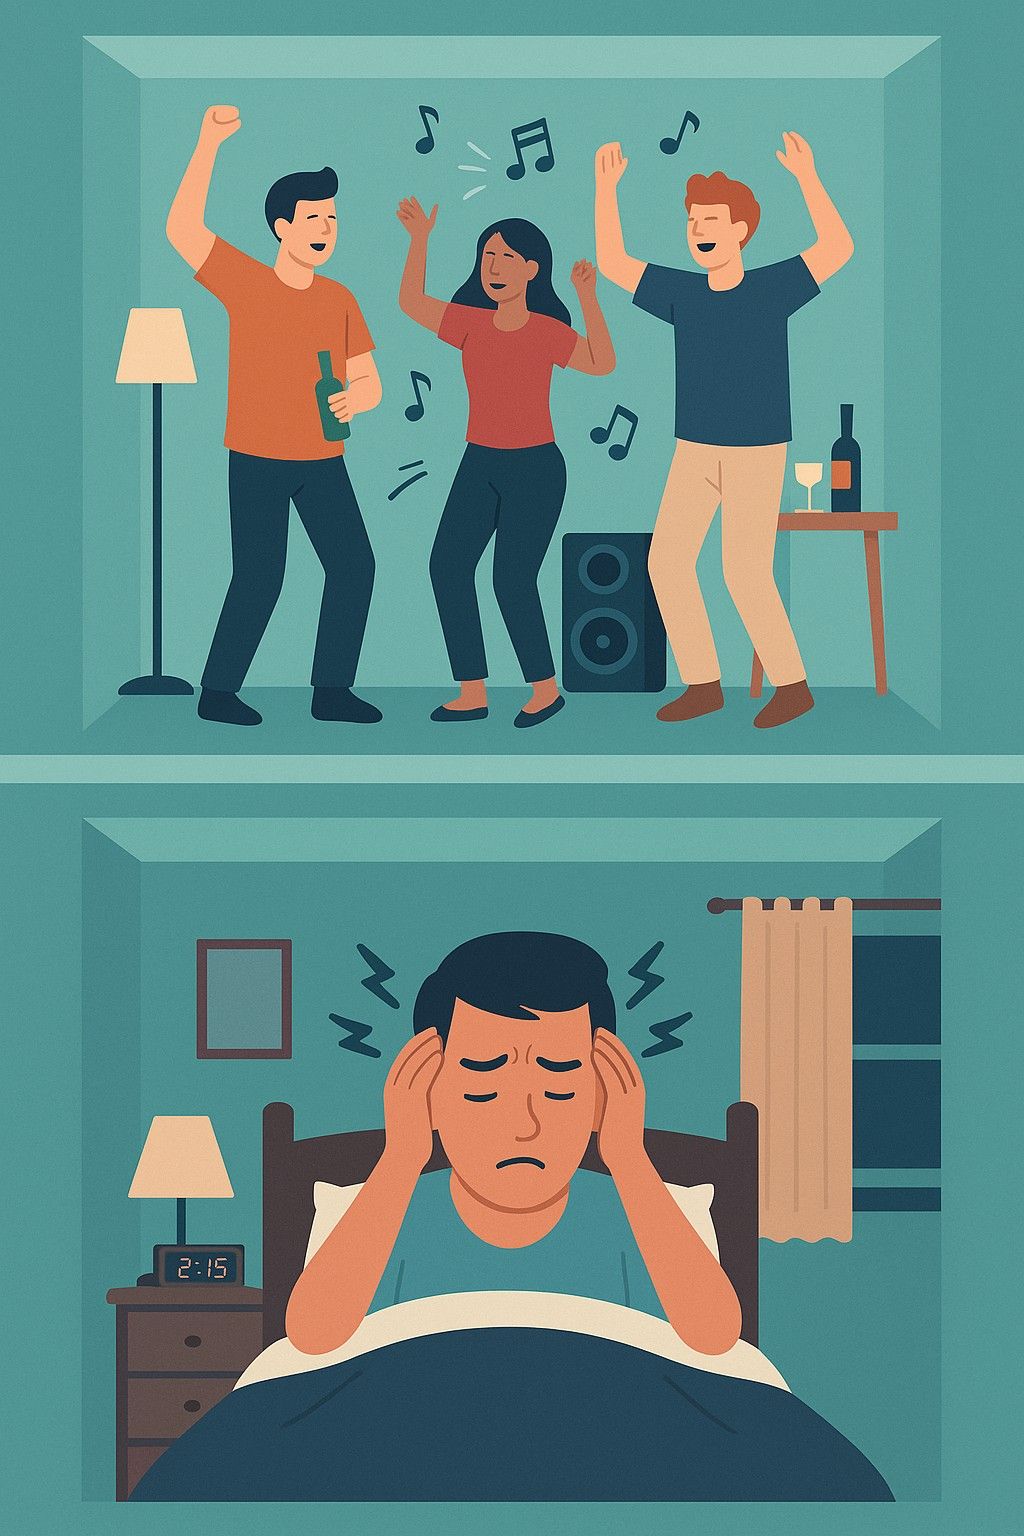
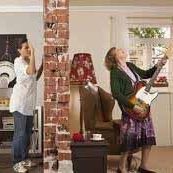
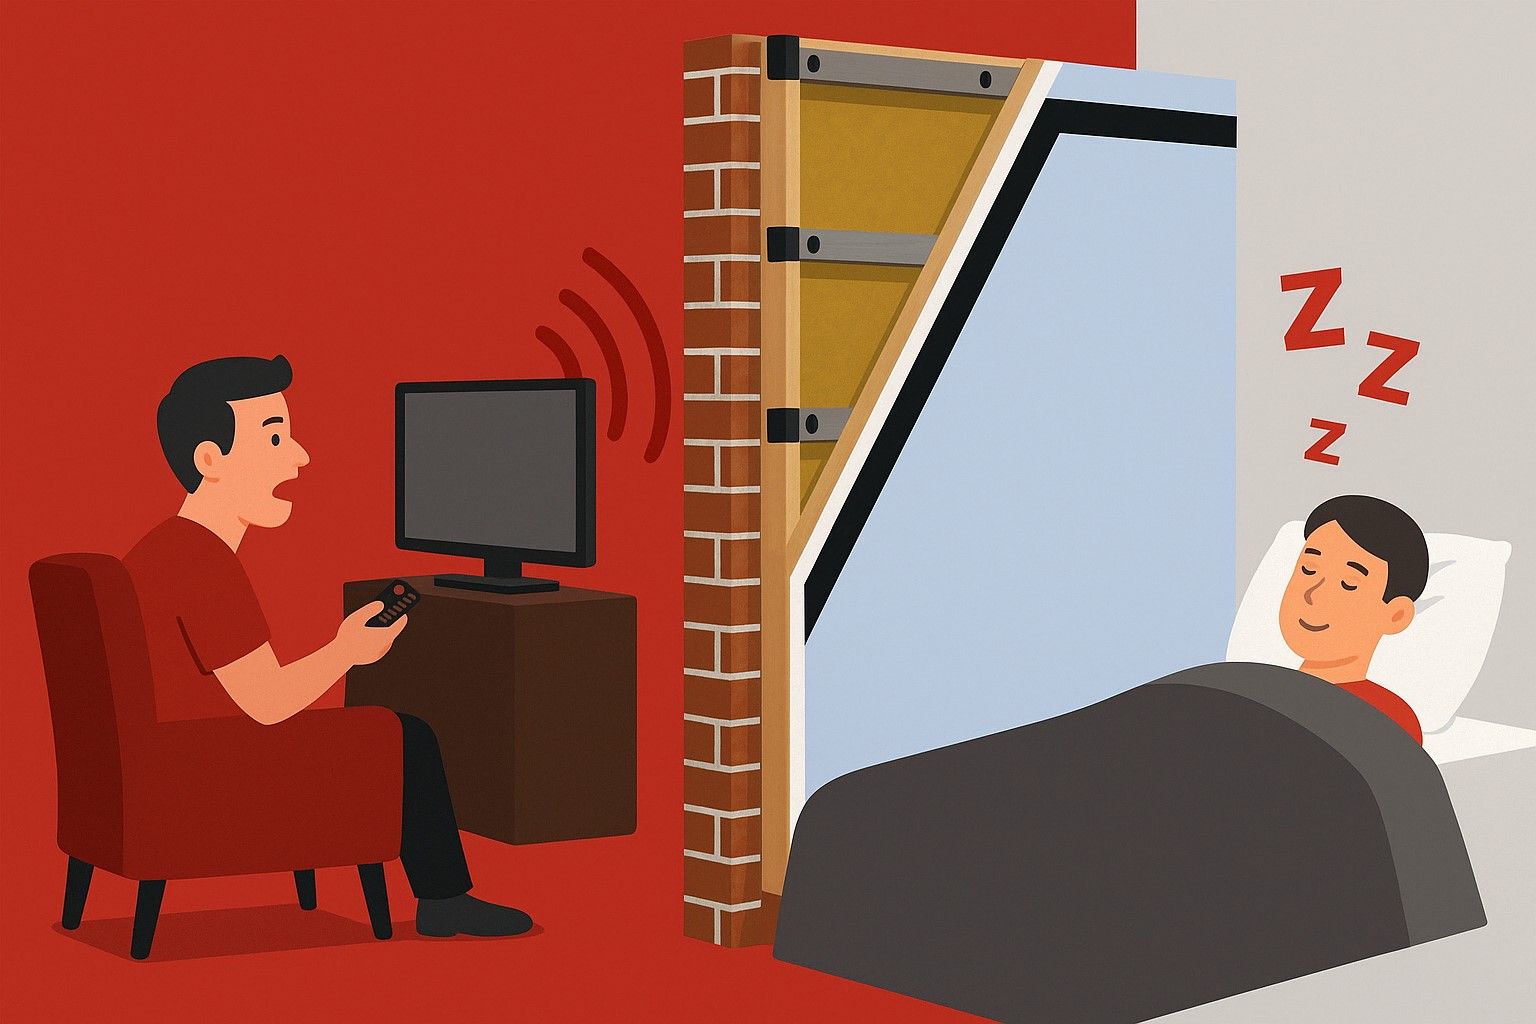
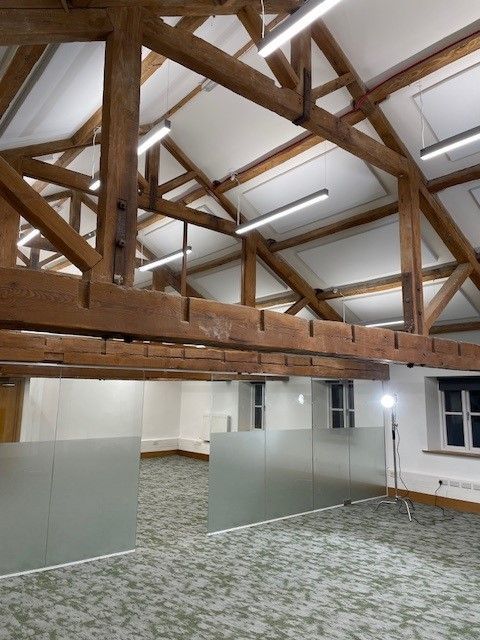
Jamie explained that there was a converted barn next door to The Sportsman's with three separate bedrooms for residents. Two rooms upstairs and one room directly below one of the upstairs rooms. Jamie went on to explain that he was looking for a soundproofing solution to minimise the impact noise (mainly footsteps) travelling from the room above into the room below and airborne noise (voices and TV noise) travelling between both rooms.
This step-by-step guide highlights the SoundMat 3 Plus floor solution which was used to combat the unwanted impact and airborne noise, along with the full DIY installation process and results.
How to soundproof a floor separating rooms with SoundMat 3 Plus
Case Study: Soundproofing an Existing Floor
Project Overview
Client: Jamie Carter, owner of The Sportsman's Arms, a highly acclaimed hotel and restaurant
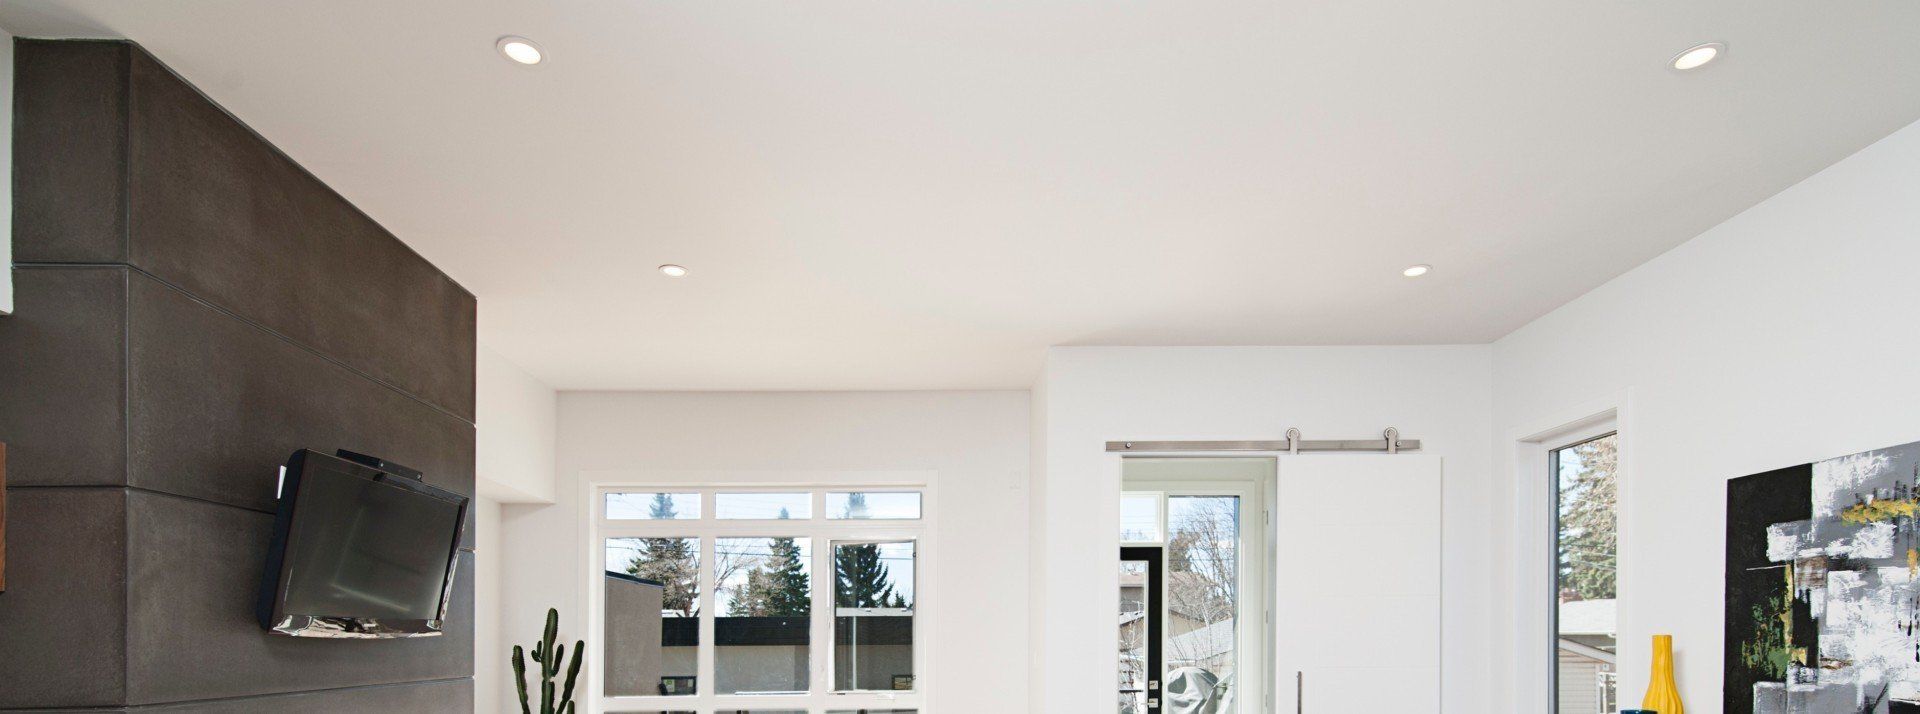
Rooms: Floor separating guest bedrooms
Objective: Reduce noise transmission between two bedrooms, targeting both impact and airborne noise
The best way to soundproof a floor separating bedrooms
Identify the type of noise
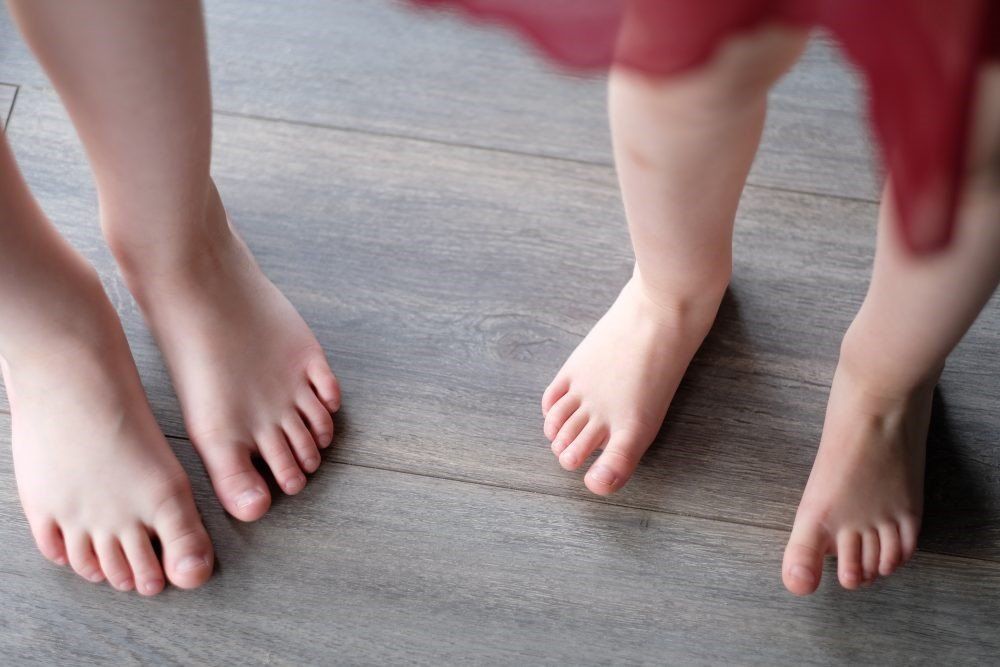
Determine whether you need to address impact noise (footsteps, moving furniture) or airborne noise (voices, music). This will help you select the appropriate soundproofing materials and methods.
Final Flooring
Different floor soundproofing solutions are better suited for different types of final floor finishes. When choosing the most suitable option, consider not only the noise you want to block but also the type of final floor finish you plan to use.
Acoustic Insulation
Add acoustic insulation between floor joists prior to installing the floor soundproofing. The bedroom at The Sportsman's Arms hotel already had acoustic insulation within the joists, so no acoustic mineral wool was needed to be added in this instance.
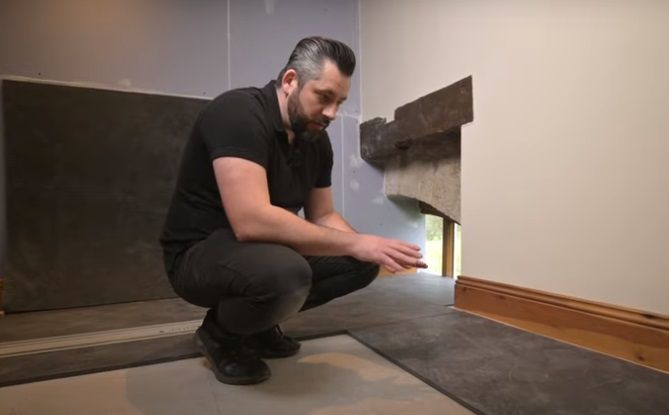
Preparation
Clear the room of all furniture and existing floor coverings (in this instance carpet).
Sealing Gaps and Cracks
Identify and seal all gaps and cracks in the subfloor using an acoustic sealant, which will help prevent sound leakage.
Perimeter Edging
Add carpet gripper rod risers around the perimeter for carpet final floor finishes.
Soundproof Solution
Choose the most effective soundproofing solution for your individual situation. SoundMat 3 Plus is the most popular soundproofing solution for timber floors and carpet final floor finishes. A high performing direct to floor soundproofing mat, sometimes referred to as an underlay mat.
Seal Edges and Perimeters
Use acoustic sealant to seal the edges where the soundproofing meets the walls, ensuring no sound leakage through these joints.
Final Flooring
The final floor finish of choice is carpet and SoundMat 3 Plus will also act as a luxury carpet underlay.
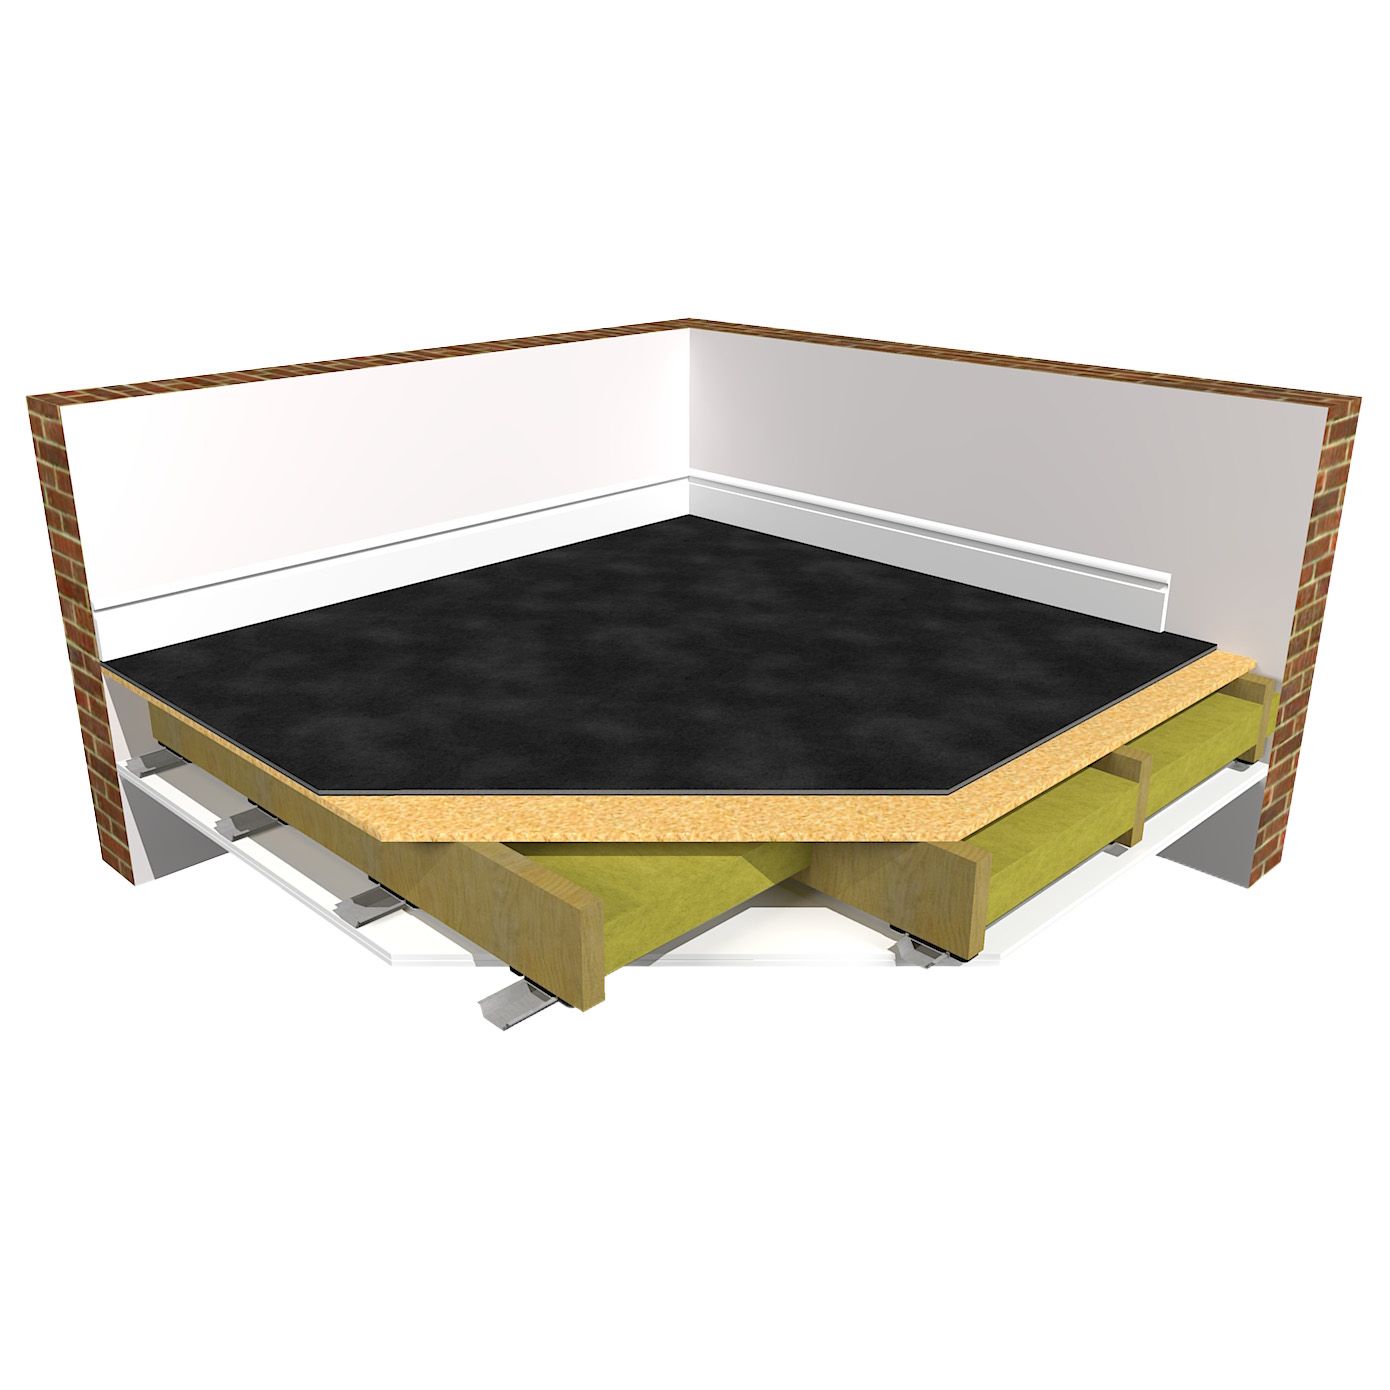
Timber floor soundproofing solution: SoundMat 3 Plus
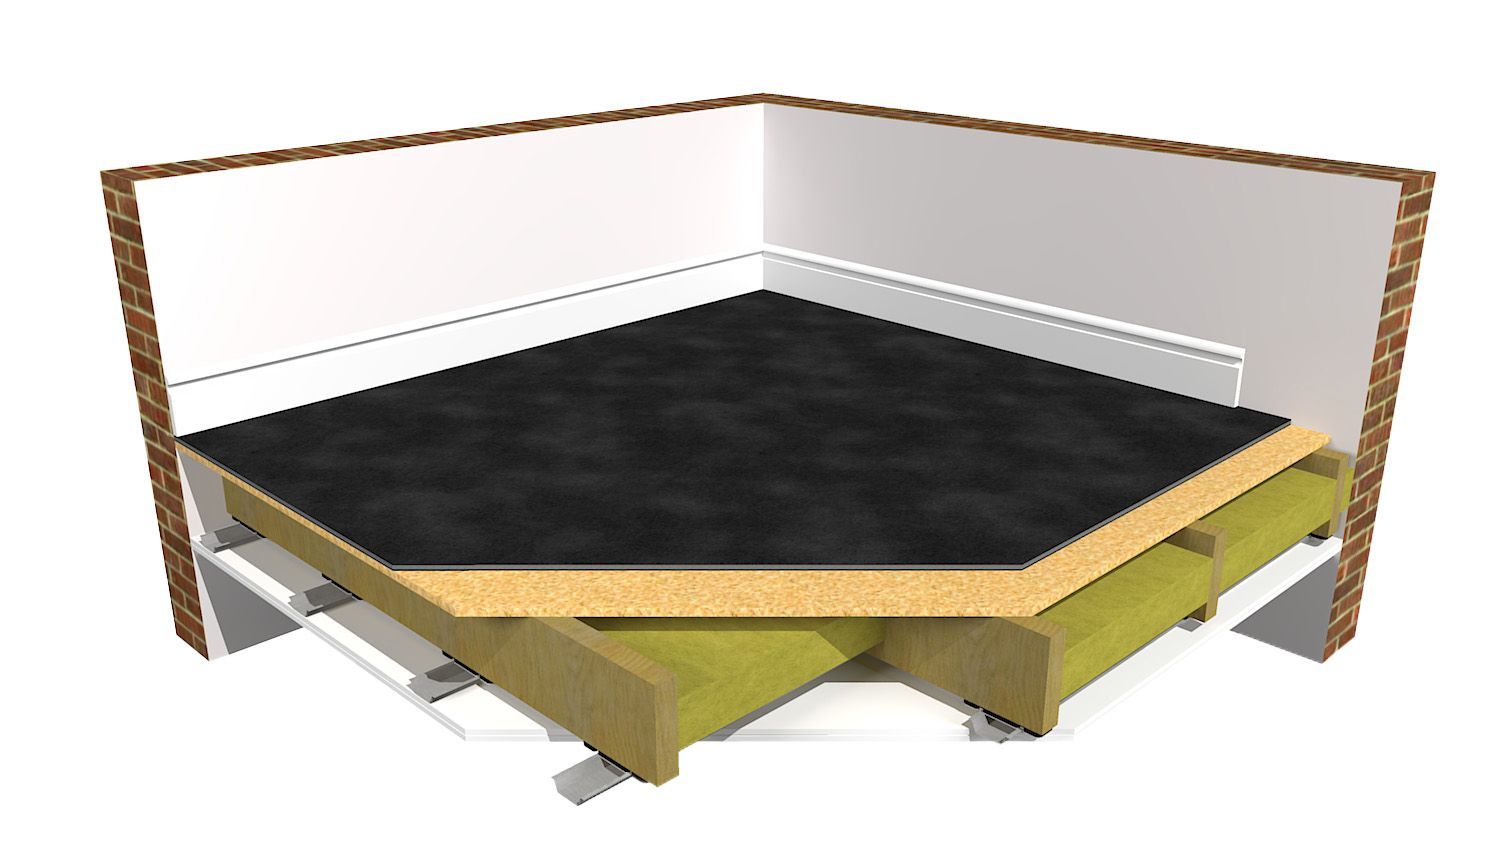
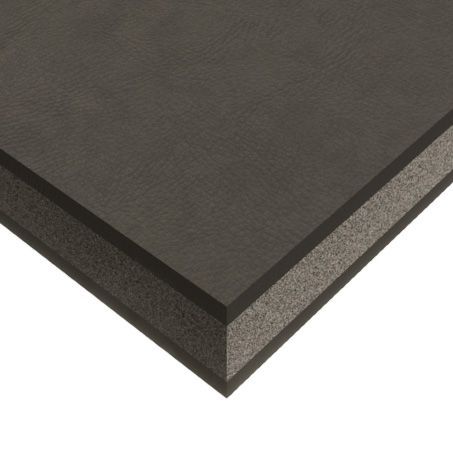
SoundMat 3 Plus is an exceptional soundproofing mat specifically designed to minimise unwanted impact and airborne noise. Ideal for carpeted final floor finishes, this thin (only 15mm thick) and highly effective floor soundproofing significantly enhances the soundproofing capabilities of existing floors and was the perfect choice for the timber floor separating the two bedrooms at The Sportsman's Arms.
SoundMat 3 Plus achieves superior soundproofing results for timber floors

Key Features of SoundMat 3 Plus
- High Performance Soundproofing: The SoundMat 3 Plus significantly reduces unwanted impact and airborne noise
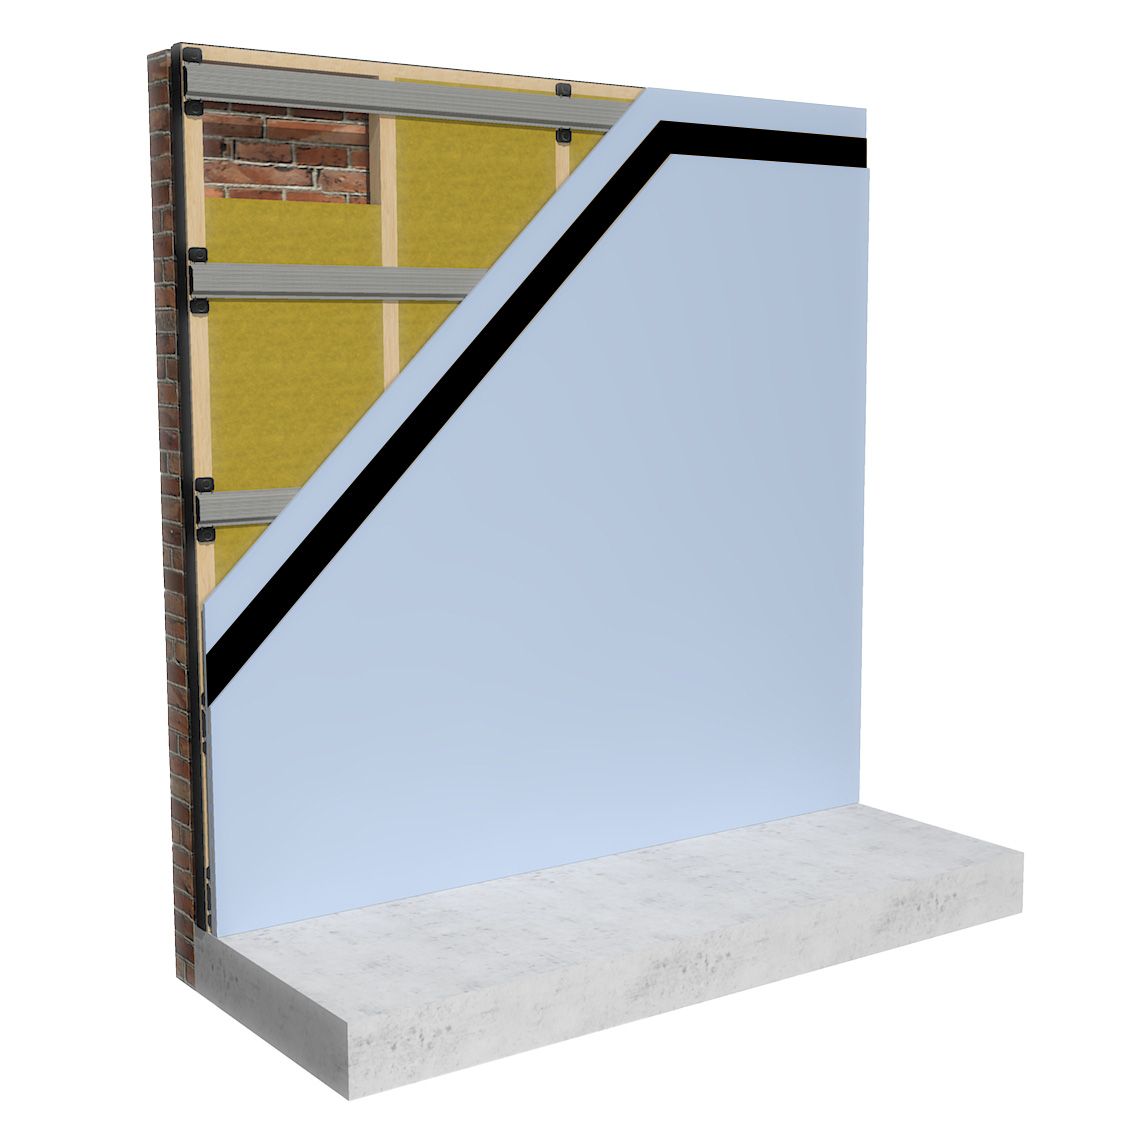
- Clever Layering: Different layers of high mass materials are combined in one easy-to-install product:
- 3mm Mass Loaded Vinyl: Acts as a high-mass acoustic barrier to effectively block airborne noise
- 9mm Closed Cell Foam: Dampens sound energy and vibrations, such as those caused by footsteps
- 3mm Mass Loaded Vinyl: Provides a second layer of high mass to further enhance the blocking of airborne noise
- Slim Design: At only 15mm thick, SoundMat 3 Plus minimises floor height build-up allowing for seamless integration with existing flooring
- Simple Installation: A huge benefit of SoundMat 3 Plus is its simplicity of installation. With no adhesive required, the mat can be easily loose laid, making it a hassle-free soundproofing solution
- Versatile: Suitable for all final floor finishes. For more details, you can explore SoundMat 3 Plus
System components when installing SoundMat 3 Plus
The materials used when installing the SoundMat 3 Plus on a timber floor at The Sportsman's Arms:
SoundMat 3 Plus - High performing floor soundproofing solution to help block impact and airborne noise.
9mm Gripper Rod Soundproofing Riser - Designed for use under standard carpet gripper rods and used with the SoundMat 3 Plus. Risers are constructed with mass-loaded vinyl to enhance soundproofing around the perimeter. Featuring a wooden layer for securely fixing carpet gripper rods and a foam edge to create an airtight seal against the wall.
When used with the 15mm Floor SoundMat 3 Plus system, the gripper rod risers add mass to the perimeter's weak points, blocking airborne noise. Additionally, they raise the carpet gripper rods to the optimal height for gripping the carpet correctly.
Acoustic Sealant (900ml) - A specialist sealant used to fill any small gaps between floorboards prior to laying the SoundMats and also used to seal around the perimeter of the SoundMats. This helps to prevent any air gaps through which sound could travel through.
Jumbo Sealant Applicator Gun for 900ml Tubes - A heavy-duty applicator gun designed to dispense acoustic sealant smoothly and accurately whilst helping to ensure the precise application of sealant along seams and edges.
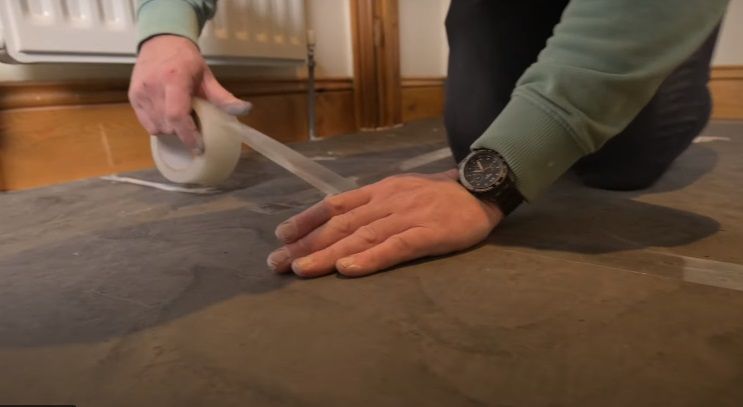
High Tack Tape - Used to tape over the joins of the SoundMat 3 Plus to prevent any movement once the SoundMats are laid in place.
Acoustic Mineral Wool - Acoustic mineral wool is designed to improve acoustic performance and reduce reverberation within cavity spaces. It is added to the cavity space underneath the floorboards prior to laying SoundMat 3 Plus. Acoustic mineral wool wasn't added in this situation because there was already insulation within the joists.
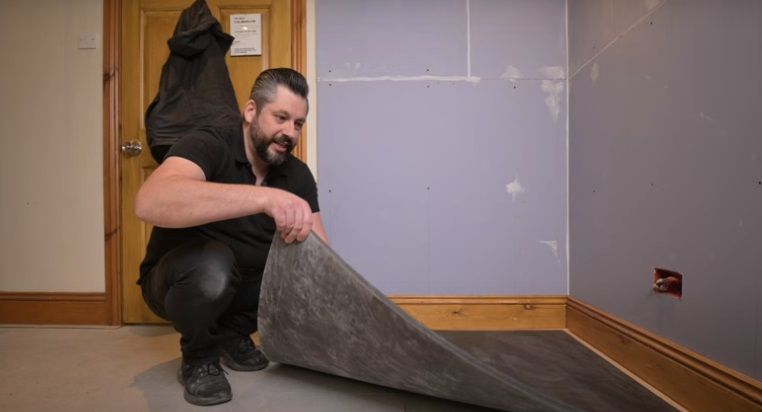
Easy DIY installation of SoundMat 3 Plus
Jamie had never installed any type of soundproofing before and quickly and easily installed the SoundMat 3 Plus.
By following these steps, you can easily and effectively reduce noise transmission between rooms, creating a quieter and more comfortable living environment.
Step 1: Preparation of the base floor:
- Ensure the floor is smooth, flat, and level
- Remove any dust or debris
- Seal any gaps between the floorboards prior to laying the SoundMat 3 Plus
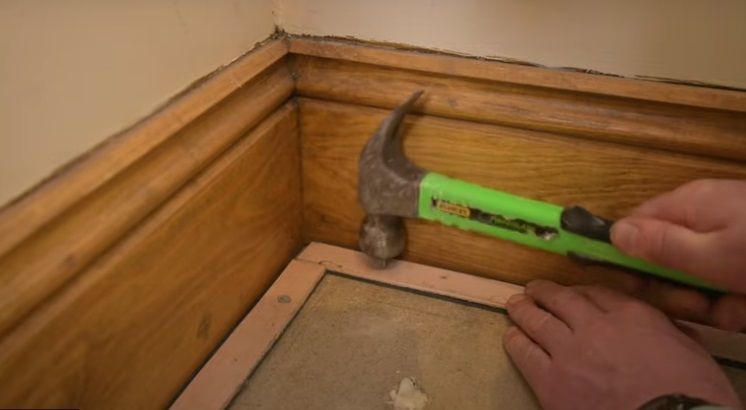
Step 2: Installation of Gripper Rod Risers:
- Add Gripper Rod Risers around the perimeter of the floor with the foam edge placed up against the wall. This isolates the hard part of the riser and the floor from the wall. Helping to limit flanking vibration where the vibration from impact on the floor can transfer into the wall
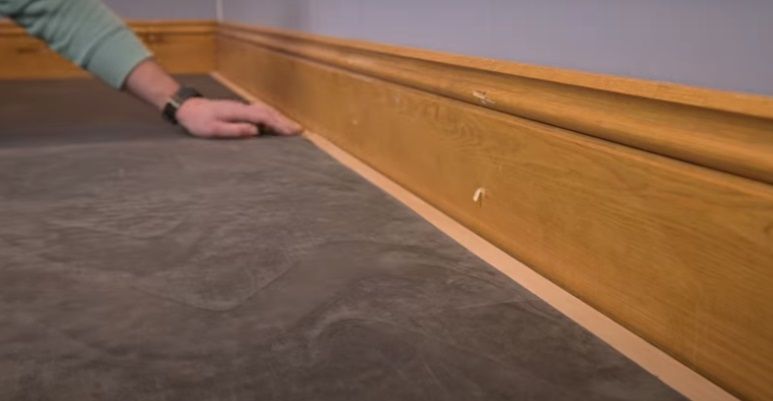
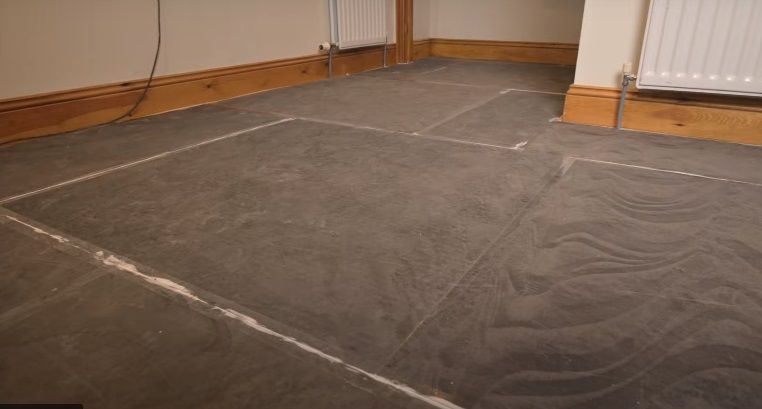
Step 3: Laying SoundMat 3 Plus:
- Lay the SoundMats in a brick bond pattern butting them up against the gripper rod risers. Simply loose lay the SoundMats and make sure not to screw or nail through them
Step 4: Secure the SoundMats:
- Tape over the joins using high tack tape to prevent any movement over time
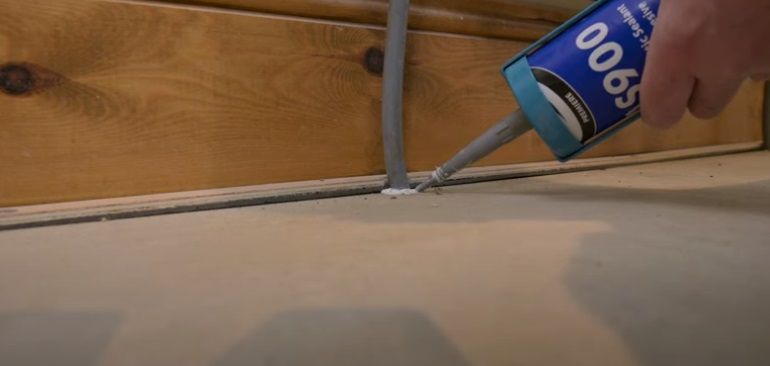
Step 5: Sealing with Acoustic Sealant:
- Apply acoustic sealant around the perimeter, including around any pipework. This helps to prevent any air gaps which sound can pass through
Jamie followed the above process and was able to easily install SoundMat 3 Plus on the bedroom floor.
DIY Installation of SoundMat 3 Plus


Results
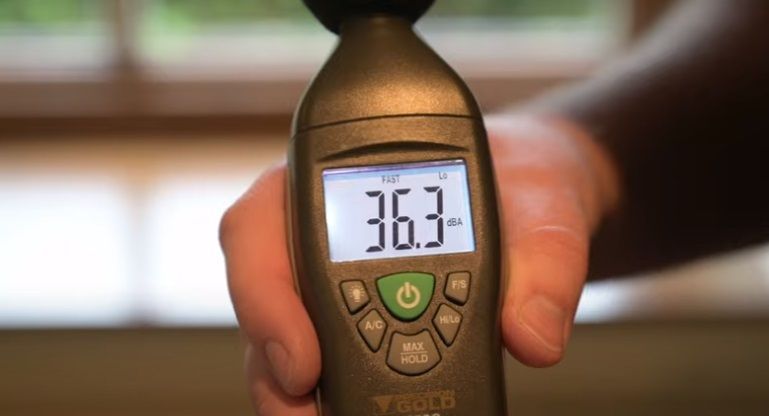
Footsteps which were very loud and clear before the soundproofing have been dramatically reduced. Music which was played before the soundproofing was also very loud and very clear and is now muffled and much harder to hear.
- Impact Noise: Significant reduction in footstep noise
- Before soundproofing: 50dB
- After soundproofing: 36dB
(The lower the value the better)
- Airborne Noise: Noticeable decrease in the transmission of voices and music between the bedrooms
- Before soundproofing: 27dB reduction
- After soundproofing: 33dB reduction
(The higher the value the better)
A reading was also taken with the dB reader with no noise being played and when the room was silent. The reading was 35 - 36dB. The reading with the noise playing following the installation of the soundproofing was only a couple of decibels over the background silent noise level, which is a fantastic result.
SoundMat 3 Plus client testimonial
Jamie, with no prior experience, effortlessly installed the soundproofing and was thrilled with the results. He also found the SoundMats 'remarkably easy' to lay down.
According to Jamie, “The product is absolutely great; installation was much simpler than I’d anticipated. The SoundMat’s manageable sections made it easy for me to fit myself - it was a simple job.”
Jamie continued, "We're due to have the carpet fitted tomorrow and the carpet fitter came and was really impressed with the job that we'd done. The gripper risers are in place and it means that the carpet fitters can just come in and lay the carpet straight down."
Expressing his satisfaction, Jamie added "We're really pleased with the results, we've had customers in the room directly below and people working in here and I'm really impressed with the amount of sound it's stopped. A really successful project and really really happy we've worked with you on it".
Top-tips for effective floor soundproofing
- Choose Quality Materials: Investing in high-quality soundproofing materials like SoundMat 3 Plus will significantly improve the results of your soundproofing
- Seal small gaps: Use acoustic sealant to seal any gaps. Think of soundproofing like waterproofing. Any gaps and sound will find a way out
- Don't drill or nail through the SoundMat 3 Plus: The SoundMat's are loose laid. Don't mechanically fix them down as this will compromise performance
- Consider Professional Help and Advice: If you’re unsure as to which soundproofing solution to use, speak to a professional to ensure you achieve the best possible results (01423) 206208.
Conclusion
This case study demonstrates that soundproofing an existing floor between bedrooms can be easily achieved through the use of a high-quality, tried and tested soundproofing solution. By addressing both impact and airborne noise, Jamie's DY installation of SoundMat 3 Plus made a significant improvement in noise reduction between the two rooms. An excellent result meaning a quieter and more peaceful environment for guests to enjoy during their stay.
Whether you’re a hotel owner, or a homeowner, SoundMat 3 Plus offers an exceptional and efficient soundproofing solution. Designed to minimise unwanted impact and airborne noise. Ideal for carpeted final floor finishes, it offers a slim profile (only 15mm thick) while significantly enhancing soundproofing capabilities. Whether you’re dealing with footsteps from guests in a hotel, noisy neighbours, or ensuring privacy between floors within your own home, SoundMat 3 Plus is the ideal solution.
Timber floor soundproofing products
Below are the products used in soundproofing the bedroom floor separating rooms at The Sportsman's Arms. (Based on a carpet final floor finish).
SoundMat 3 Plus
Slim soundproofing solution ideal for carpet finishes
(1.2m x 1.2m x 15mm)
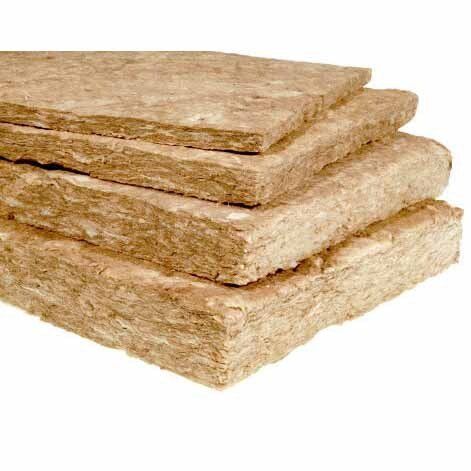
Acoustic Mineral Wool
60kg m³ density
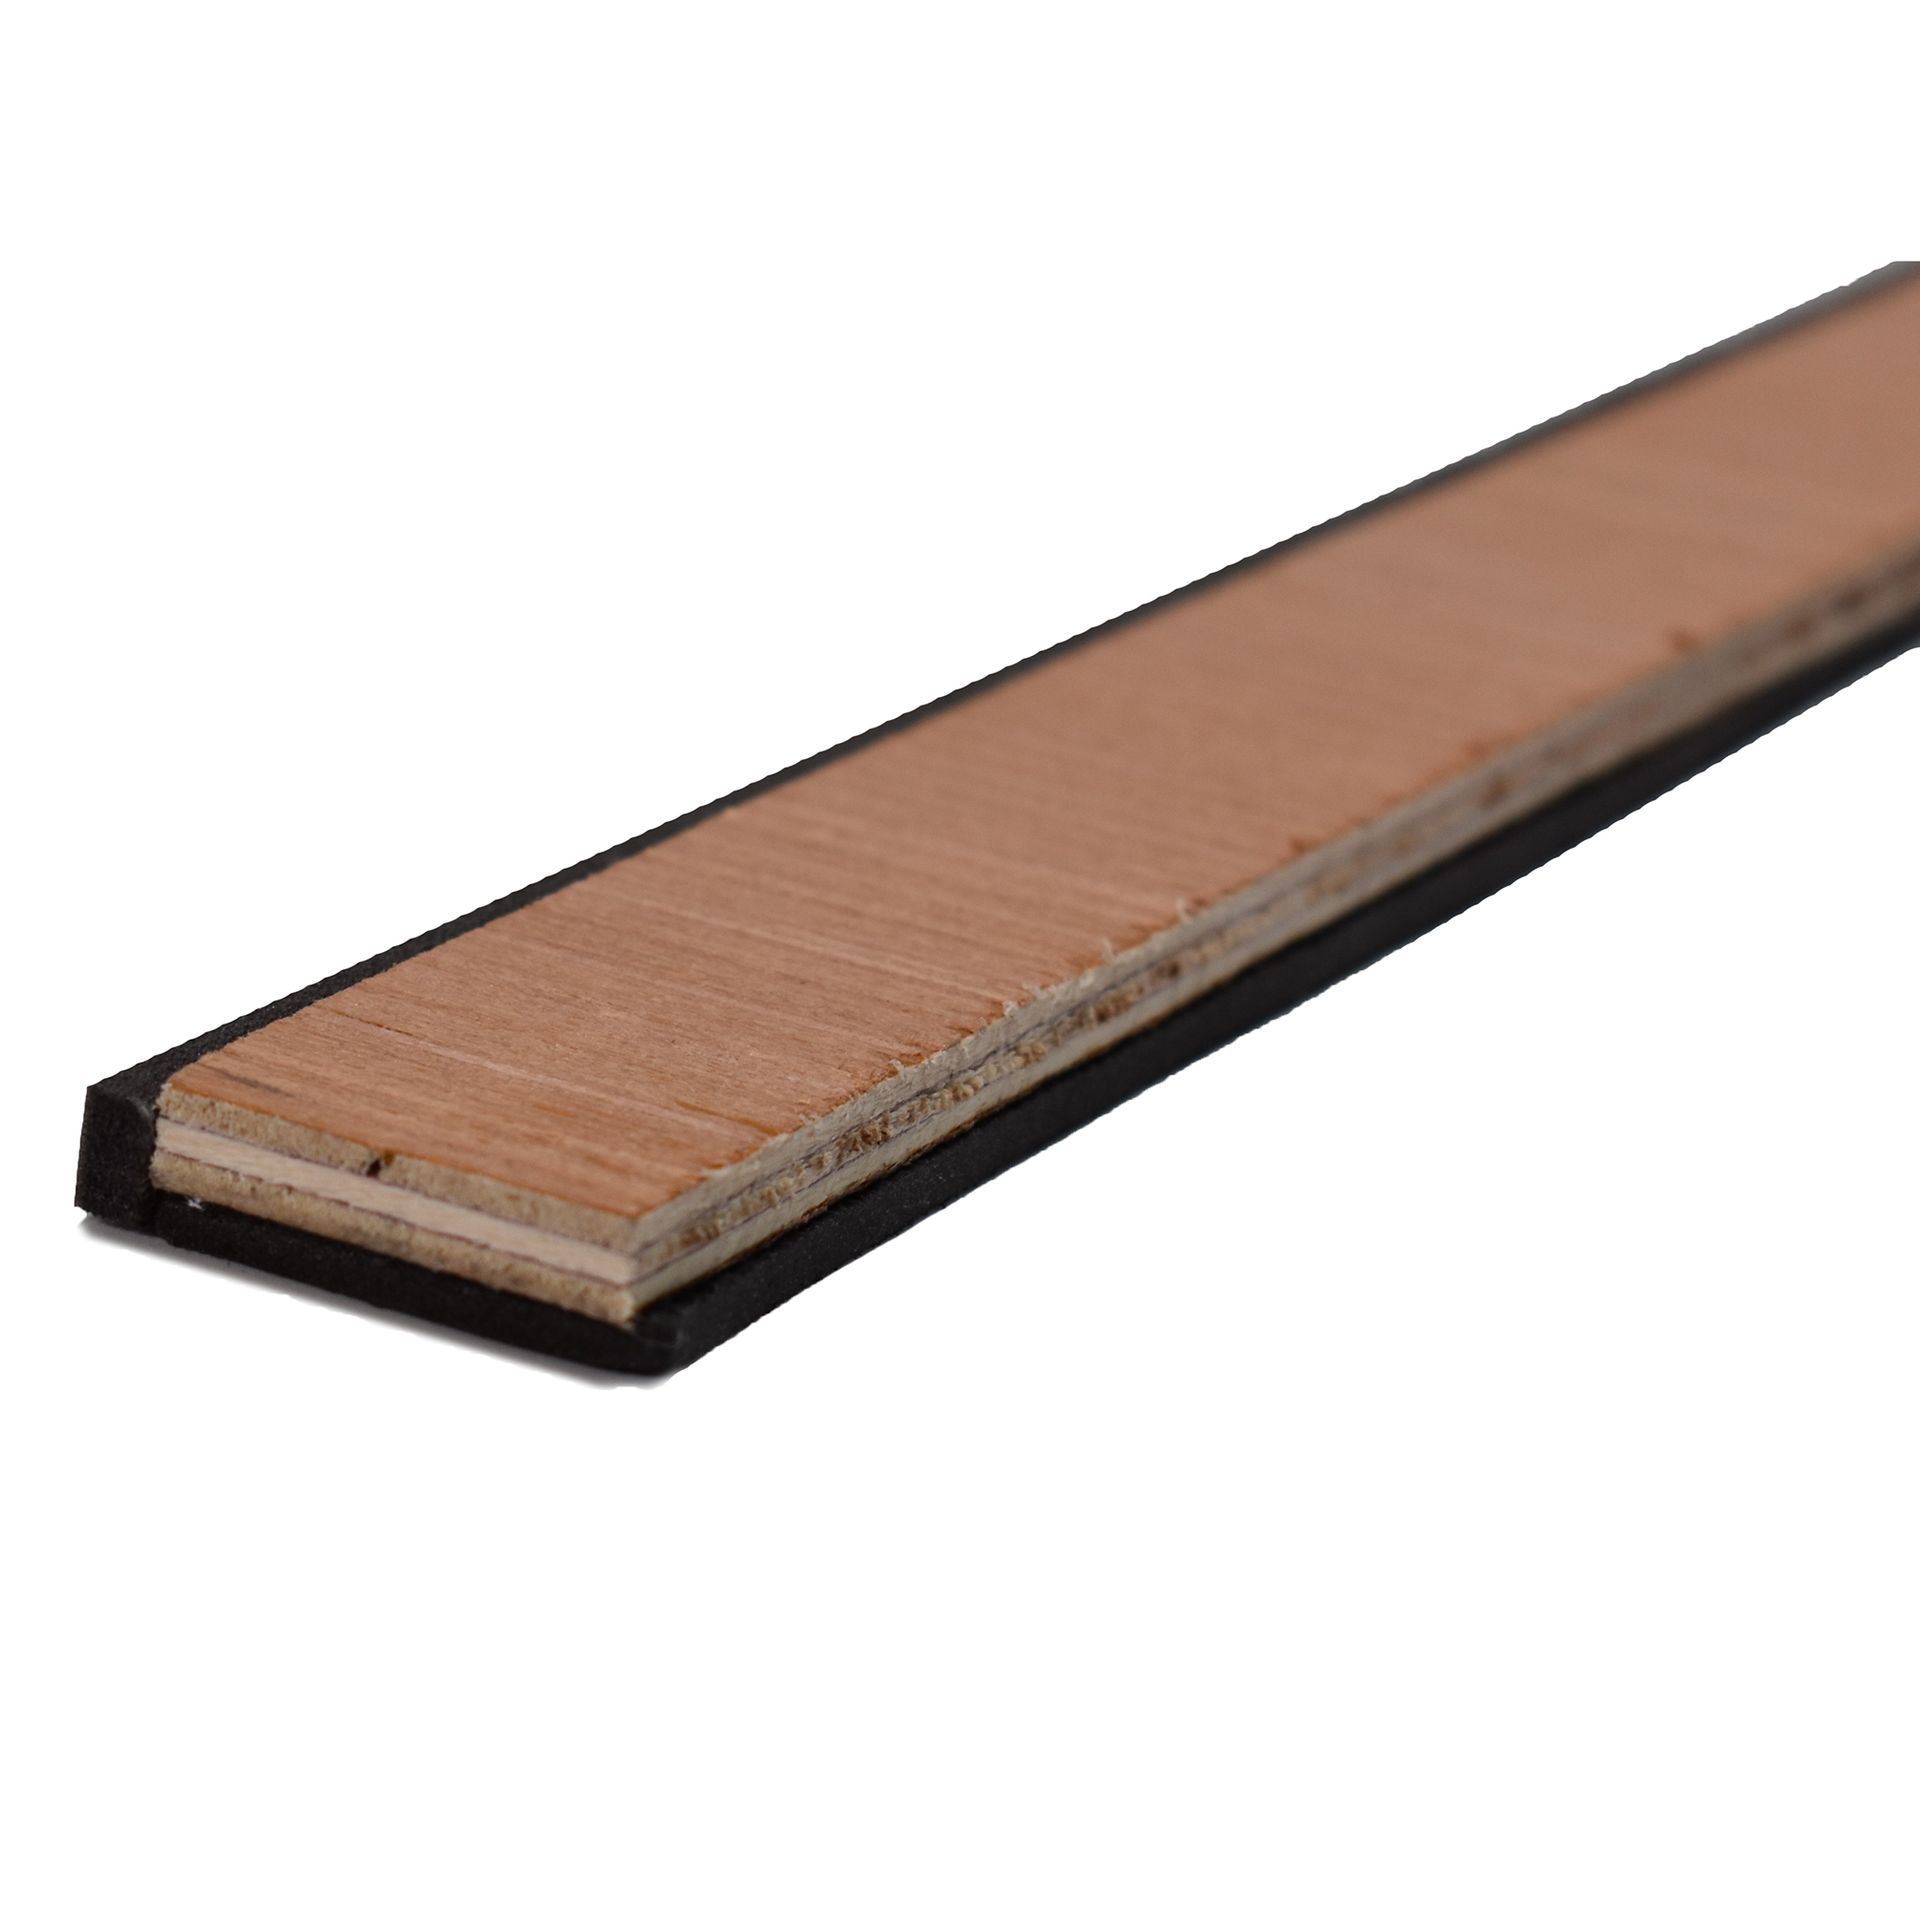
Carpet Gripper Rod Risers
9mm (for carpet final floor finishes)
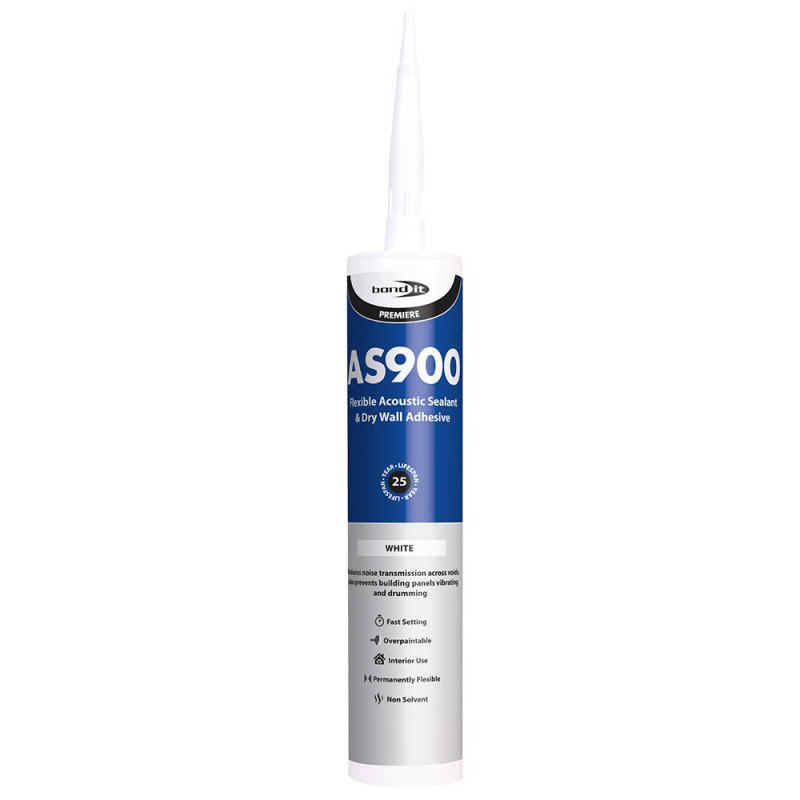
Acoustic Sealant
900ml
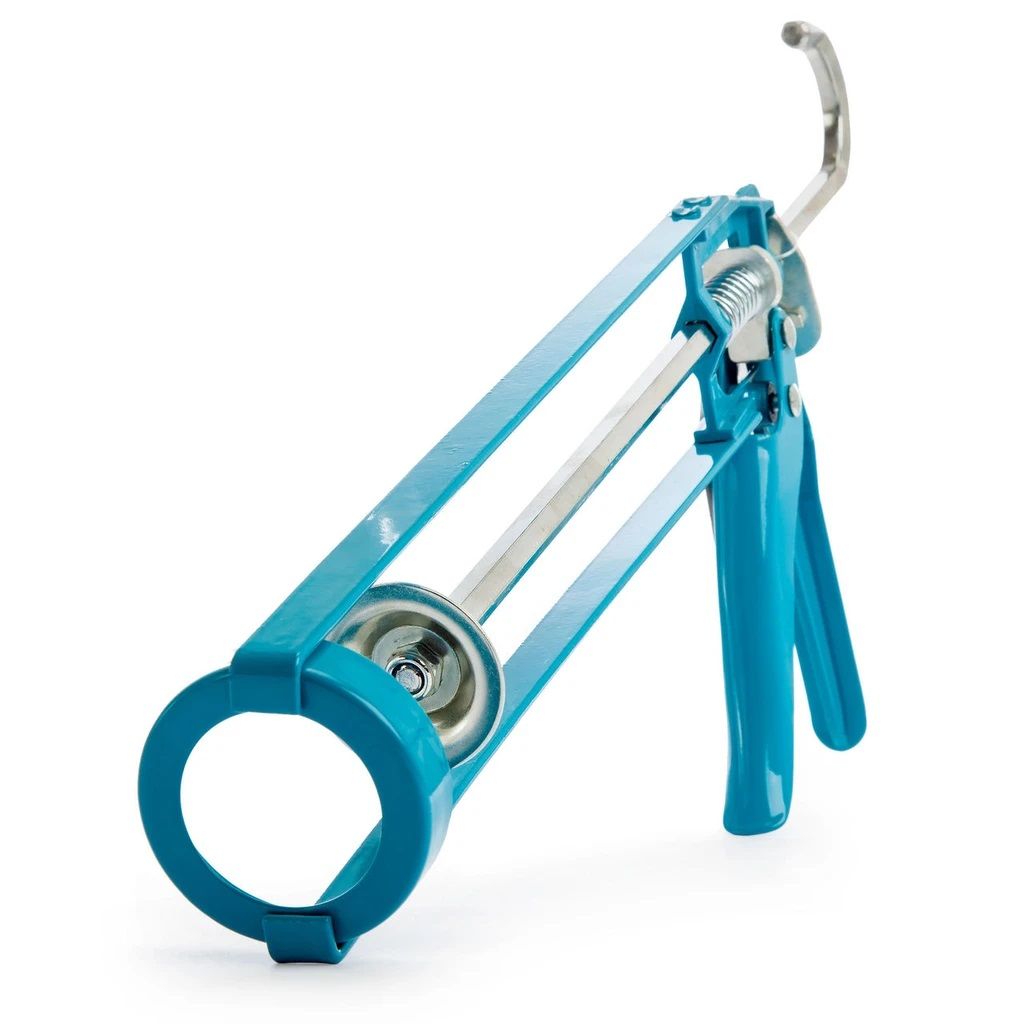
Jumbo Sealant Applicator Gun
For 900ml tubes
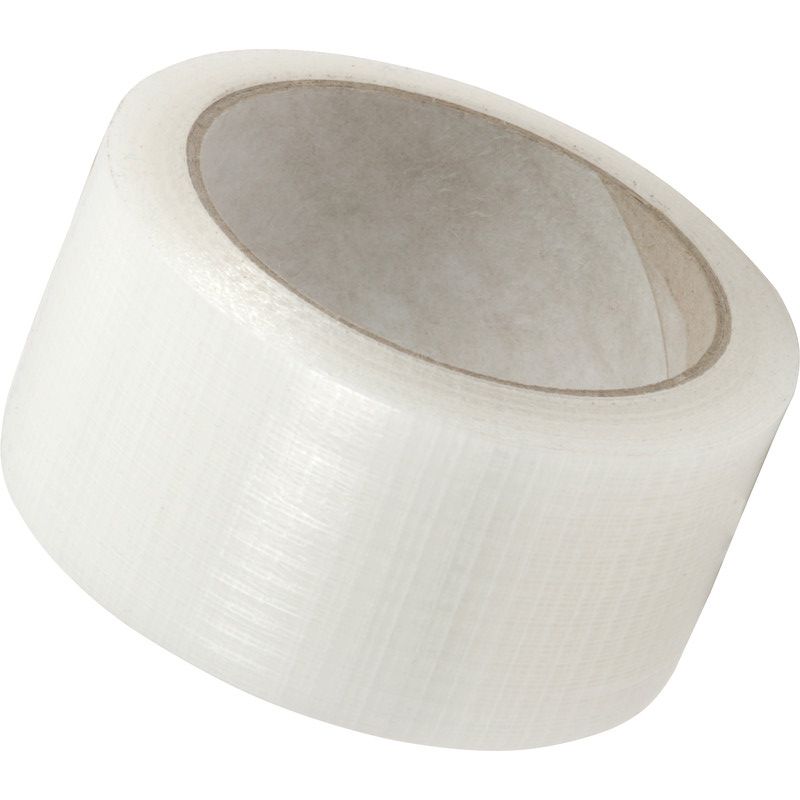
High Tack Tape
33m x 50mm
Author
Phil Lyons heads up the technical team within The Soundproofing Store, bringing with him a wealth of expertise in the field of soundproofing and acoustics. With considerable experience in addressing a variety of noise-related challenges, Phil plays a crucial role in assisting customers in finding effective solutions to all types of unwanted noise problems.
Phil also serves as the head of the studio department, specialising in soundproofing music rooms and band practice spaces. His proficiency extends to regularly collaborating with builders and specifiers on projects that require compliance with Part E Building Regulations. Phil regularly demonstrates his versatility and extensive knowledge of soundproofing across all situations.
An authoritative voice within Soundproofing, Phil also fronts The Soundproofing Store YouTube channel, sharing his extensive knowledge and expertise with people all over the world.
Share
"We don’t expect you to become an overnight expert in soundproofing, that’s what we’re here for."