
Case Study: How to soundproof a timber ceiling

The most effective way to soundproof a ceiling using the ReductoClip™ Timber Ceiling System
This case study highlights the step-by-step process of soundproofing a timber ceiling against unwanted impact and airborne noise using the ReductoClip Ceiling Soundproofing Solution. As featured in The Yorkshire Post:
The noise issue
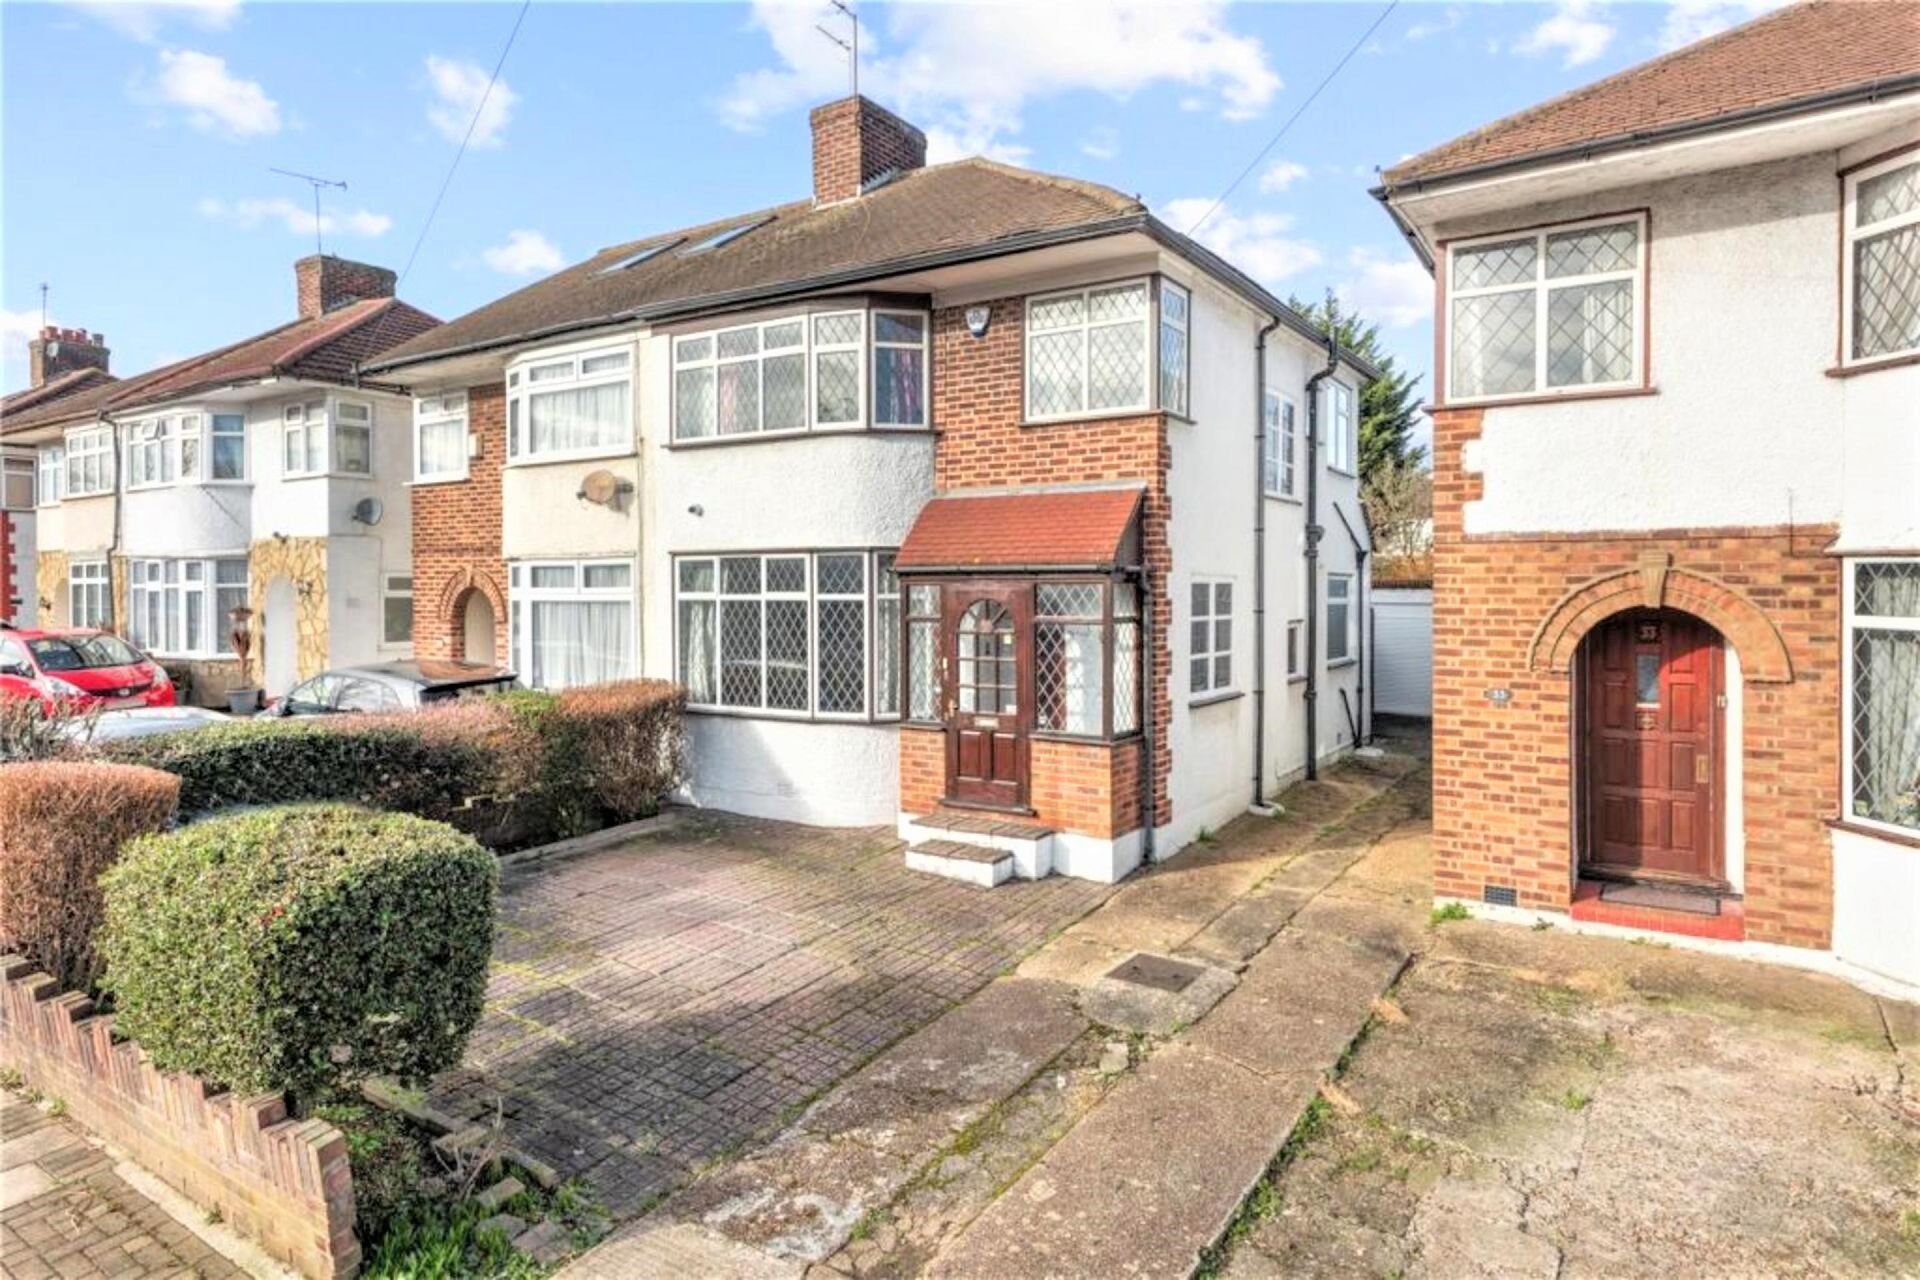
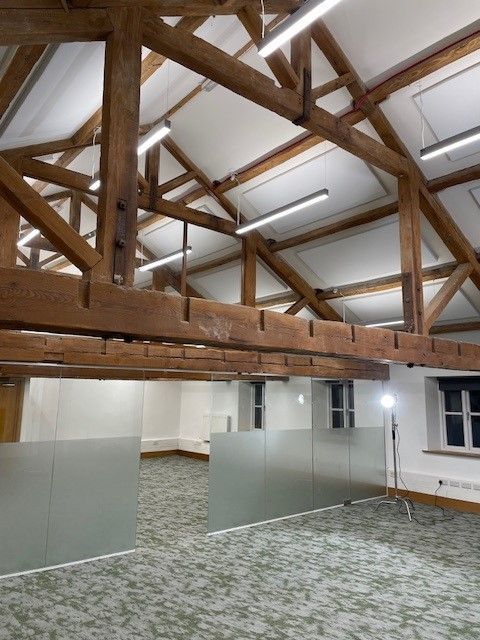
Mr and Mrs Helliwell live in a 3-bedroom 1930's semi-detached house and have a one storey, flat roof extension. Since the extension was built they have had a long-term problem with hearing excessive levels of noise on the roof every time it rains.
What they are experiencing is not dissimilar to those people living in properties with noisy neighbours living above.
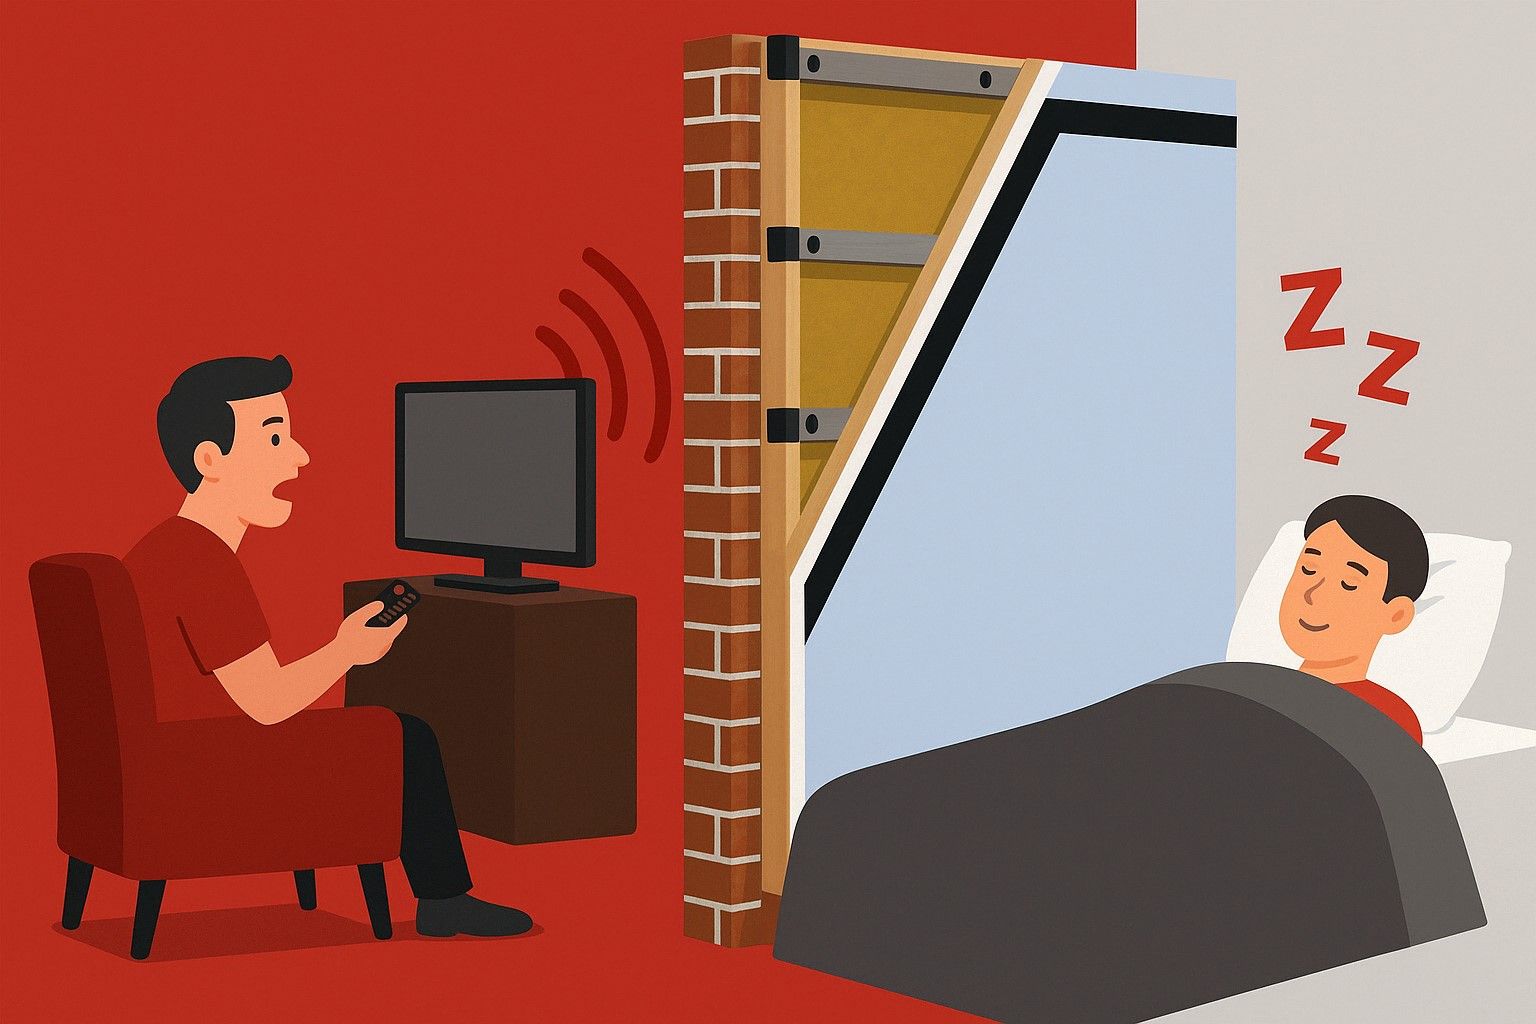
When the rain hits the roof it creates an impact vibration which travels from the roof, into the joists and down into their room below. The exact same principle applies when it comes to soundproofing against unwanted impact noise from above, regardless of the type or source of impact vibration (whether this be rain, footsteps, or dragging furniture etc).
A soundproofing system such as the ReductoClip System which decouples layers of mass from the original structure provides the most effective solution for all unwanted noise situations. The big benefit of this system is that it decreases high levels of both impact and airborne noise.
In this instance, for Mr and Mrs Helliwell it isn't unwanted airborne noise such as talking, shouting, TV noise or music, but unwanted traffic noise from a nearby busy road.
Important questions before soundproofing a ceiling:
- What type of ceiling do you have? Is it timber or concrete?
- What is the noise being heard? Is it impact noise such as footsteps, dragging furniture, or as in this case, rain?
- Is the unwanted noise airborne noise such as voices, music and TV noise? Or is it a combination of both impact and airborne noise?
- Do you need to pass Part E Building Regulations?
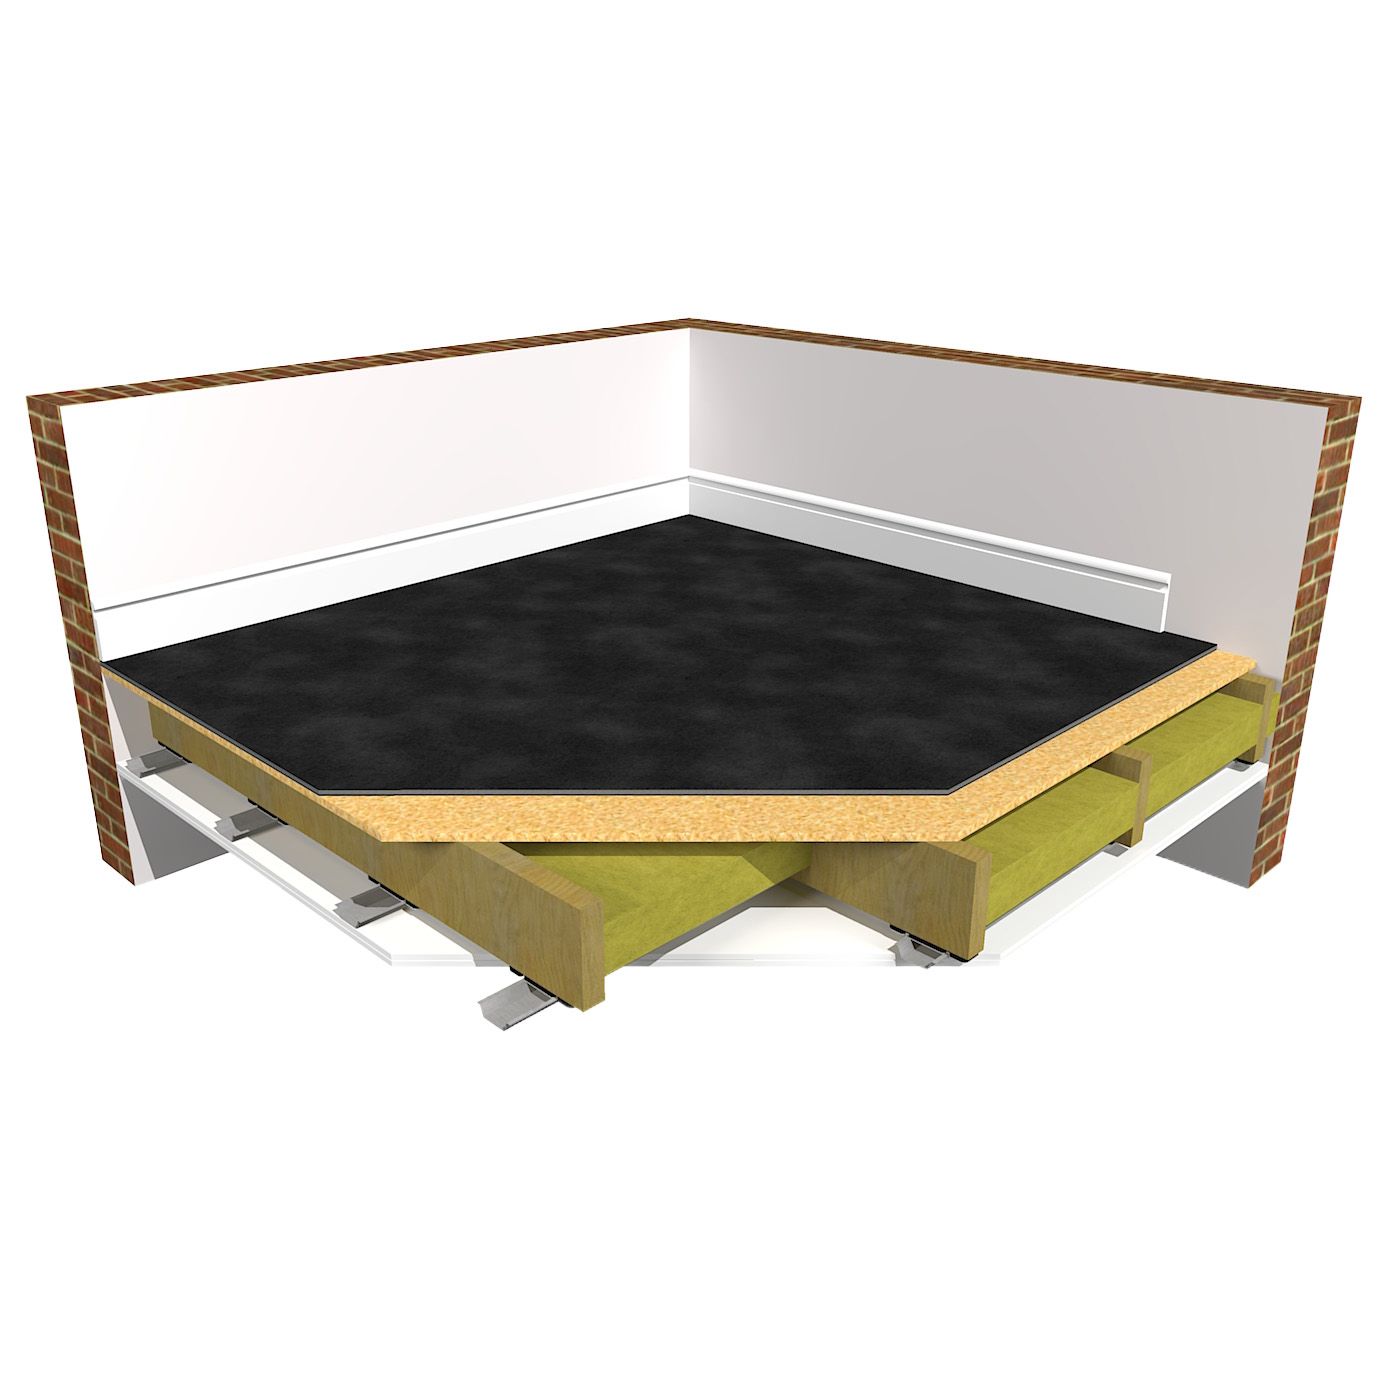
What are the benefits of the ReductoClip Timber Ceiling System?
Sound energy vibrations travel very easily through solid materials. Hence why the impact from the rain is easily travelling from Mr and Mrs Helliwells roof, through the ceiling, down the joists and into the room below. It has a path to travel because as all of these materials are connected together. To stop this from happening there needs to be a de-coupling, or separation and that's where there ReductoClips come into play.
ReductoClips act like shock absorbers, absorbing the sound vibrations creating a de-coupling suspension system for the furring bars and soundproofing layers to be attached to. Once they are in place, when an impact noise is made above it gets to the clips, which then absorb it and stop it from getting into the ceiling layers.
- ReductoClips de-couple from the original ceiling delivering the highest level of soundproofing
- Minimal loss of space. The full system including the layers of mass results in only 60mm loss of ceiling height
- At only 25mm, The ReductoClip and bar combined is the thinnest clip and bar system on the market
- Dual rubber design which enables the ReductoClips to absorb different sound frequencies achieving a higher level of performance
- A wider clip face space means wider furring bars, which allow for a greater surface area to attach acoustic plasterboard to. This makes installation of the clips and bars much easier
ReductoClip Exceptional Performance - Soundproofing Product Overview
How to install the ReductoClip Ceiling Solution
Step-by-step installation of the ReductoClip Ceiling Soundproofing System
The ReductoClip Timber Ceiling Soundproofing Solution can be installed by a competent DIYer. Mr Helliwell is an electrician by trade, but without any experience of installing soundproofing. With the help from a colleague, they installed the system themselves following The Soundproofing Store's comprehensive installation guide.
1. Firstly remove any fixtures, fittings and coving

Light fittings were removed from the ceiling. The same would also need to happen for smoke detectors etc which might be fixed onto the ceiling.
The next step is to remove any coving. In some cases, if you are careful when removing the coving it can be reused once the ceiling has been soundproofed. In this instance the coving was being fully replaced, so didn't need to be saved.
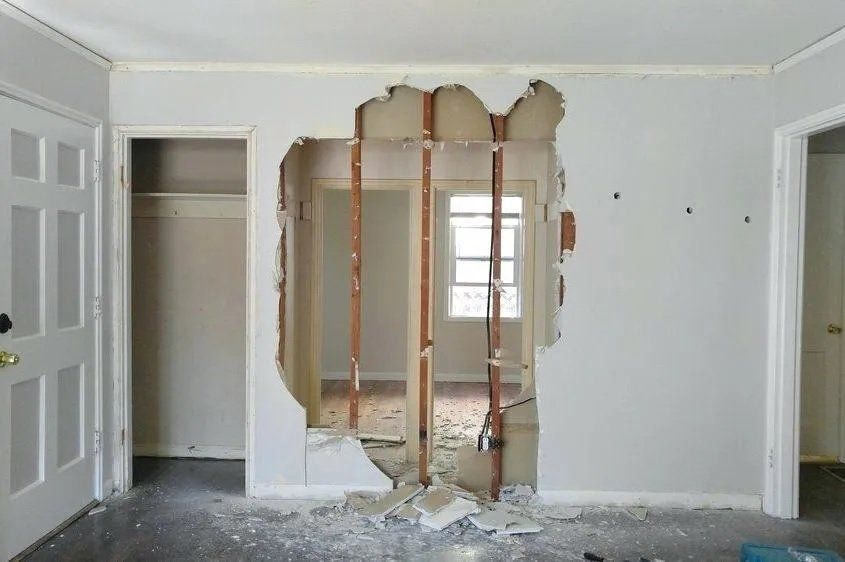
2. Remove the existing ceiling

Many customers ask if they can keep their existing ceiling and simply add the ReductoClips, Reducto furring bars and soundproofing layers to it.
Keeping the existing ceiling can be an option if really needed. However, the soundproofing improvement can potentially be compromised by doing so. This is for 2 reasons:
1. Removing the existing ceiling allows access to the joists which can then be insulated with acoustic mineral wool
2. If there is the mass of the floor above, mass of the existing ceiling and the mass of the new ceiling it complicates things as to how soundwaves actually travel through different structures. By creating what is essentially an air cavity can sometimes reduce the performance of the soundproofing
Taking down the exiting ceiling, insulating the joists and putting the ReductoClips onto the existing joists and adding the soundproofing layers of a new ceiling is certainly best practice to achieve the best results and is highlighted in this case study.
3. Add acoustic mineral wool to the exposed timber joists

Acoustic mineral wool is then added to the timber joists. If the joist cavity isn't insulated then essentially there is a void space between the floor above and the ceiling below. When sound gets into this void the sound bounces around, resonates, echoes and amplifies which makes the noise louder. This is called the drum effect, as it's basically how a drum or acoustic guitar work. The addition of acoustic mineral wool helps to absorb this sound.
In this instance, because there wasn't a room above and the roof was exposed to the elements, thermal installation was also added, followed by the acoustic mineral wool.
60g Acoustic mineral wool was added in slabs slightly wider than the joists. The space between the joists of this ceiling were on average 350mm - 360mm, so the slabs were simply cut to 400mm. These were then simply friction fitted between the joists.
Top tip, once you know the measurement of the slabs, keep the mineral wool in the packaging and cut it all in one go. (It can be easily cut using a normal saw).
Learn more about the role of acoustic mineral wool in soundproofing
4. Installing the ReductoClips

The next step is to install the ReductoClips onto the exposed timber joists using timber screws. It is important not to overtighten them too much as this will reduce their ability to absorb the sound energy. (They still need to squish slightly once installed).
The ReductoClips are marked out at specific spacings (as per the below diagram):
- Maximum space between clips 1200mm
- Maximum space between furring bars 400mm
- Clips should be a maximum of 150mm away from the perimeter

5. Installing the ReductoClip Furring Bars

Once the ReductoClips have been fitted, Reducto Furring bars are then attached to the ReductoClips. They are simply clipped into the ReductoClip brackets. The 50mm furring bar has been designed to be wider to make installation easier by having a larger surface area to screw plasterboards onto. There is also a useful centre line marking which makes it even easier when butting up the acoustic plasterboards.
The furring bars are installed with an overlap of 150mm and secured with 4 self tapping screws. Overlaps need to occur between clips, not on the clips.

Top tip: To utilise furring bar quantities and maintain joins between clips, cut a 600mm length bar and start with this, then start the second row with the offcut. Furring bars can easily be cut with a pair of tin snips.
At only 25mm thick (the ReductoClip and Reducto Furring Bar together) this makes it is the slimmest isolation clip system on the market. This is really important as it means minimal loss of height to the ceiling.
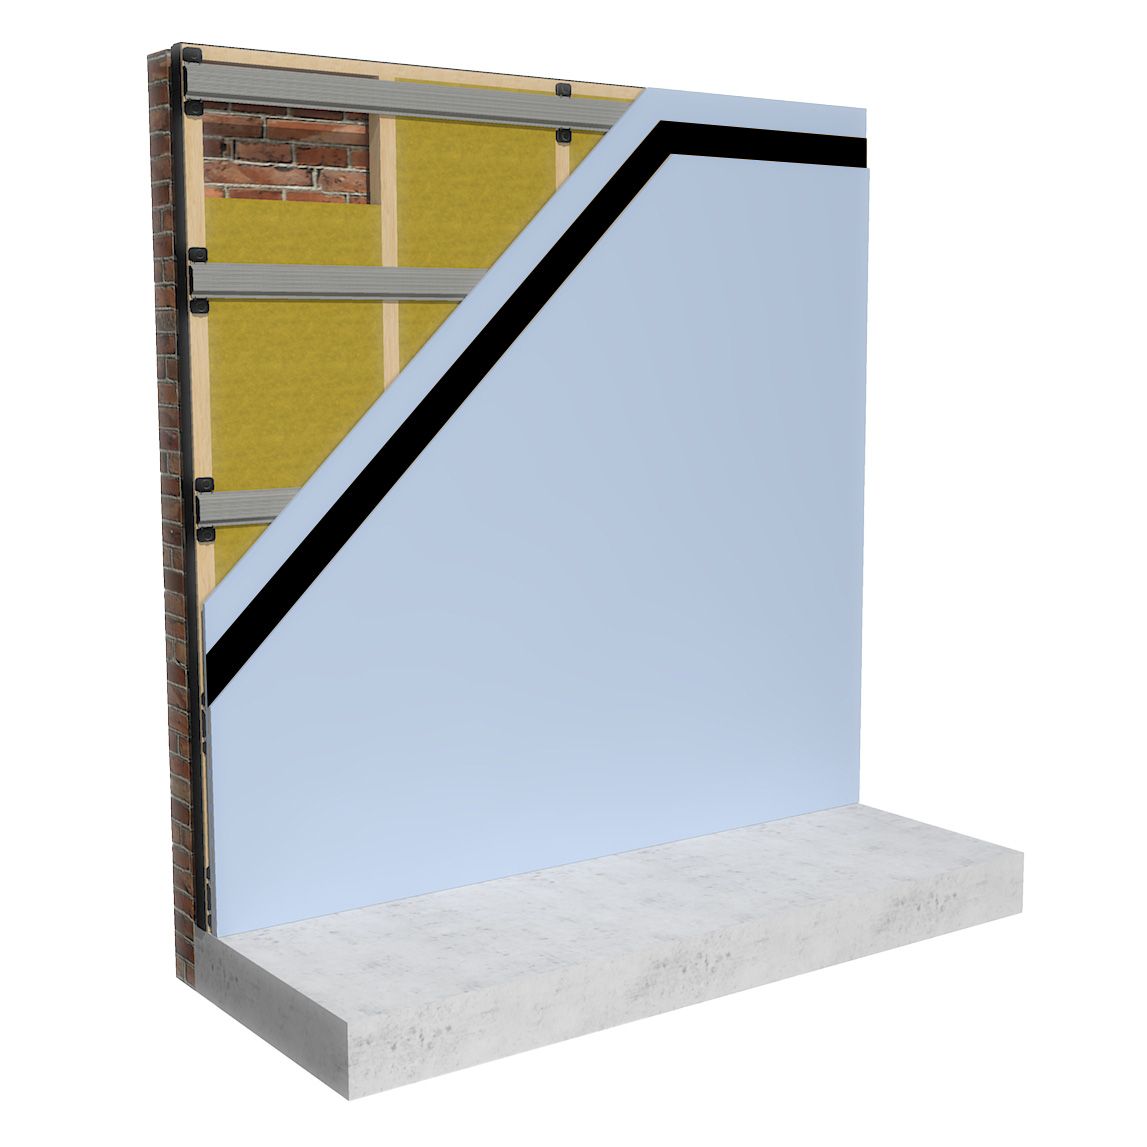
6. First layer of acoustic plasterboard

The nest step is the addition of high mass layers to help block airborne noise. The first layer to be added is a layer of 15mm acoustic grade plasterboard, which is heavier and more dense than standard plasterboard and therefore more effective at helping to block airborne sound. To make the installation of these high mass materials easier, a plasterboard lift was hired and is definitely recommended.
Top tip, before fixing the first layer of plasterboard, because there are two layers, it is important to know where the furring bars are as these will be covered once the first layer is in place. Simply mark the positions of the centre of the furring channels on the wall round the perimeter of the room.
The first layer of acoustic plasterboard is fixed using 25mm length self drilling screws (it's important not to screw through to the timber as this will short circuit the furring bars). Start the installation in one corner and make sure to leave a 5mm gap around the perimeter between the acoustic plasterboard and surrounding walls. The system needs to be isolated from the perimeter walls (packers and shims can be used if needed).
In this instance the ceiling was just over 2.4m (the full size of the acoustic plasterboard) and because one full board won't therefore cover the full width of the ceiling (still keeping the 150mm perimeter gap) it will mean there are lots of small gaps at the end. To avoid having lots of tiny pieces to make up the remaining gaps, instead cut the original board further down and use a bigger piece to make up the remaining (bigger) gaps.

7. Adding Tecsound to the second layer of acoustic plasterboard

The next step is to add a layer of Tecsound, which adds a huge amount of mass compared to its thickness.
Tecsound is used because at only 5mm thick, it weighs an impressive 10kg per m2. Being a viscoelastic material it means that when it's added to a surface it helps to dampen and absorb energy and vibration whilst also adding more mass to help block airborne noise.
In soundproofing, different materials perform differently to different frequencies of sound. By having a combination of the Acoustic Plasterboard and Tecsound, a higher level of performance is achieved than simply adding multiple layers of the same material.
A self-adhesive version of Tecsound is used, which is simply stuck to the second layer of acoustic plasterboard before being raised to the ceiling using the plasterboard lift. The Tecsound is then sandwiched between the two layers of acoustic plasterboard.
Top tip, Tecsound is very sticky and difficult to remove if stuck down incorrectly. It is often easier to cut it into smaller more manageable pieces rather than trying to stick the whole piece down in one go. Tecsound can easily be cut with a Stanley knife.
Remember to leave the 5mm gap around the perimeter.

Learn more about how Tecsound is used in soundproofing
An excellent alternative to Tecsound is FlexiSound 5.
FlexiSound 5 is also self-adhesive and offers the same mass and dampening properties, whilst also being cheaper than Tecsound.
Learn more about how FlexiSound is used in soundproofing
8. Acoustic Sealant

Once the Tecsound and second layer of acoustic plasterboard has been installed, simply seal round the 5mm perimeter gap using acoustic sealant. Any small gaps between the acoustic plasterboard sheets can also be filled with sealant where they perhaps haven't fully butted up together (very small mm gaps).

Ceiling final finish
Once the ReductoClip Ceiling Solution has been installed, the only thing left is for a plaster skim finish. Fixtures and fittings can then be reinstalled.

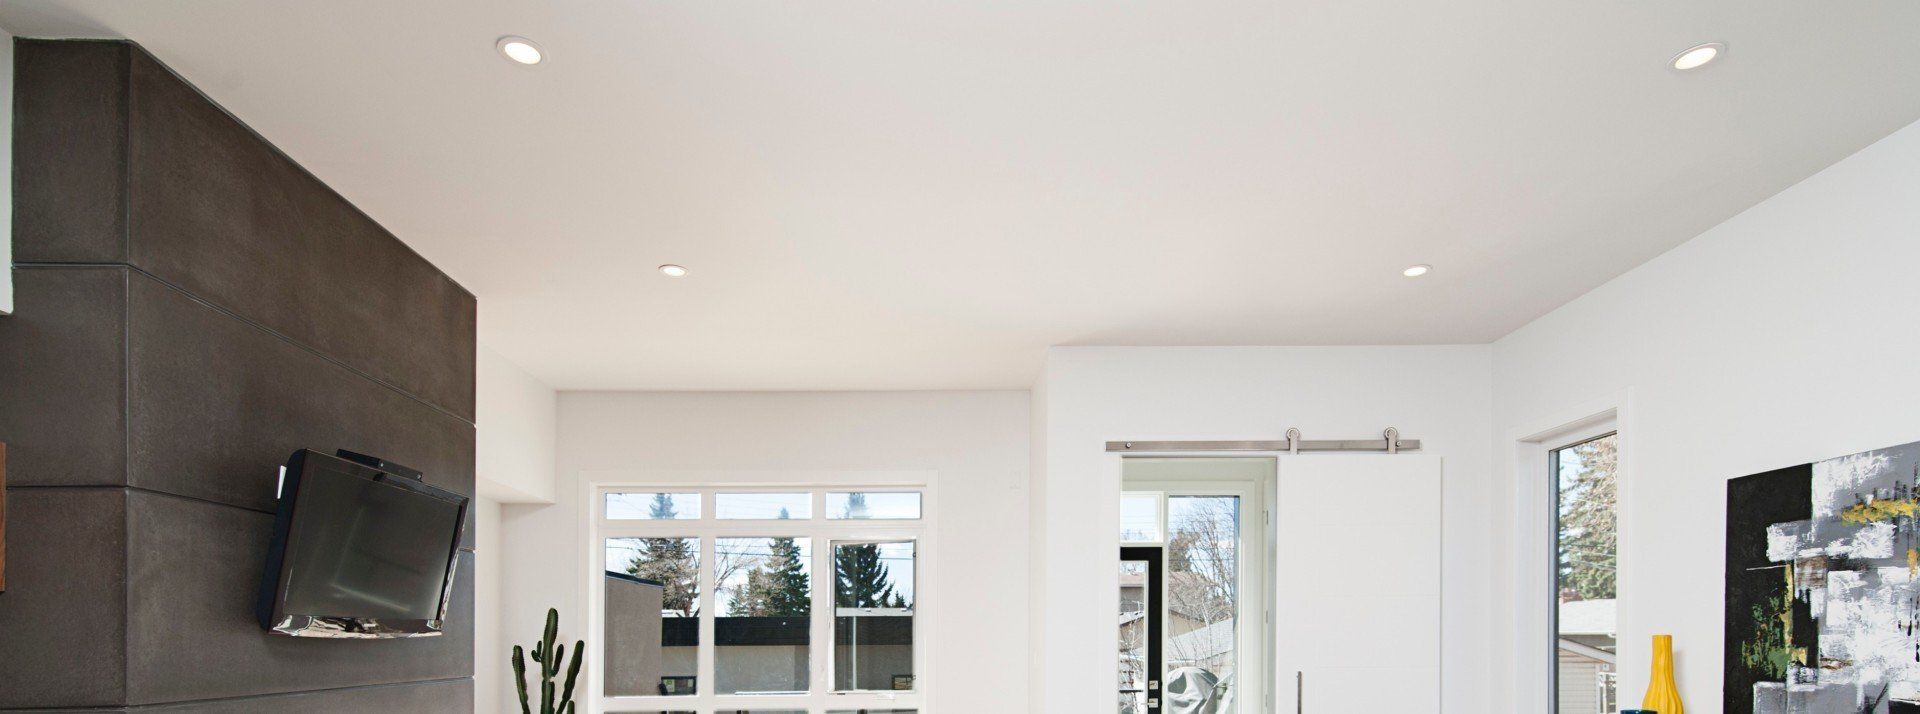
What lighting should be used on a soundproofed ceiling?
When it comes to lighting, ideally pendant lights, or surface mounted lights are the best option. In a perfect world it is best to avoid spotlights and downlights because they require big holes to be cut out of the soundproofing and by removing these layers of mass it is going to reduce the performance.
However, if the preferred option is to use spotlights then you can use acoustic hoods or covers which will help to minimise the negative effects of cutting into the soundproofing.
Performance of the soundproofed ceiling

A sound test was carried out using a hand held recorder prior to installing the soundproofing. The background noise without any distinguishable sound measured at around 40dB. When impact noise was made on the roof to recreate the impact of the rain, the reading was 55-60dB.
Following the installation of the ReductoClip Ceiling Soundproofing Solution, the same test was carried out again. The aim was to get as close to 40dB (i.e. the original silent ambient noise) as possible. The second test reading with the same level of impact noise being made measured at between 43-45 dB. This means the ReductoClip Ceiling Solution achieved an incredible reduction of 10-12 dB. This is a huge reduction, as the logarithmic scale of decibels means that for every 10dB reduced it is actually a halving of the volume, so in real world terms this is a huge improvement.
How much did it cost to soundproof the ceiling?
The size of the ceiling was just over 2.5m by just under 3m and the cost including all materials, fixings, delivery and VAT came in at just over £1,100. This didn't include installation costs as Mr Helliwell and his colleague fitted it themselves.
Customer testimonial

The sound test above showed a brilliant result. However a further test would be the 'real world' one when there was next heavy rainfall and the feedback from Mr and Mrs Helliwell.
"I had a look online and found The Soundproofing Store. After discussing our noise problems with them, they advised on the best solution. They recommended the ReductoClip Ceiling Soundproofing System. We can no longer hear the rain and we also live fairly close to the A1 and we are no longer hearing that sound anymore either. Thanks ever so much to The Soundproofing Store, they really helped us and it's just nice to know that these companies are out there, willing to help."
Always speak to an expert
Soundproofing can be complex and it isn't a case of one size fits all because there are so many variables. This can range from the construction of the ceiling and the floor above. The final floor finish above the ceiling, the level of noise and type of noise needing to be soundproofed against and the height that can be lost from the ceiling.
The best advice would be to always speak to an expert to ensure the correct soundproofing solution is used in the correct situation.
The Soundproofing Store is an award winning company with a dedicated team of experts who will happily advise on the correct soundproofing solution whatever the unwanted noise issue. Please feel free to contact a member of the team via the form or telephone number below.
Please share this article
"We don’t expect you to become an overnight expert in soundproofing, that’s what we’re here for."